T-shirt-Headband DIY | T-Shirt.ca
Hello T-shirt.ca-ers!
We are excited to announce that we will be bringing back the oh-so popular DIY tutorials! These tutorials will be a blend of blog and video. We are looking to do one DIY a week, so make sure you tune in every Monday for Make It Mondays! (Alliteration makes everything better don't you think?)
The first DIY we have is this cute braided headband.
All you need is the following:
-t-shirt
-scissors
-tape
-Measuring tape/ruler
-writing utensil
And it takes about 10-30 minutes...it all depends on how fast you get the braid down!
Let's start shall we?
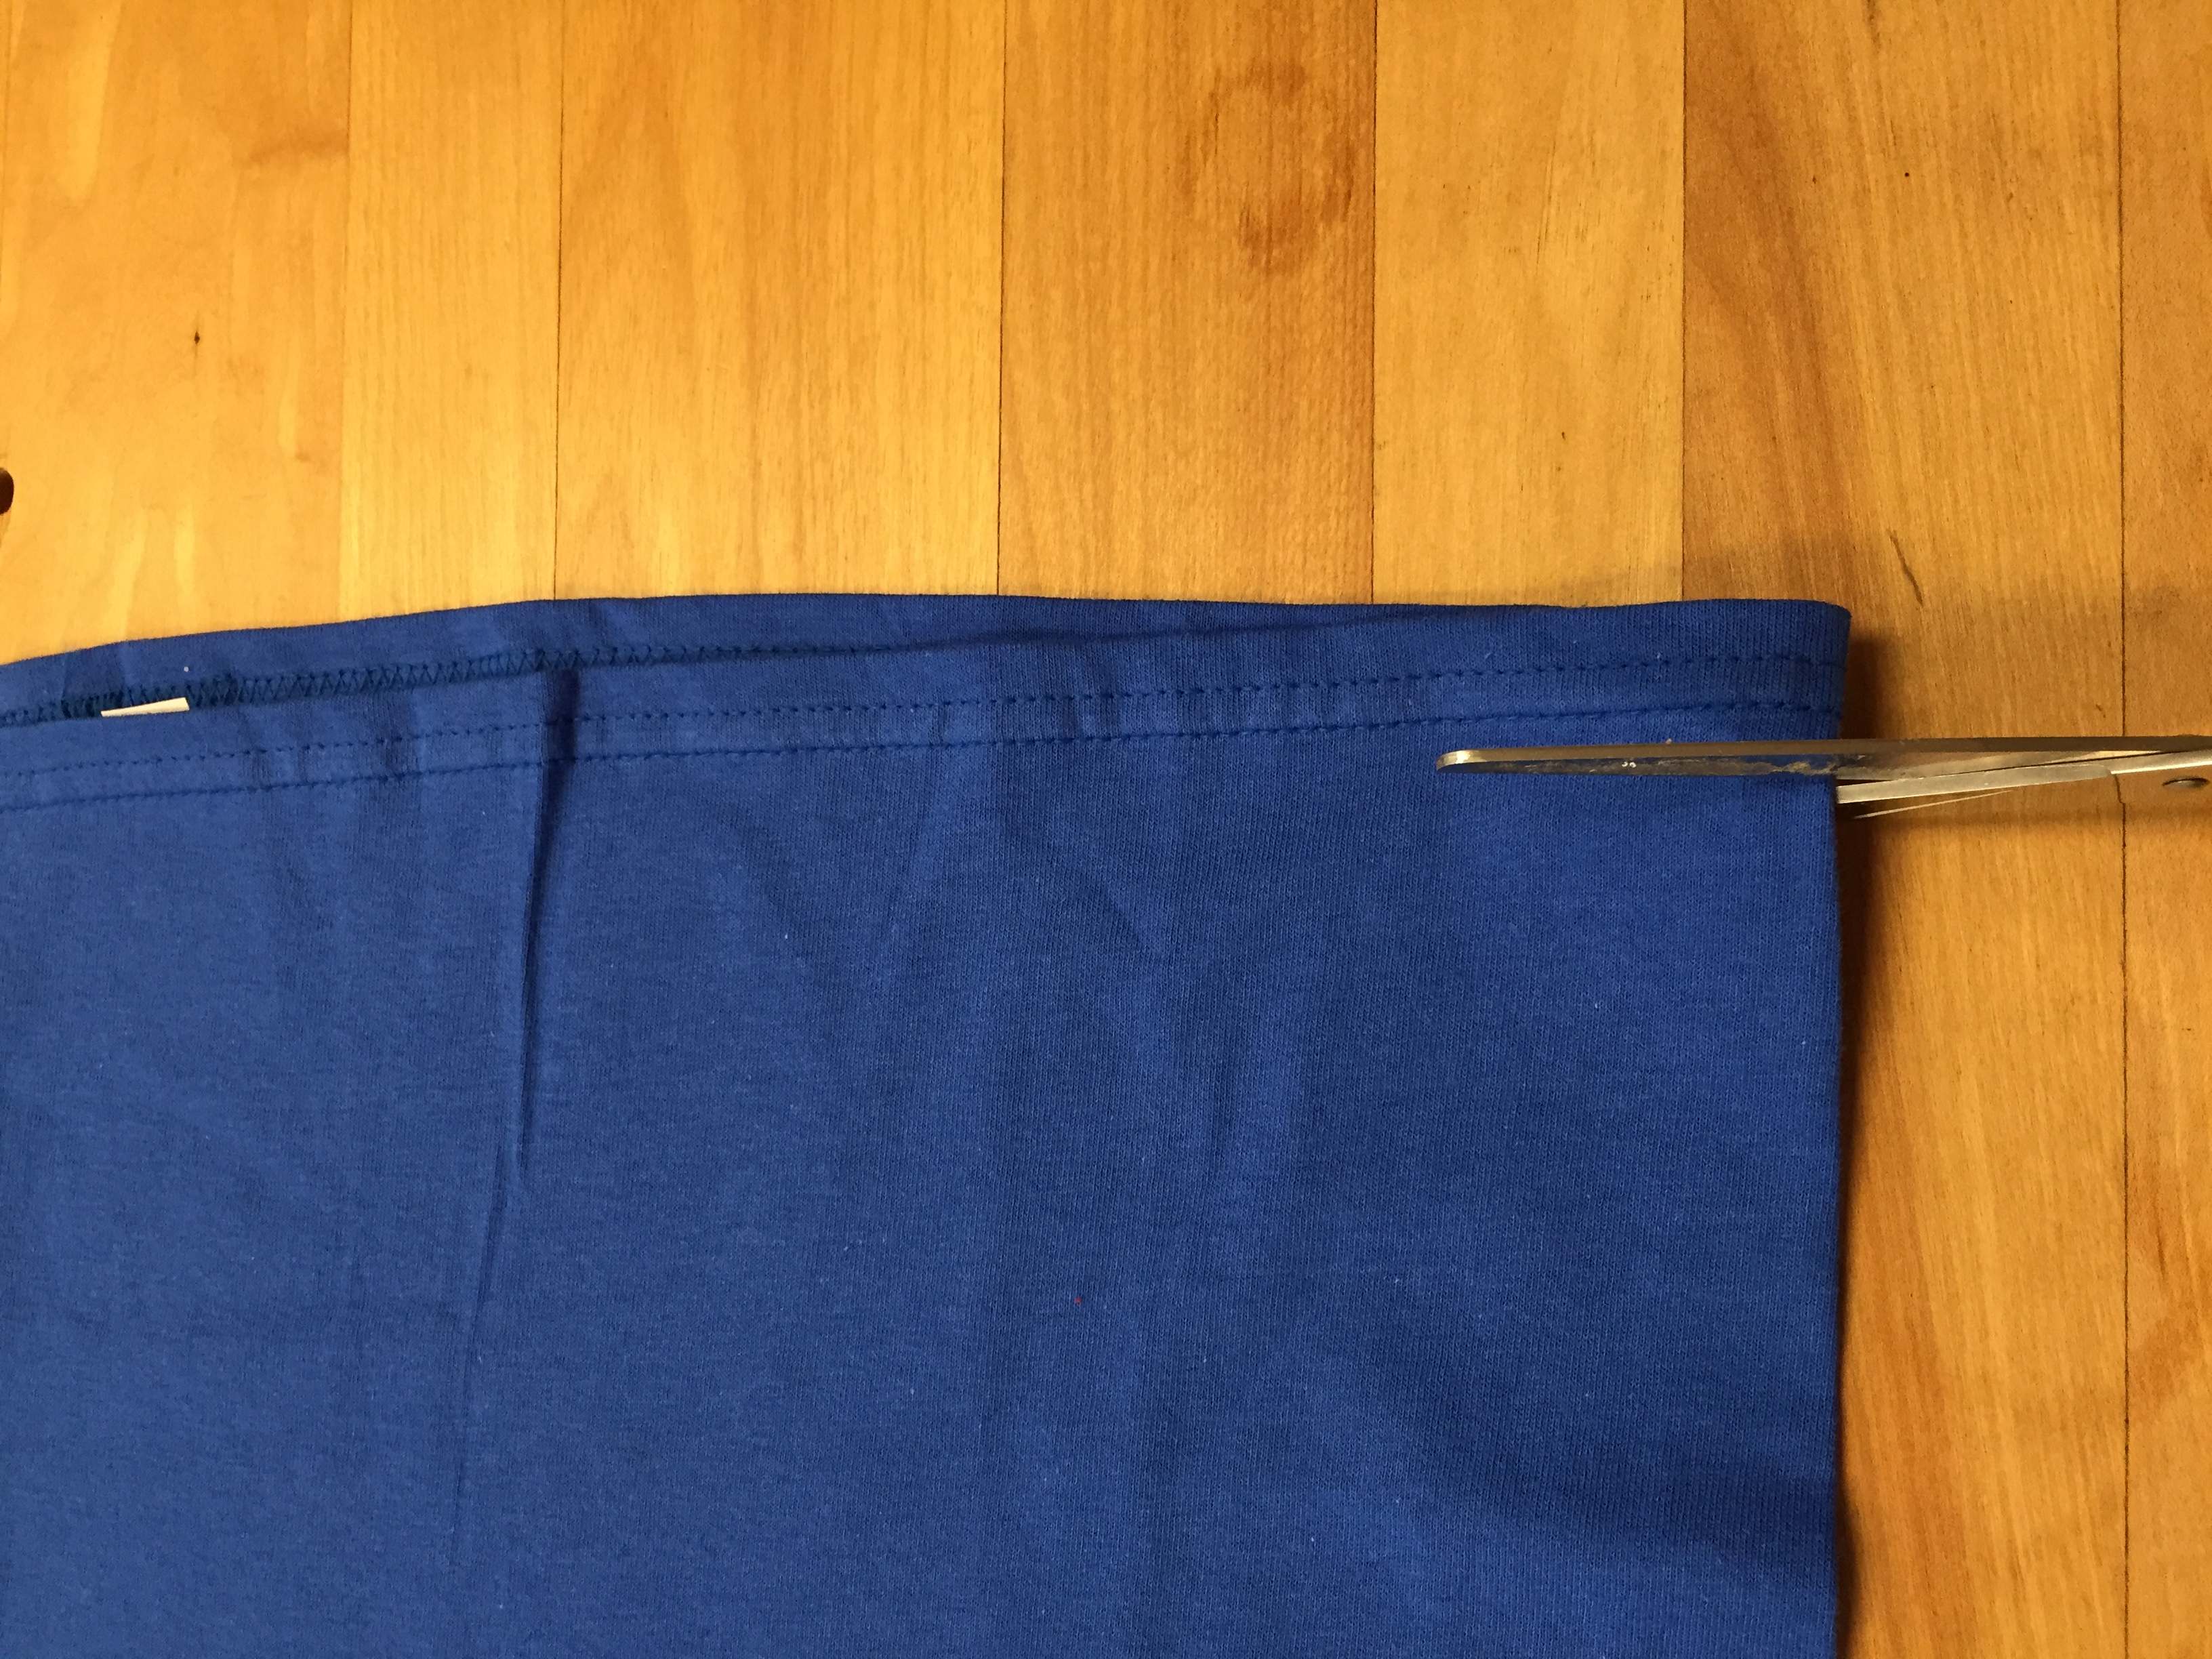
1.Take your shirt and lay it on a flat surface. Make sure the left sleeve is the closest part to you, the hem should be on your right-hand side laying vertically.
2.Take your scissors and cut the hem off. I cut it close to the stitching, but it doesn’t matter how wide you cut it, because we won’t be using this part.
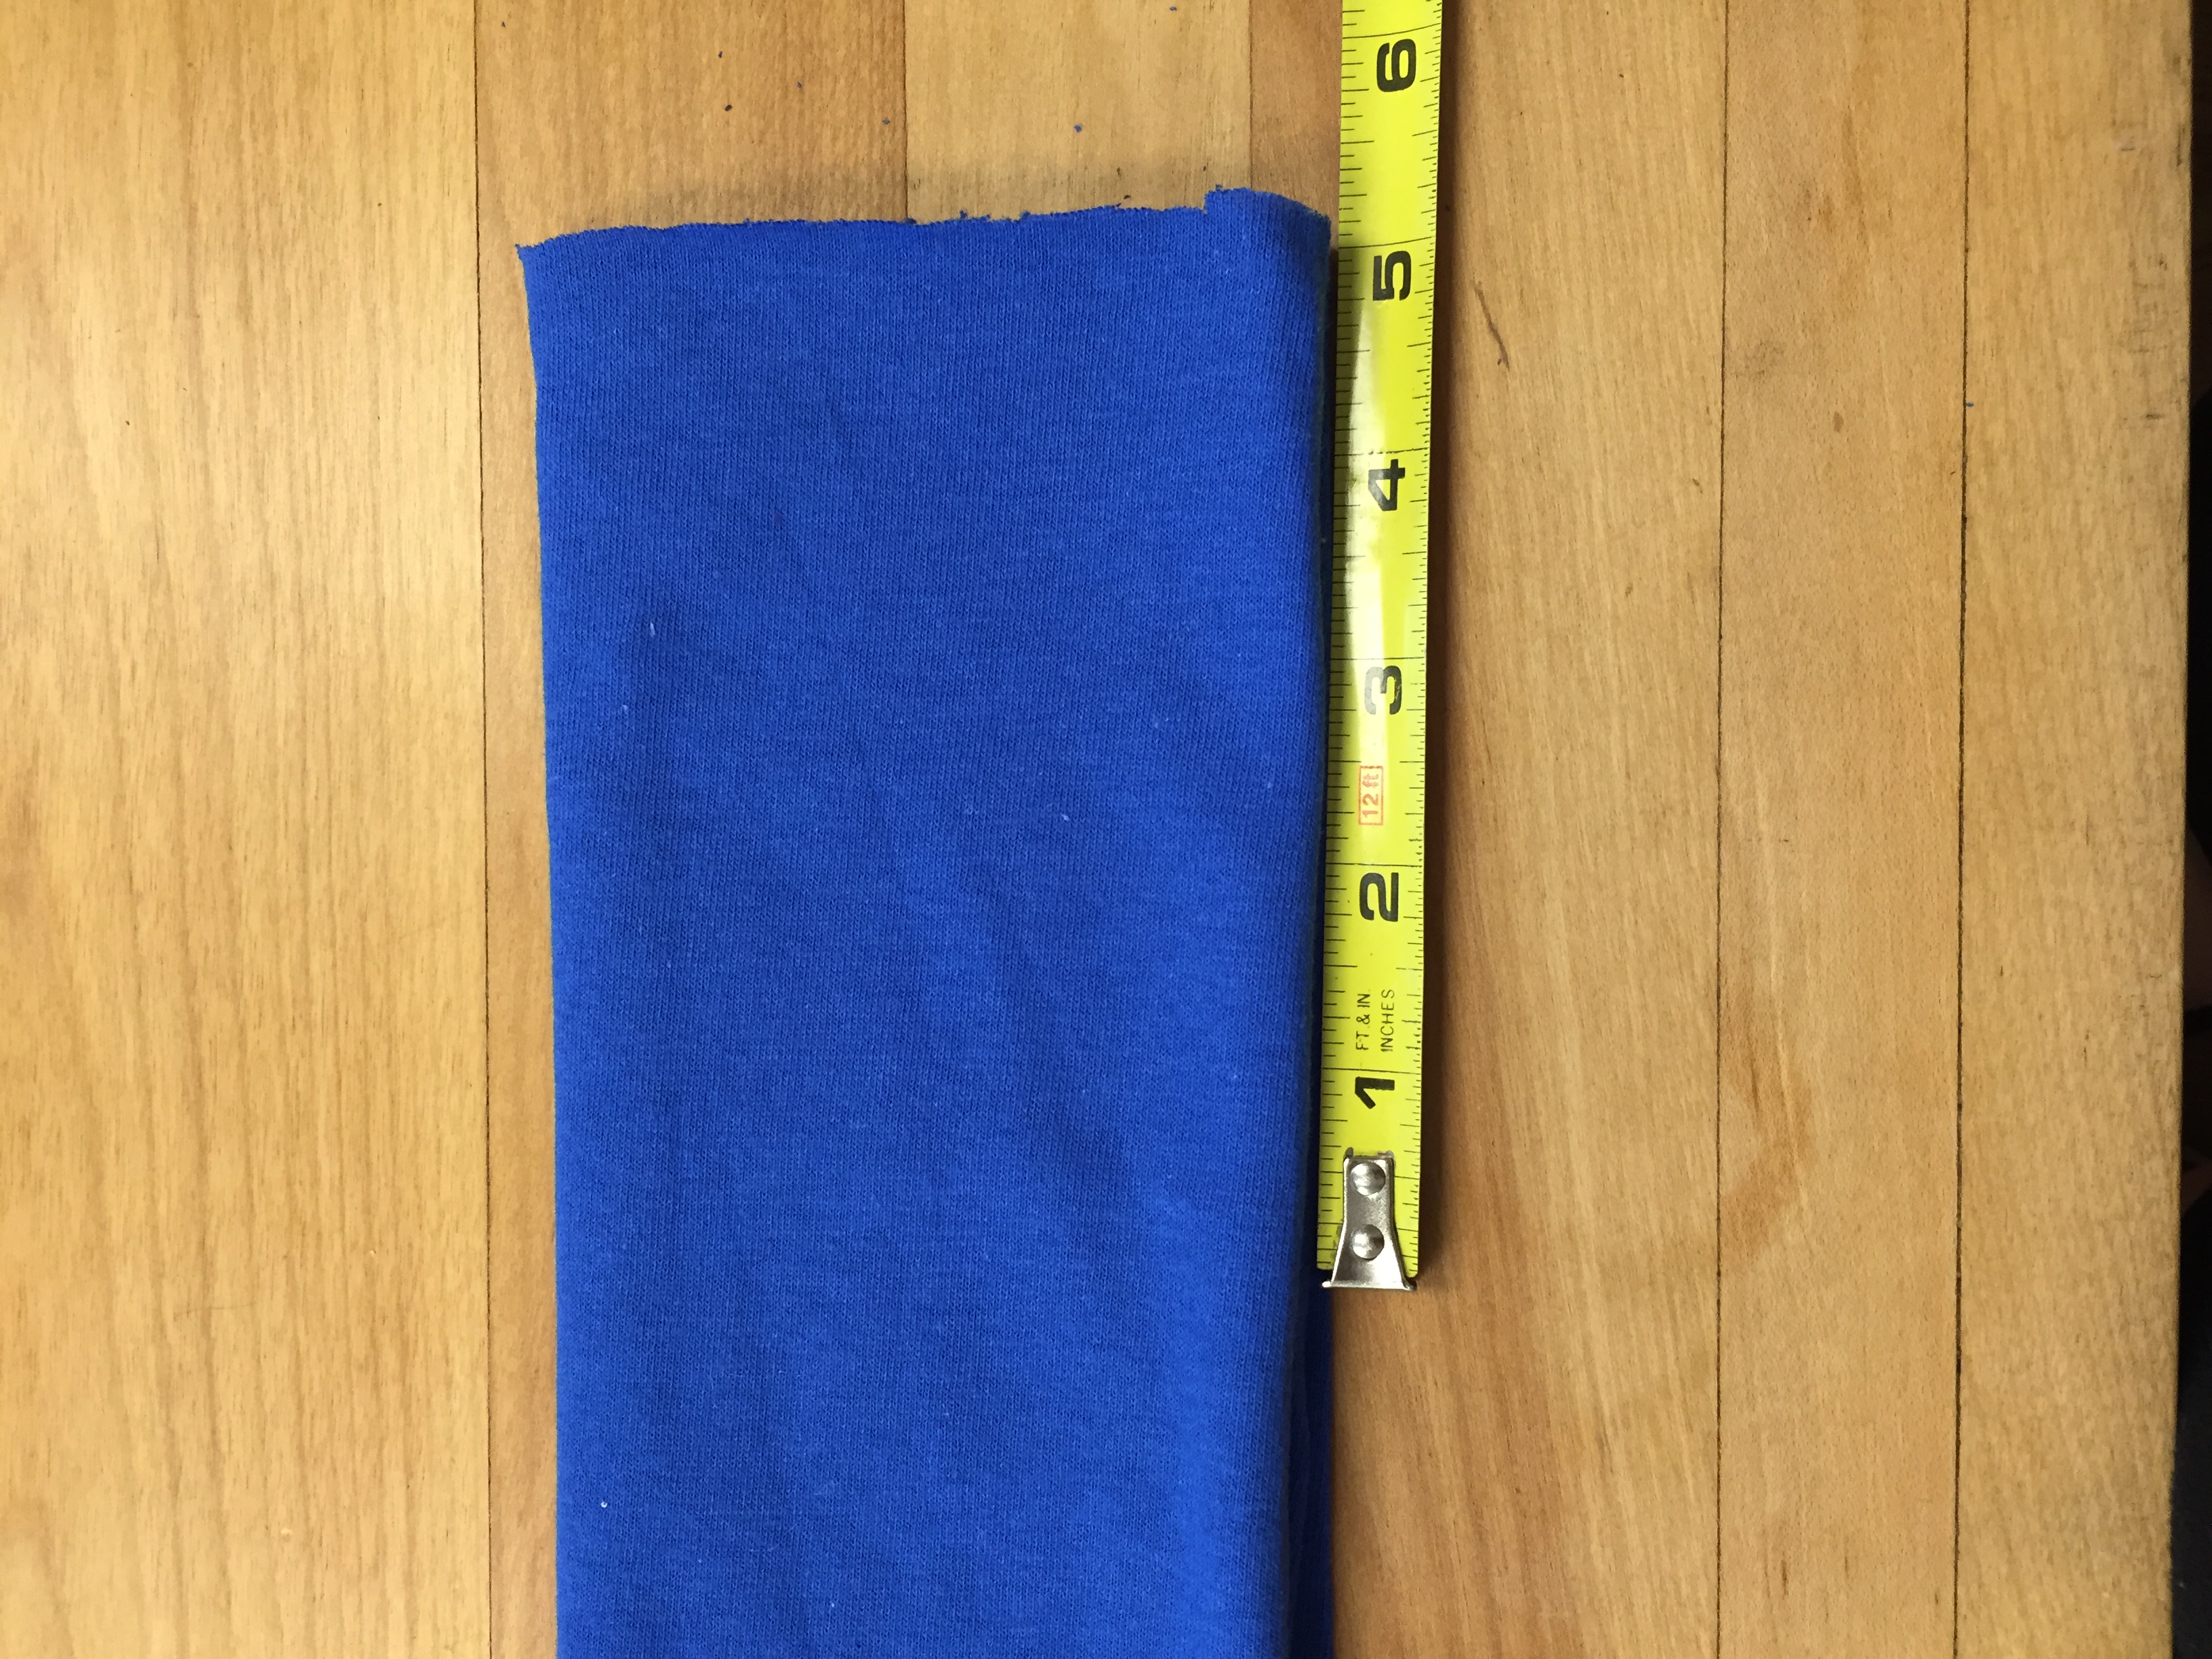
3.Now take your ruler/measuring tape and mark off 5 1” sections from the bottom of the shirt towards the collar. I folded the shirt a couple times, so that my cuts were more even for the next step.
4.Cut along the first mark from bottom to top. You could lay your ruler flat along the shirt and guide your scissors along that so that your cuts a more straight. Mine were not the straightest...but don't worry if yours aren't either!
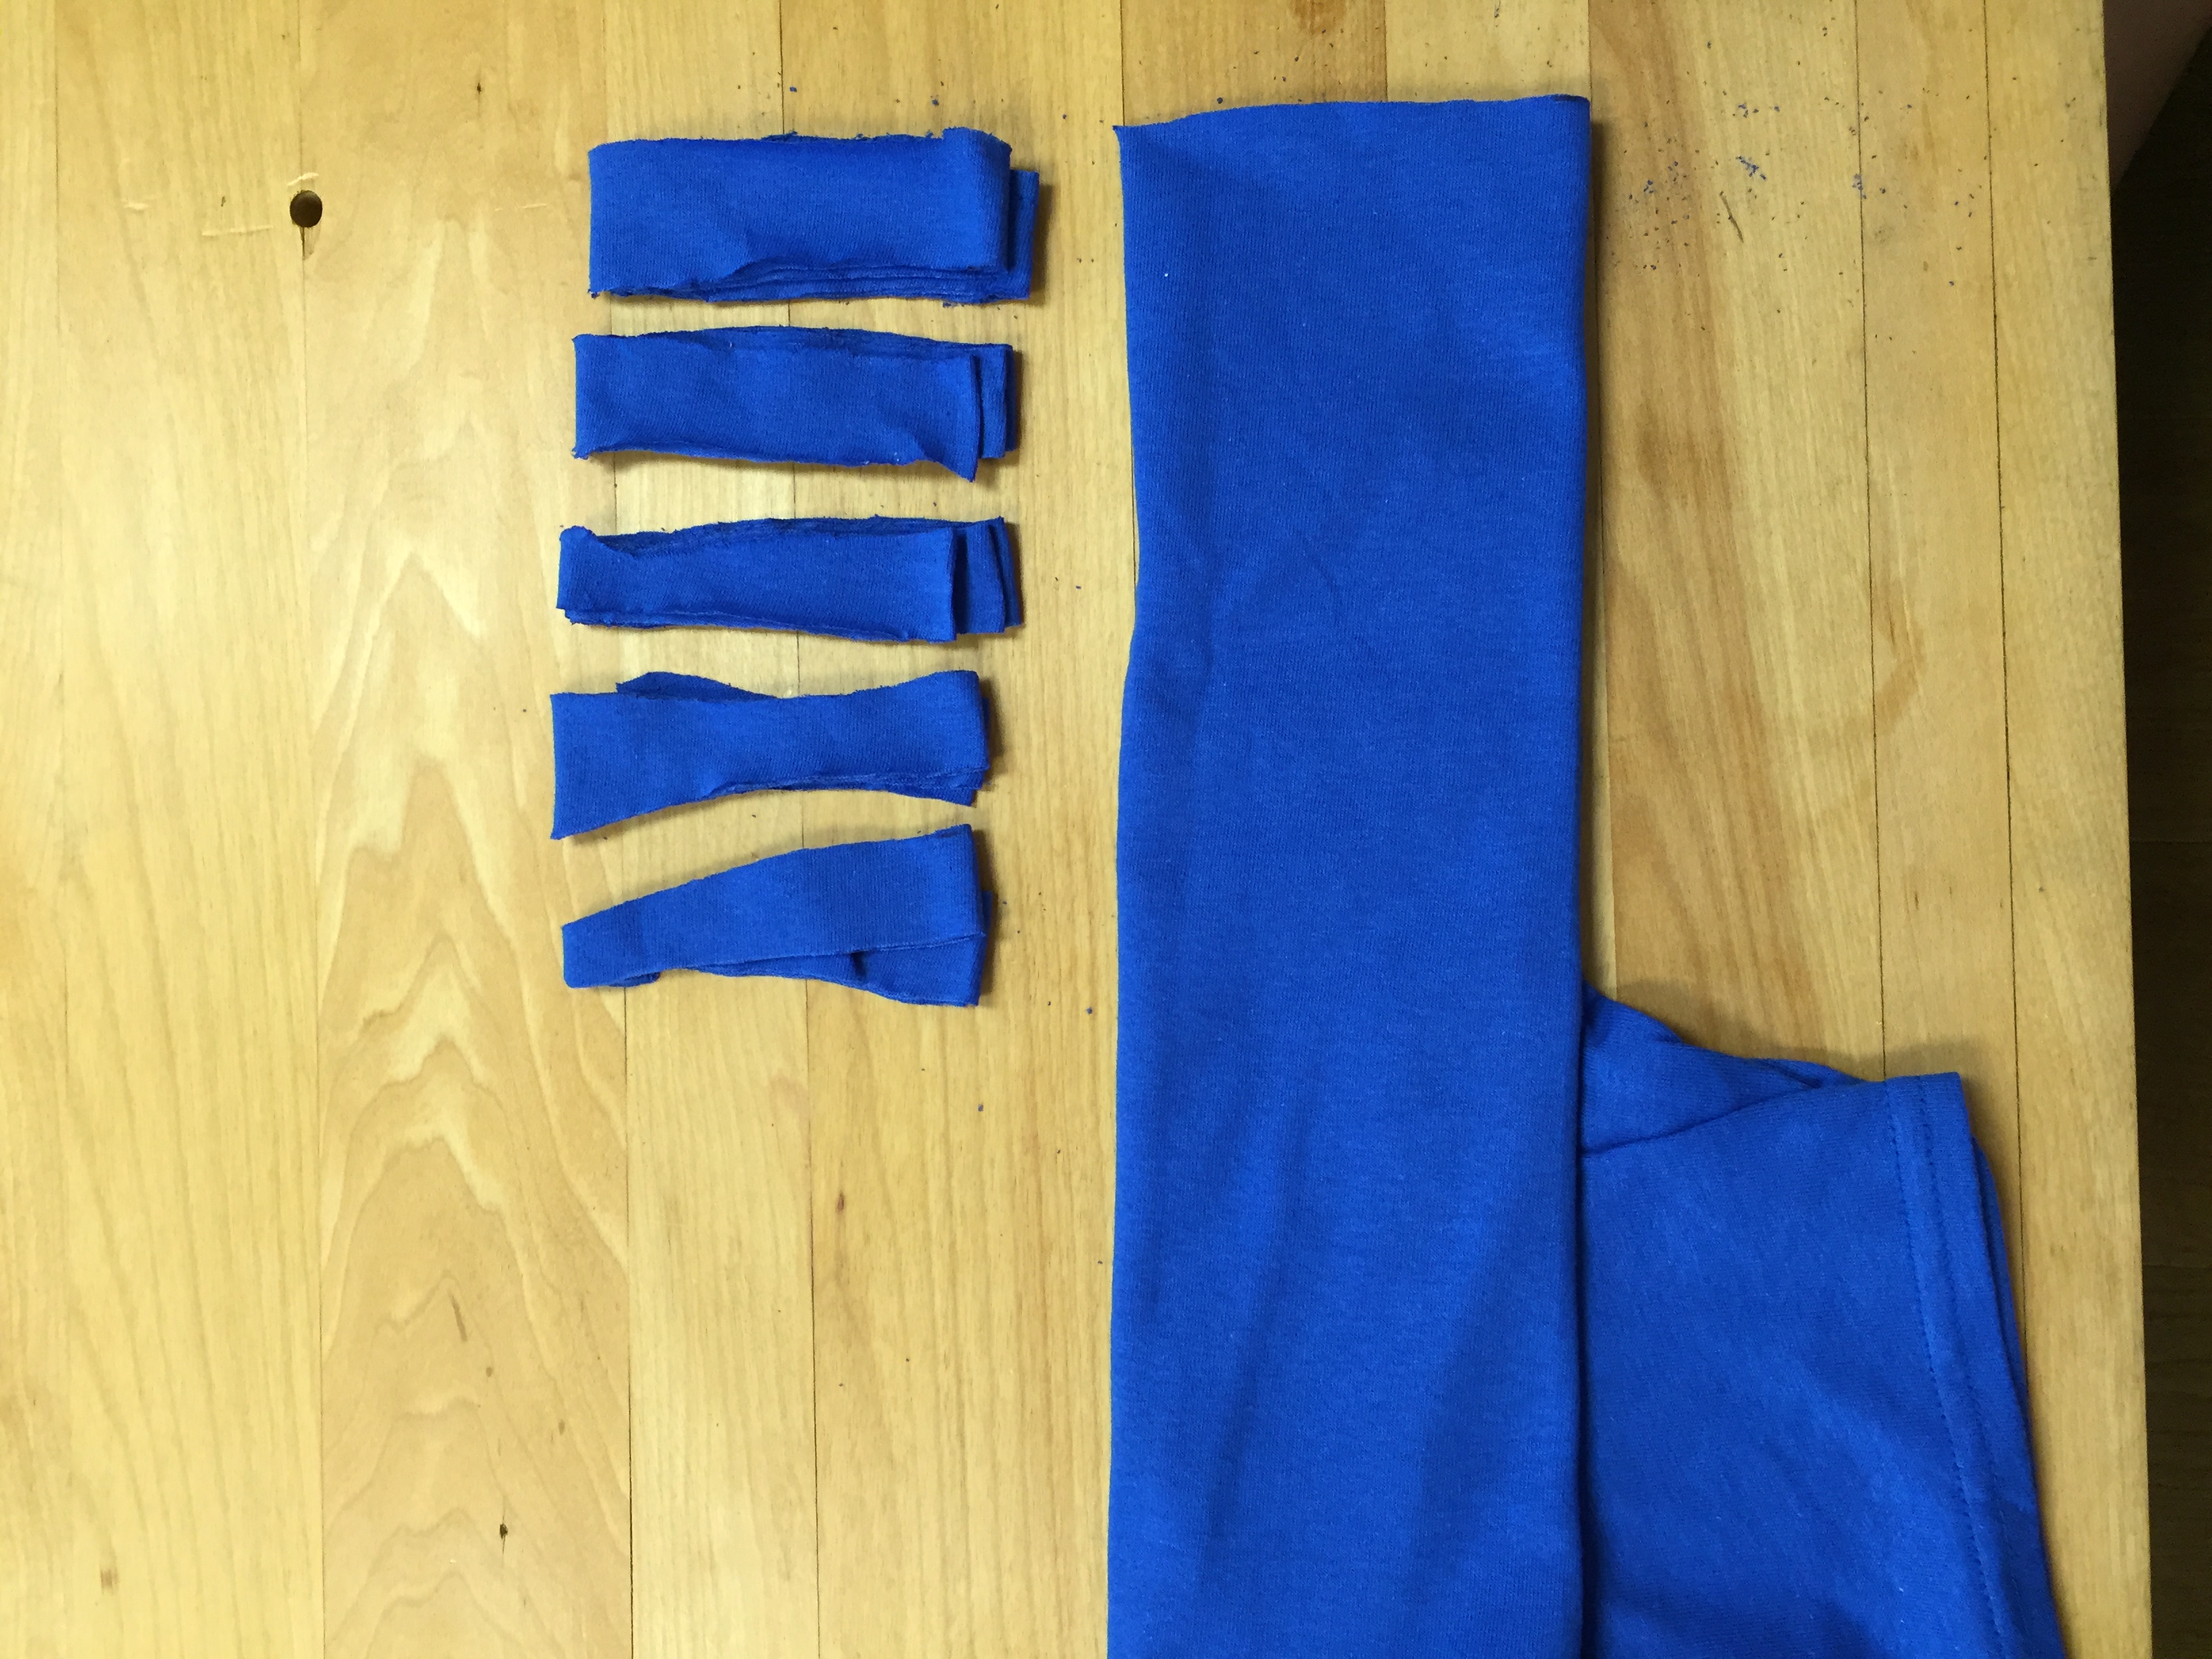
5.After you have finished cutting the first loop off the bottom of the shirt, go ahead and cut the other 4 out along the other markings you made.
6.Now that you have cut all five of the loops we need, you can put the rest of the shirt aside, we will not be needing that anymore! This is what my cuts looked like after the were all done.
7.Take one loop at a time and give them a couple little tugs. We don’t want the loops to be flat, we want them to curl in on themselves, like this:

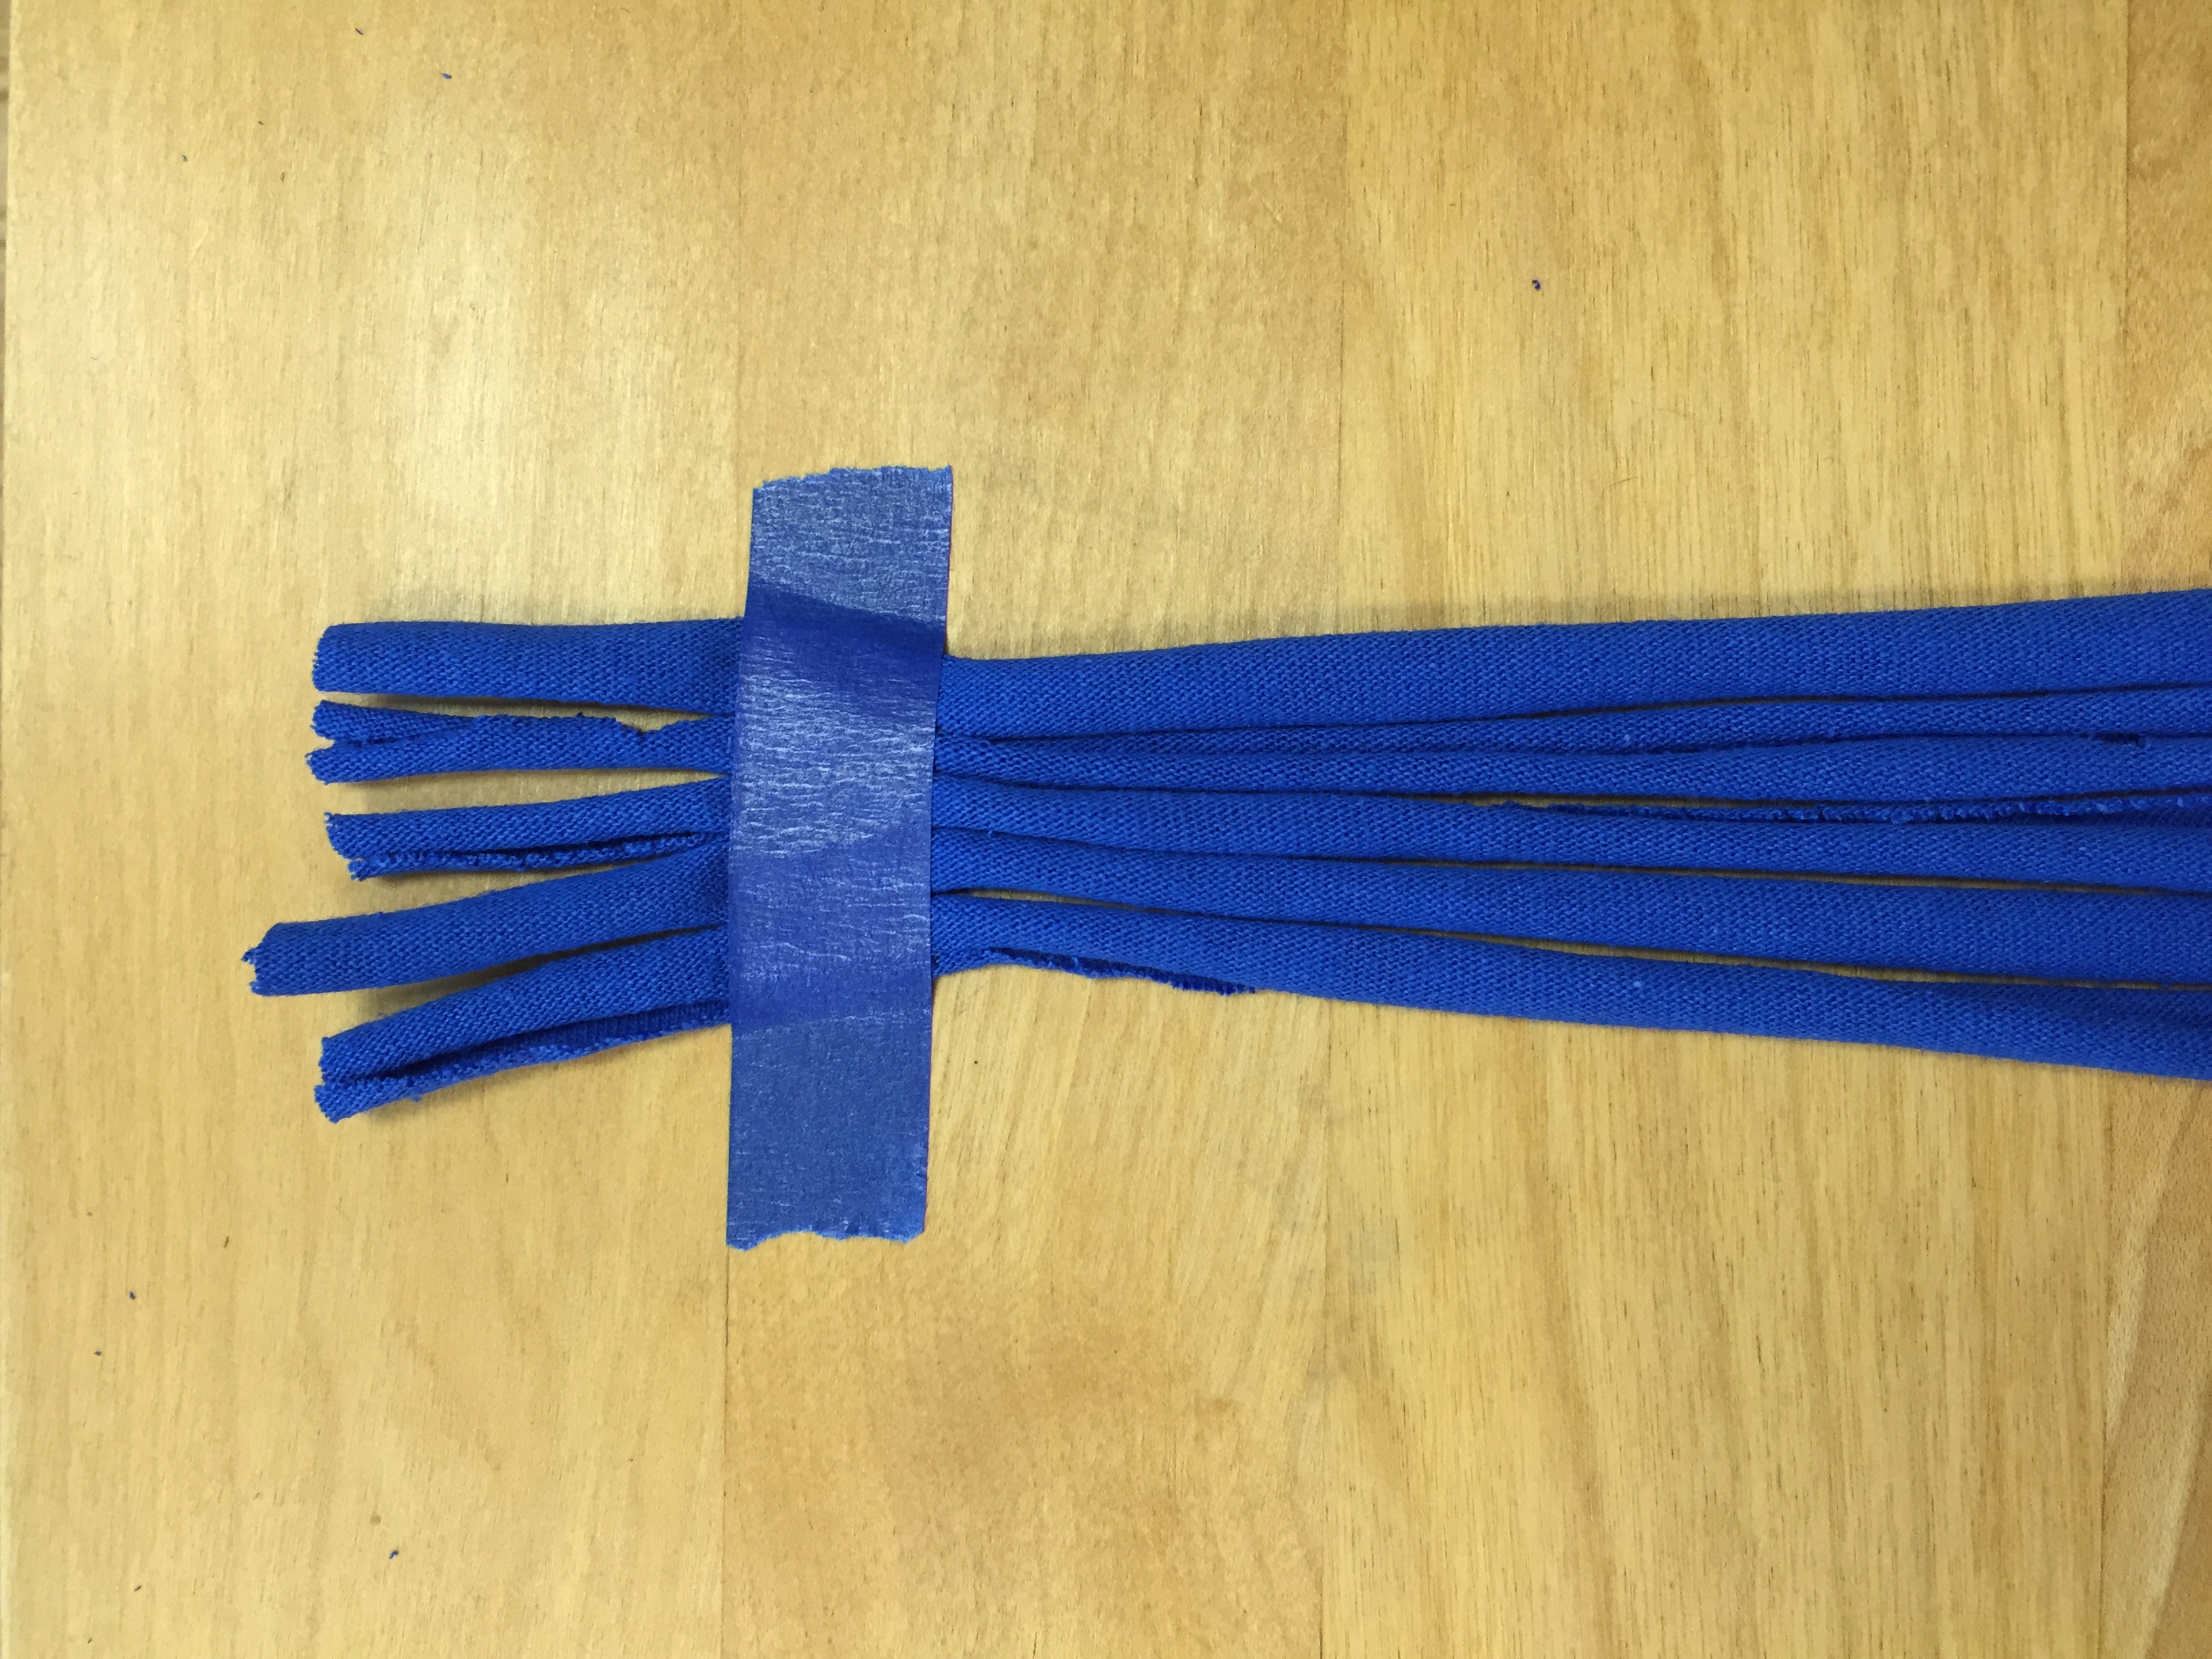
8.After you have tugged all 5 of your loops, take them all into your hand and make one cut half way through the loops to make five strands!
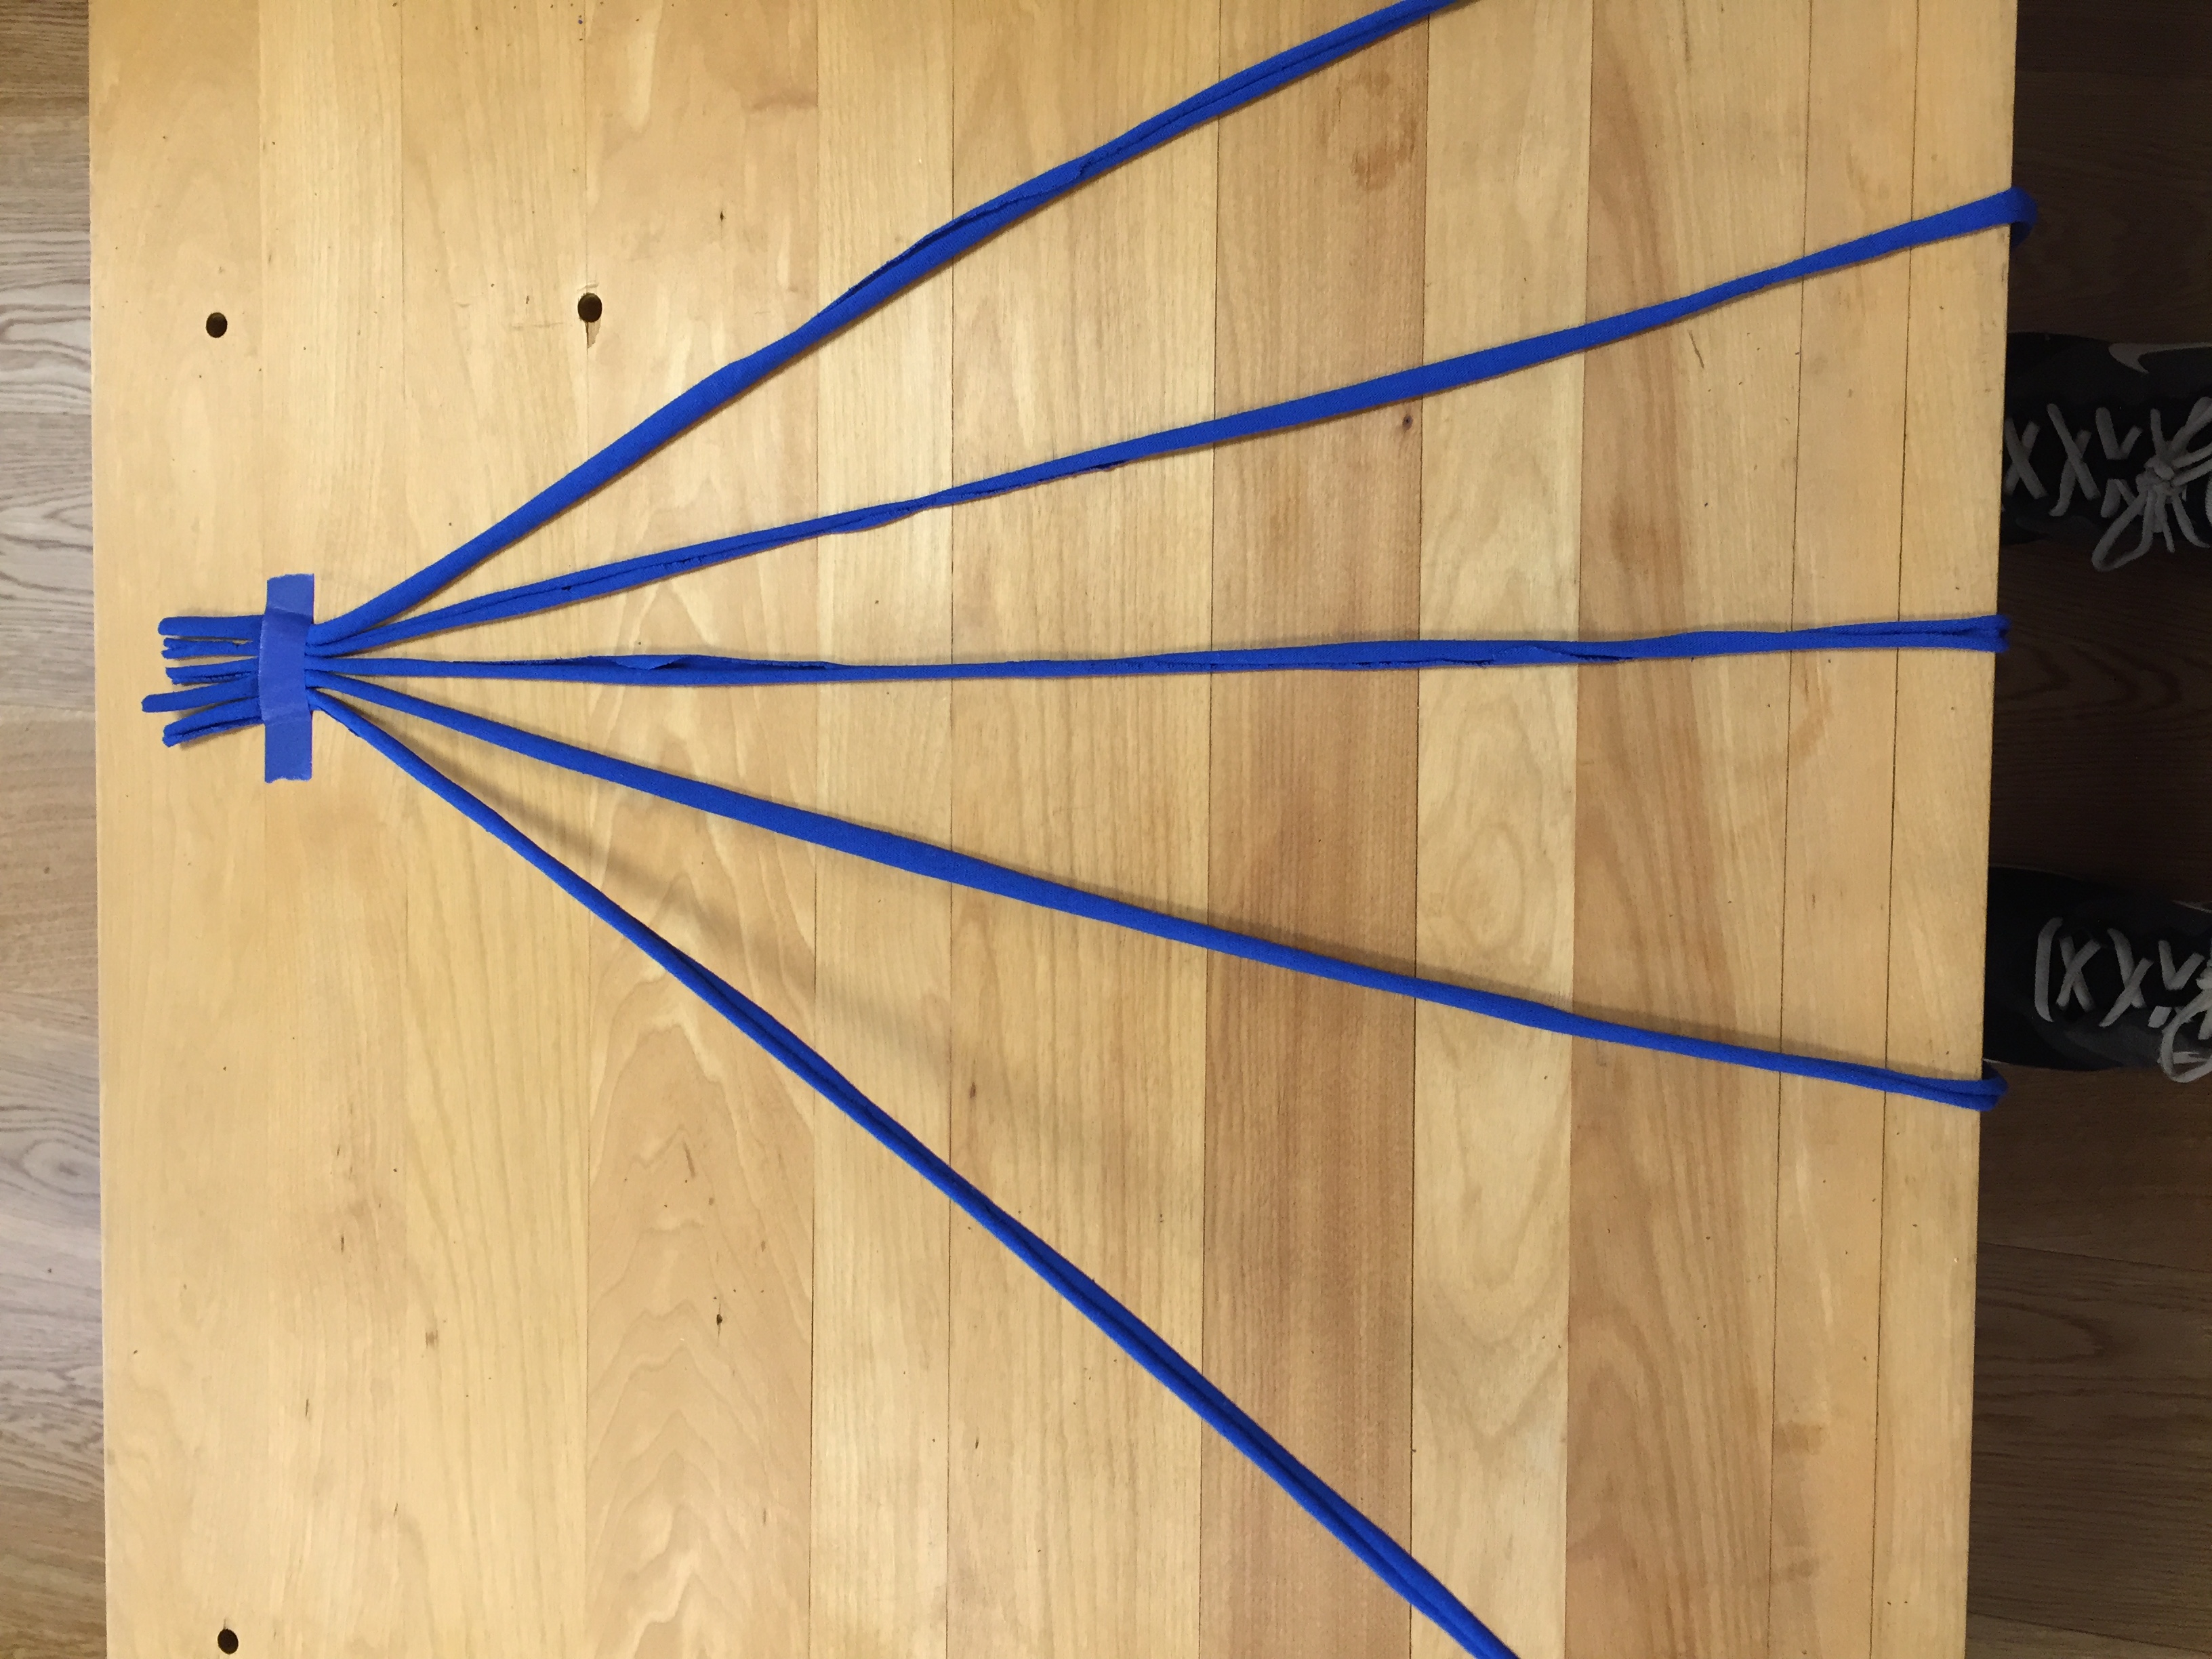
9. Lay out all of the strands onto a flat surface and tape them to it using one piece of tape.
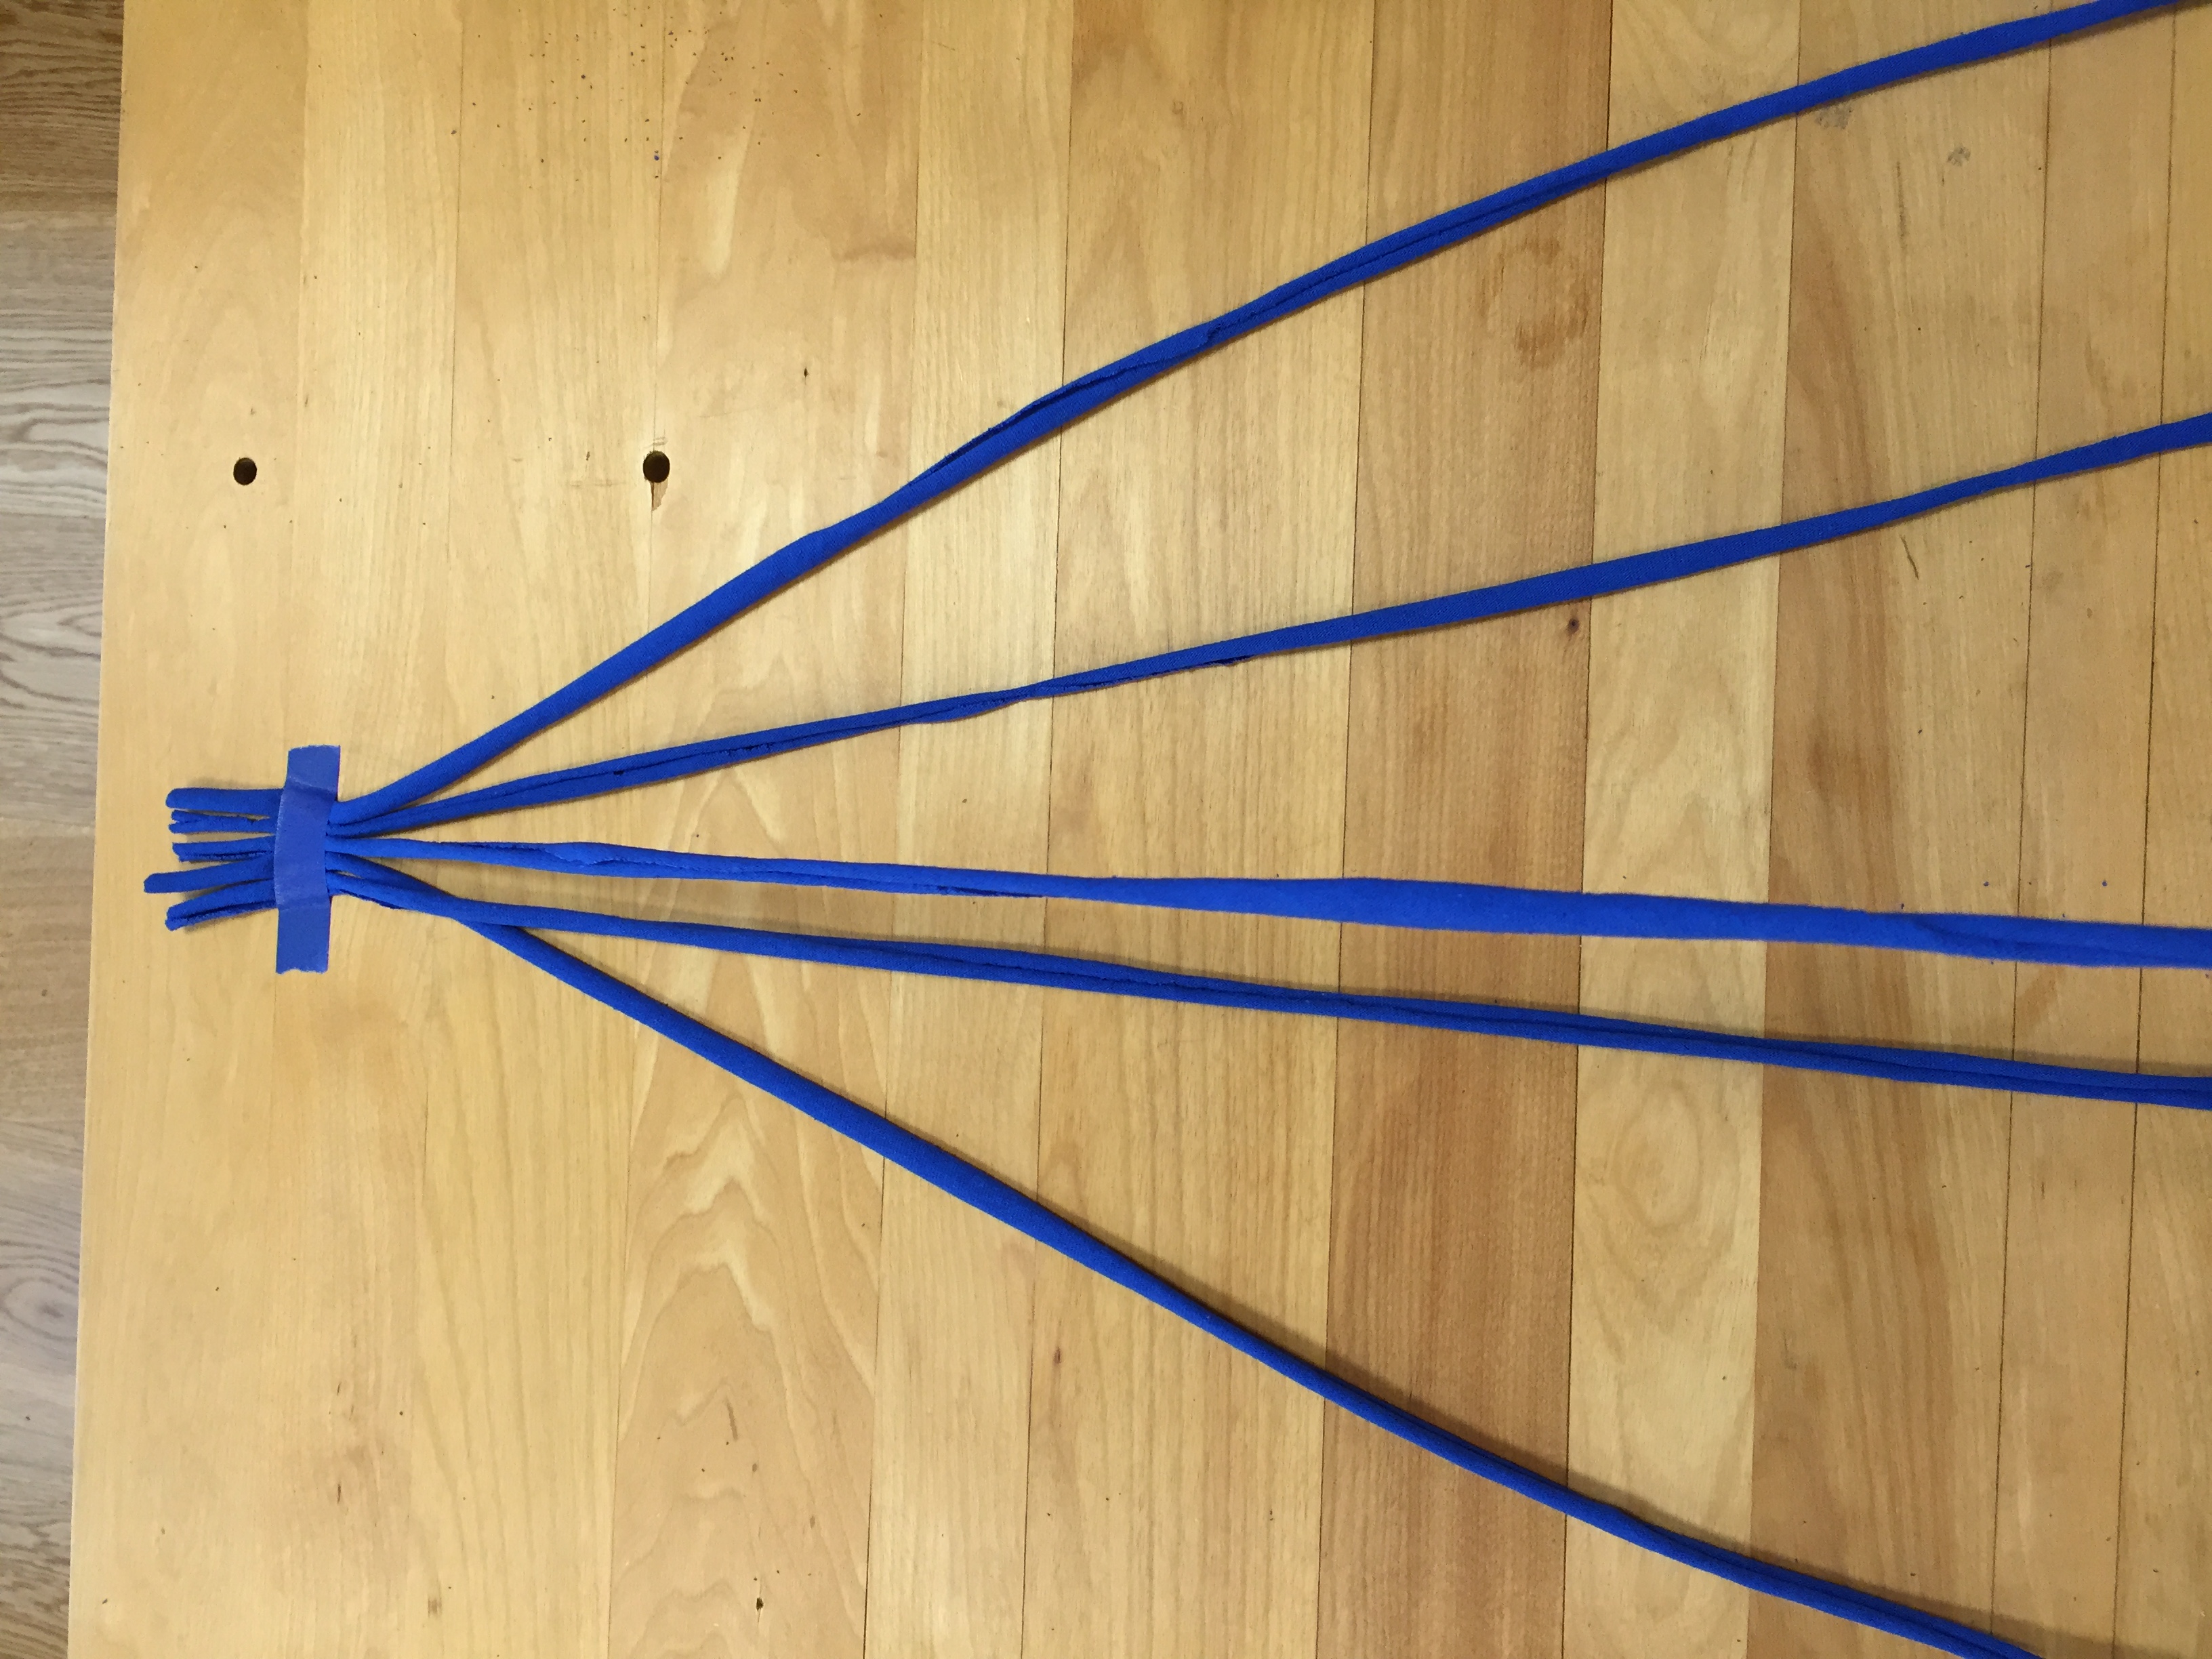
10. Lay them out so they are all separated. Now, take the strand furthest to the left and move it across and over one strand over to the right.
11.Then take the middle strand and move it across and one over to the left.
12.I found it best to adjust the strands closer to the top so that they braid evenly, so I did this after every 2 moves.
13.Now, we will do the same thing on the right.
14.Take the furthest right strand and move it across and one over to the left.
15.Take the middle strand and move it across and one over to the left. Then adjust them so that the braid is tight.
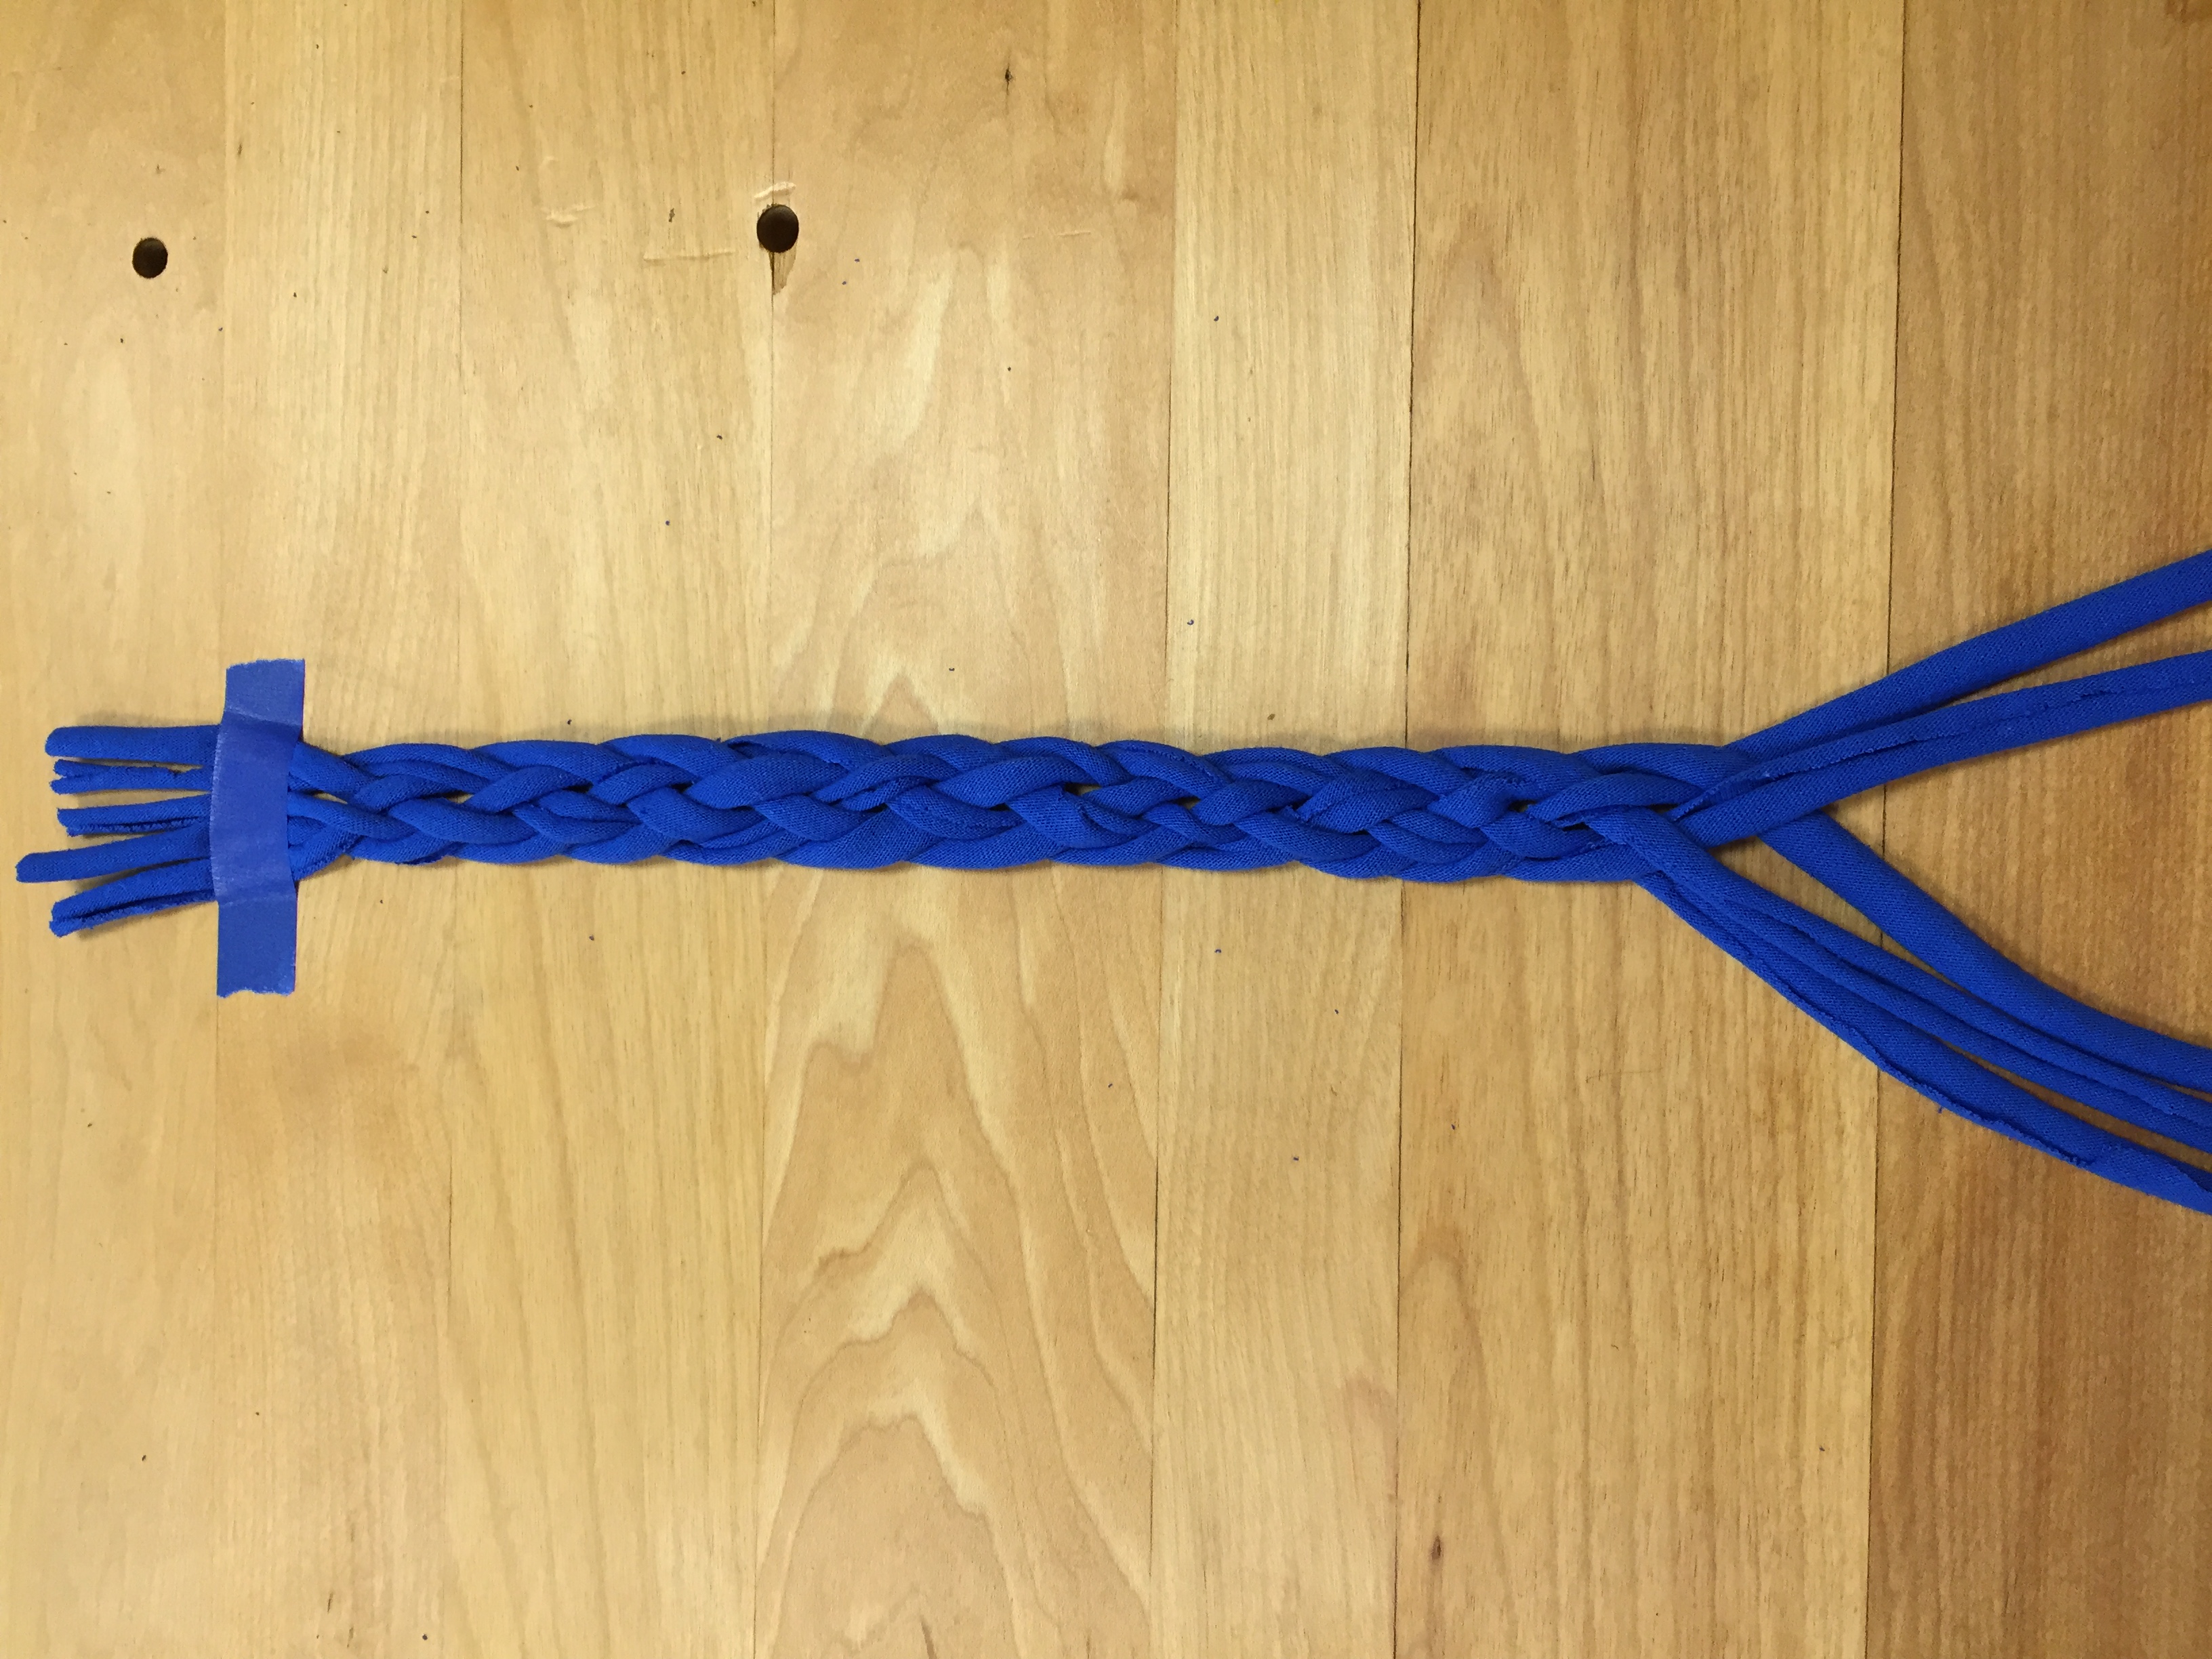
16. Now keep repeating this until you get all the way do to the bottom. Or near the bottom.
17. I'm halfway there! This is what it should look like, or close to!
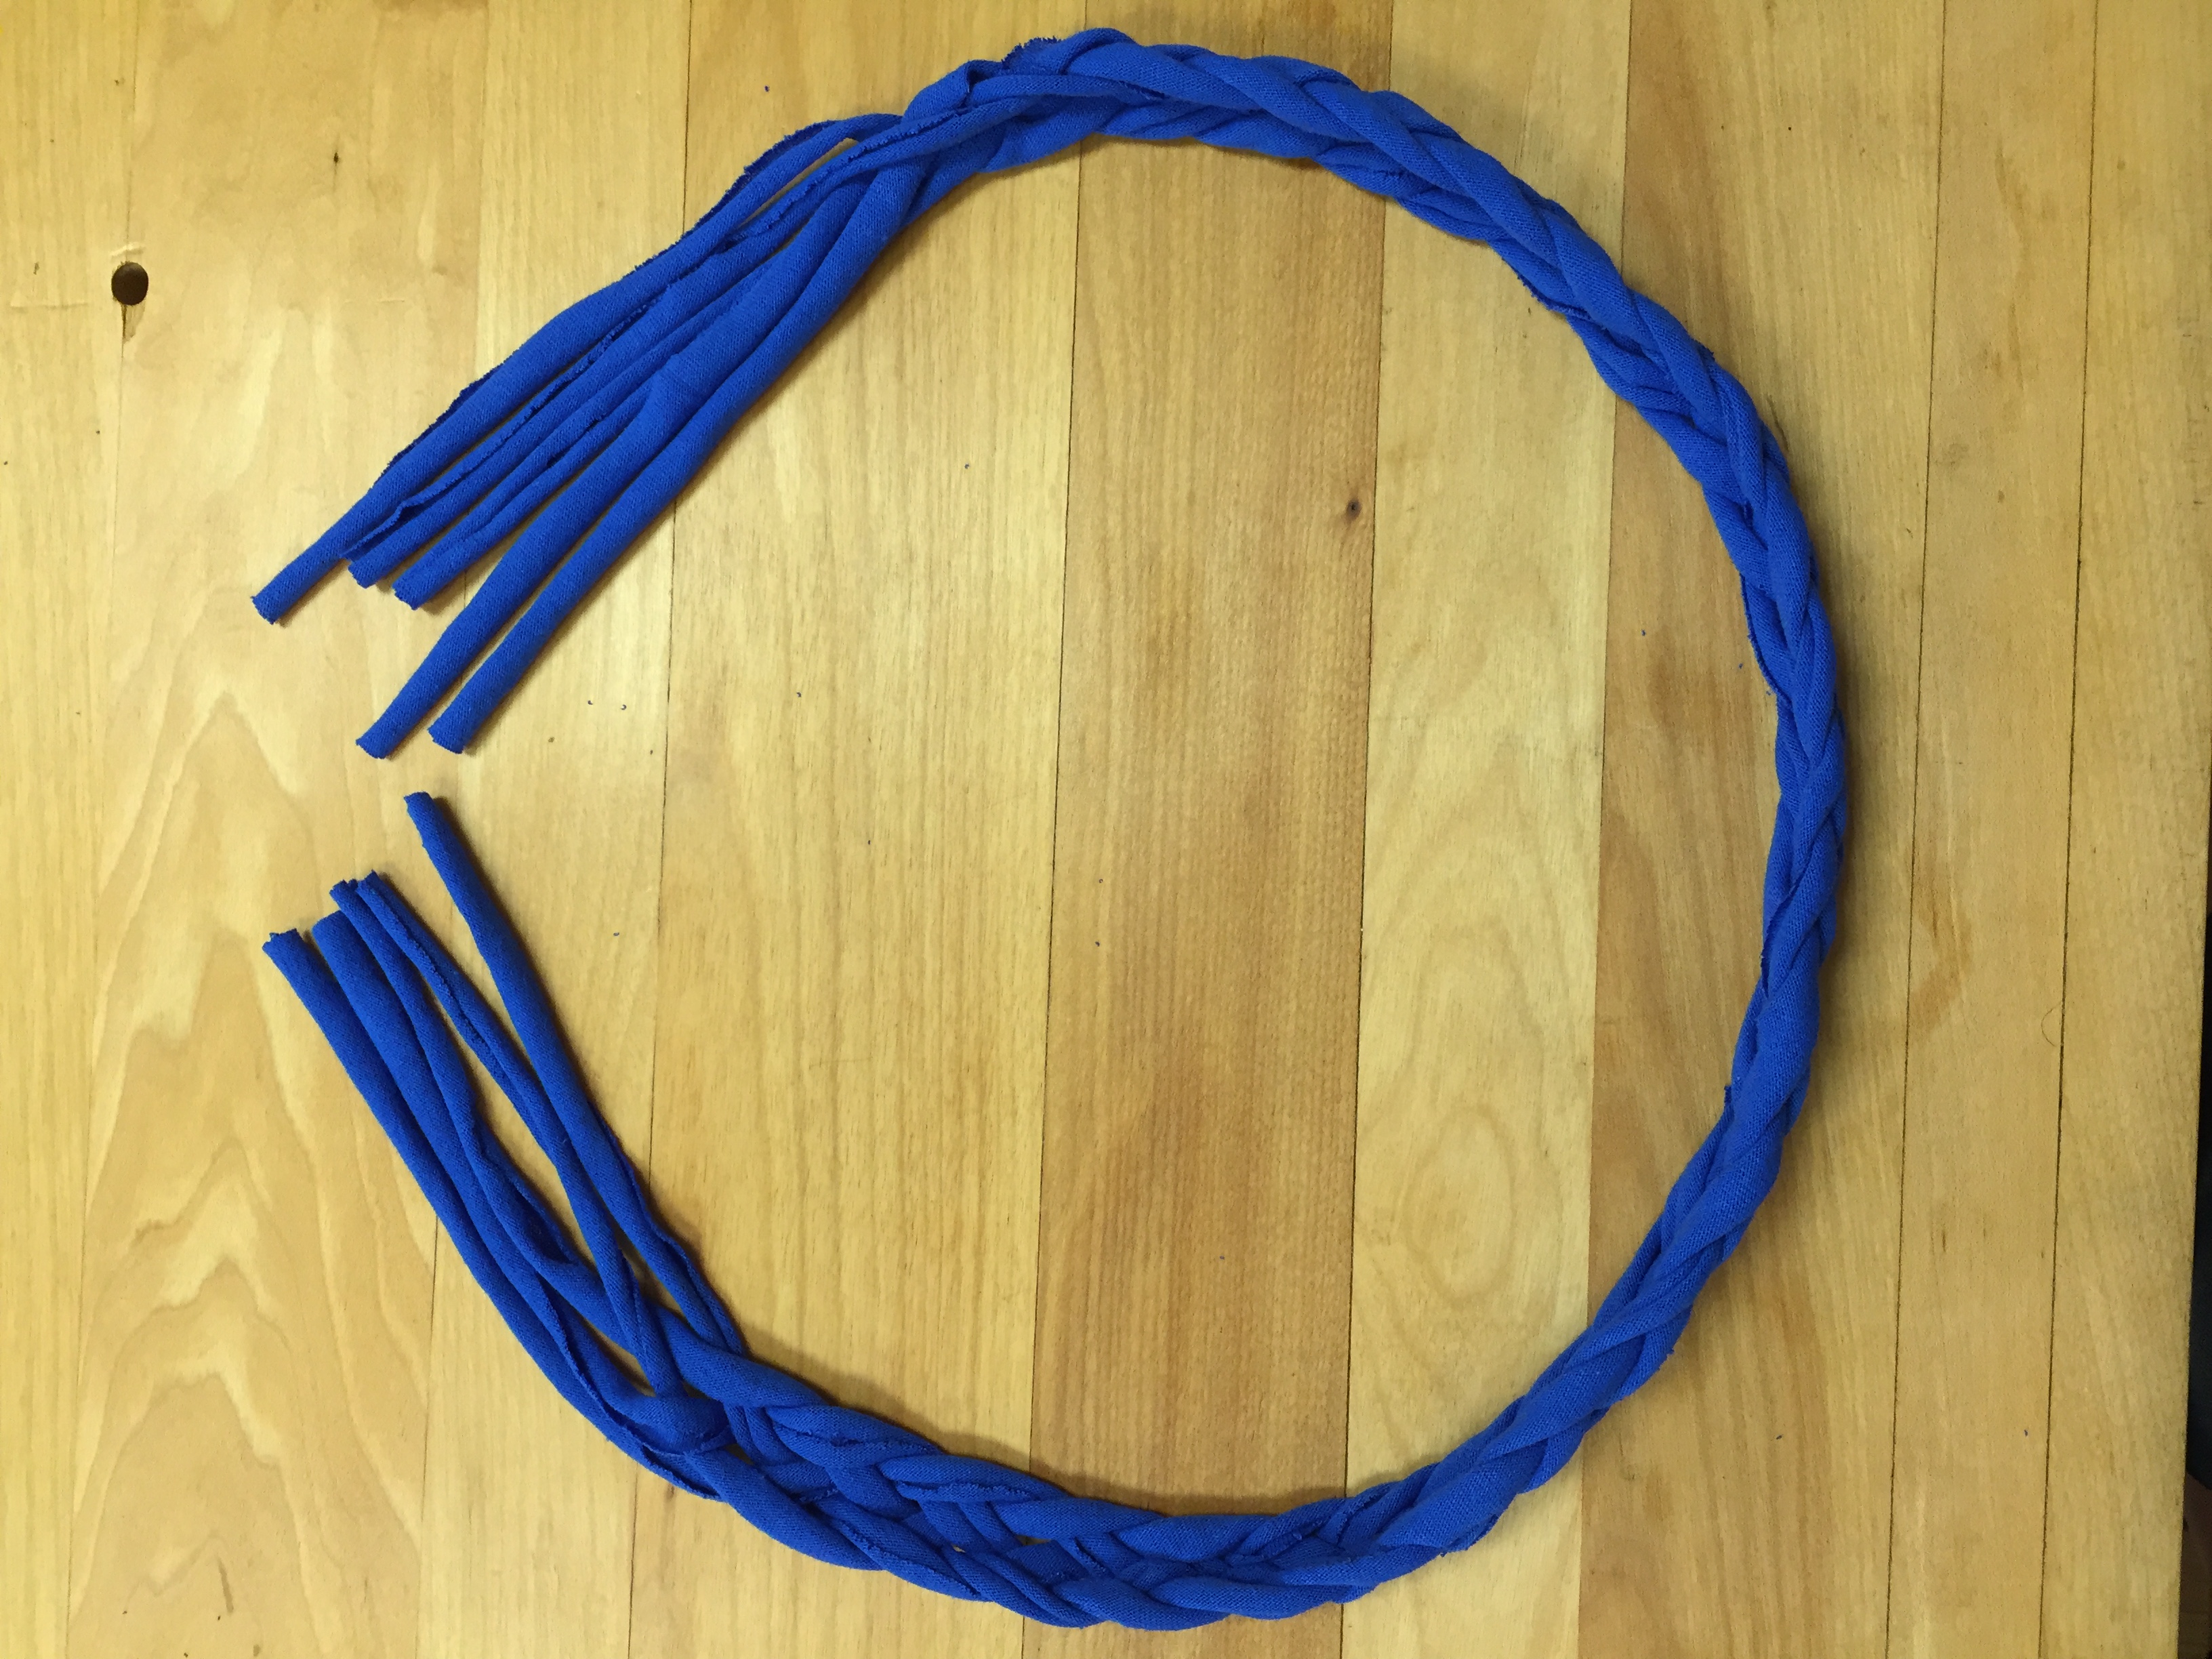
18. Once you feel you have a long braid you can check in and measure it around your head. Once you feel like it is long enough to fit around your head you can remove the tape.
19. Leave about one inch or unbraided strand at either end so that you can tie the two ends together.
20. Grab the ends and put them near each other, making sure that the band itself isn't wrapped around itself.
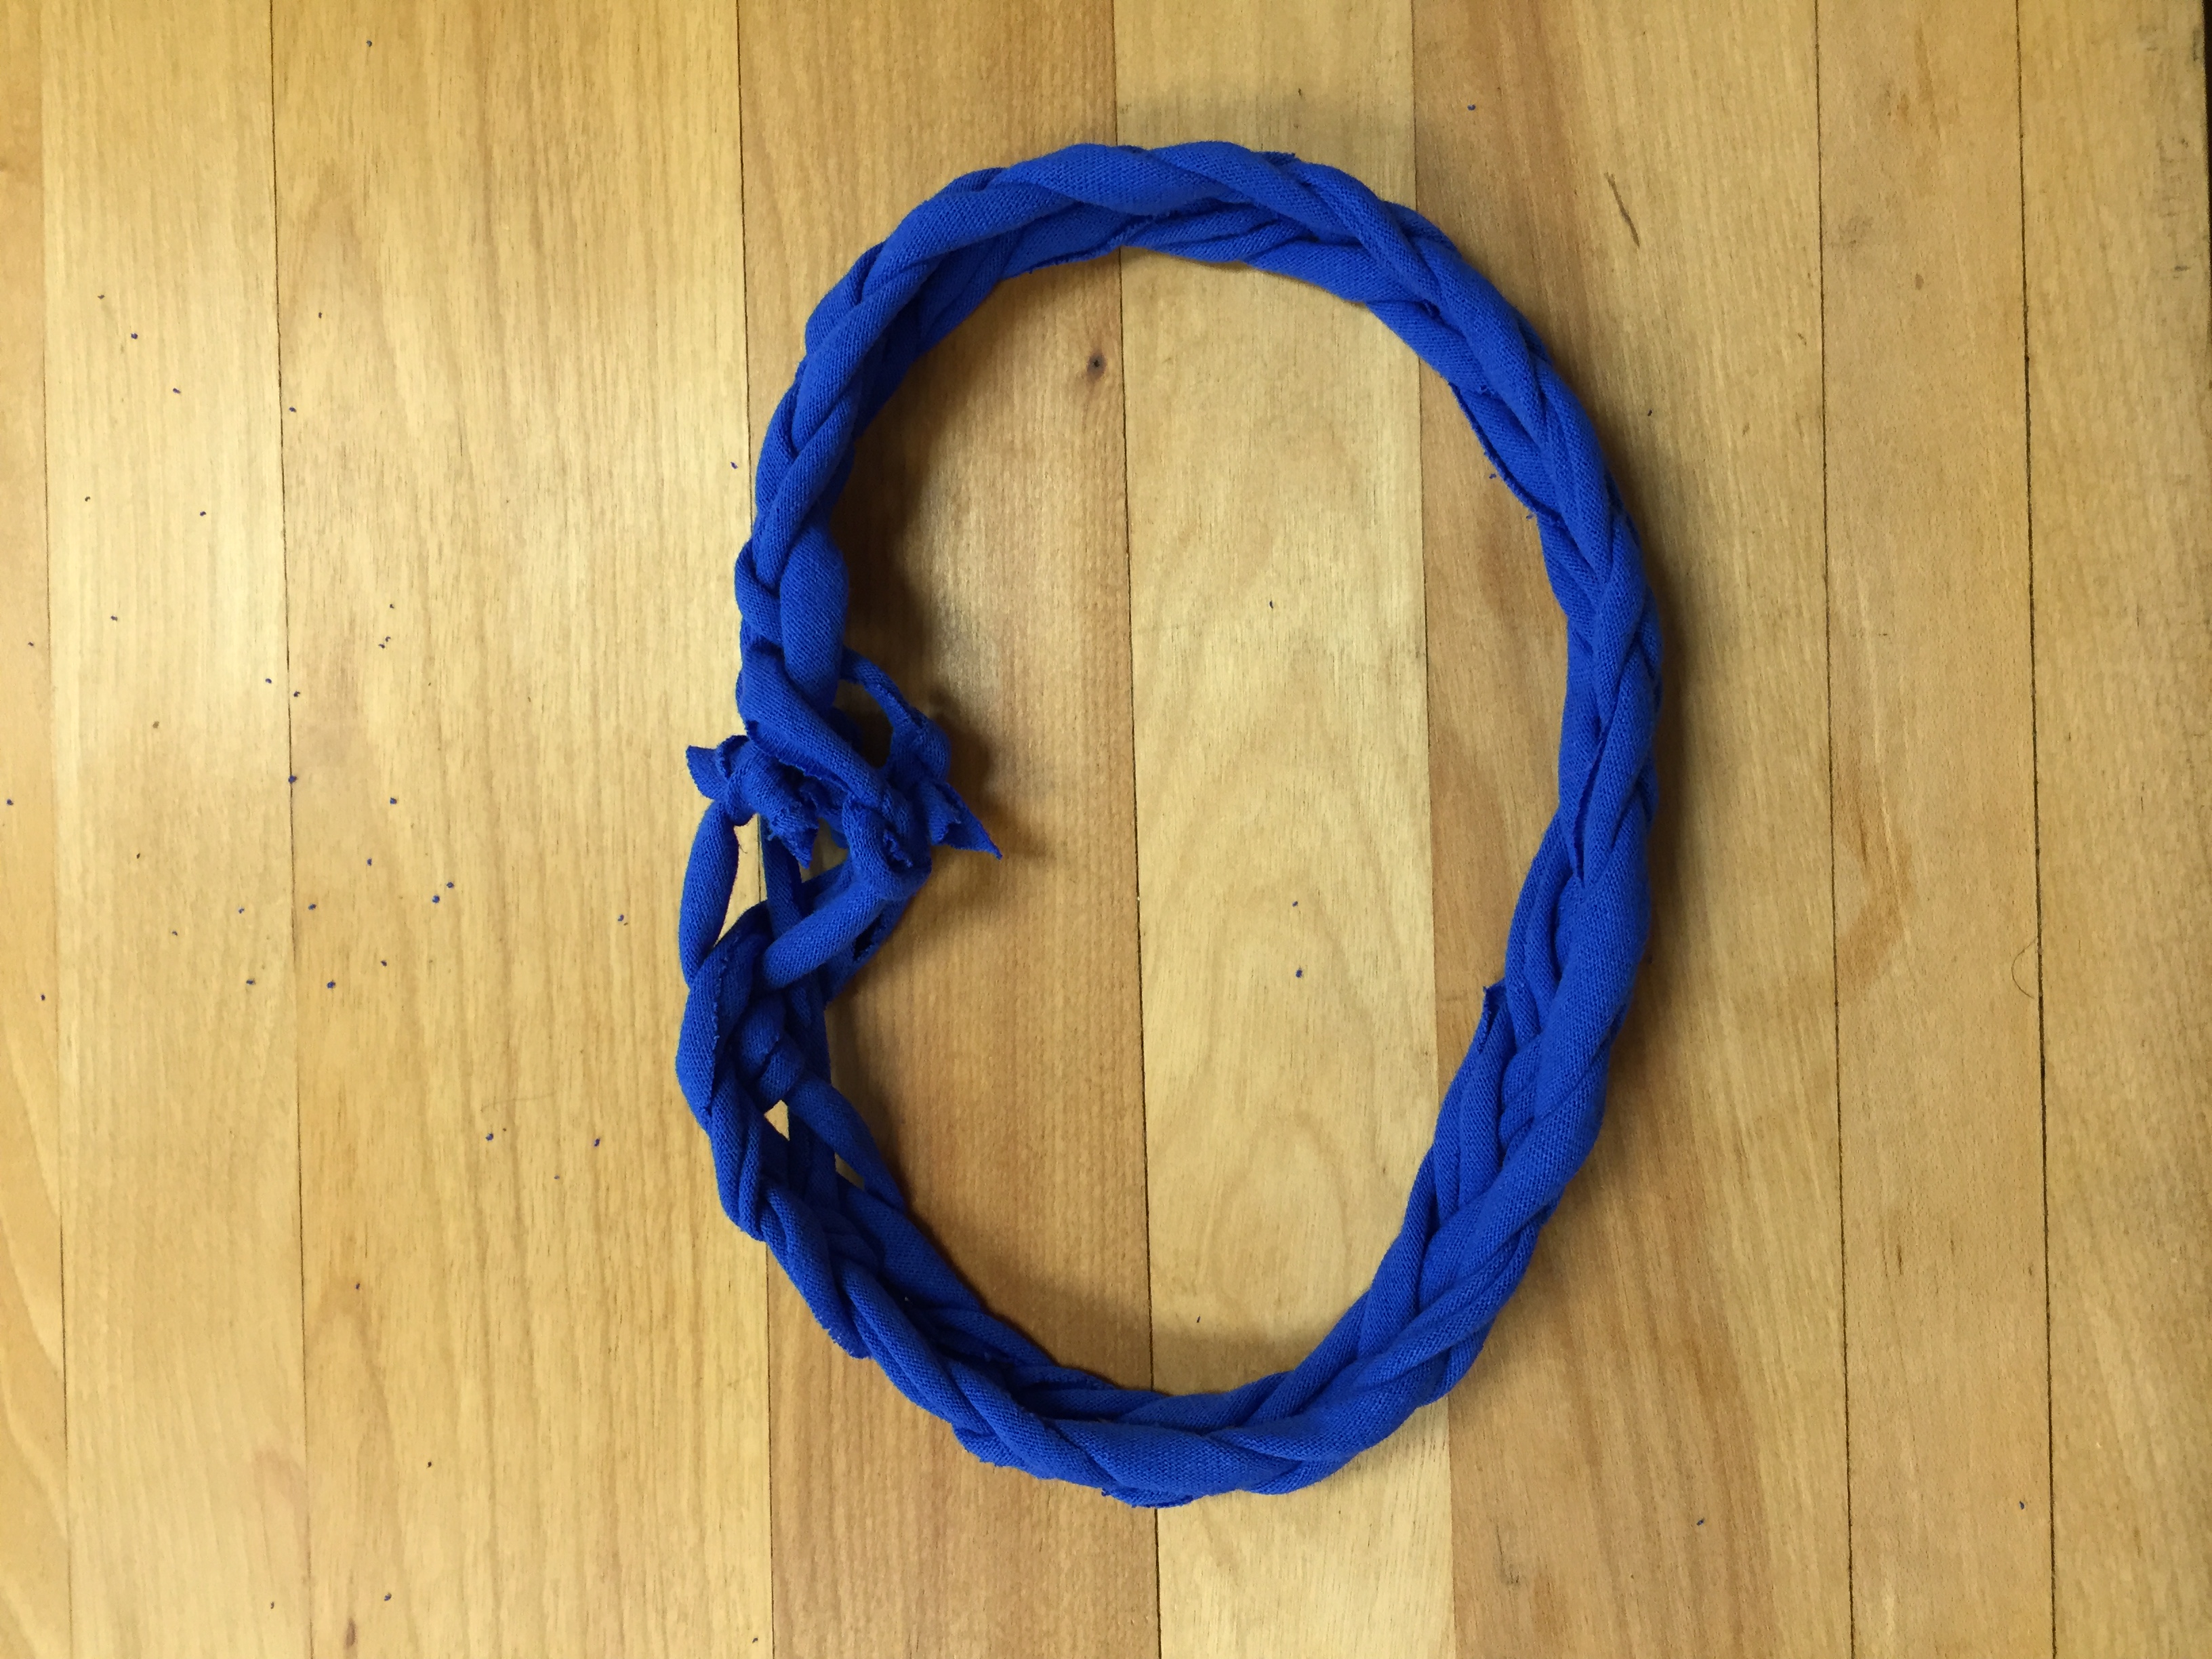
21. Tie one end of one side to another end of the other side so that they can be tied together. A double knot worked for me, and it is best to cut off the ends of the knots so that you don't have a tangle of ends to confuse you!
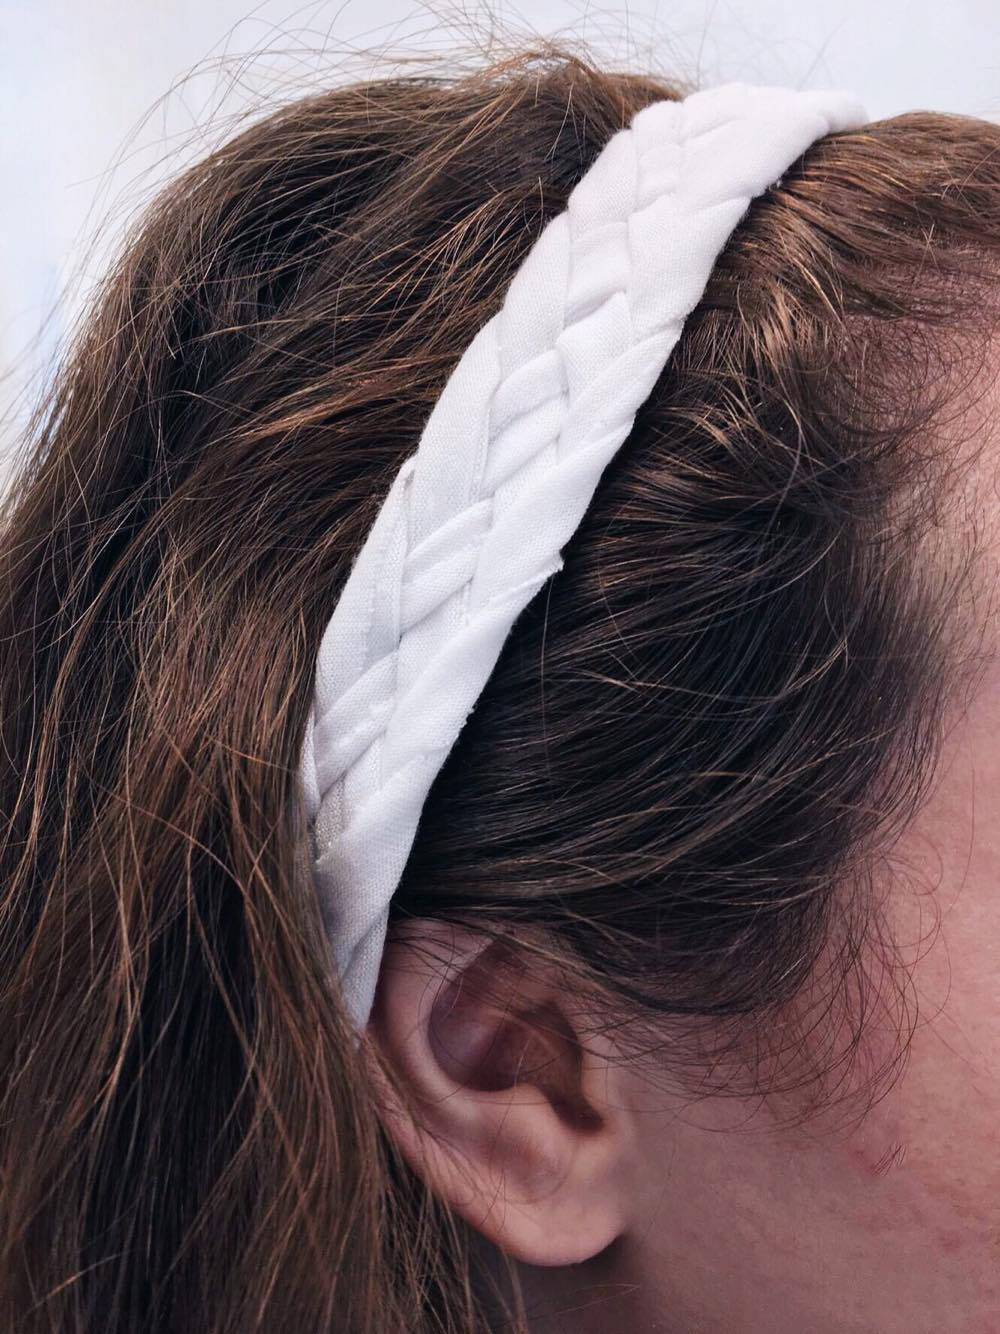
22. Keep tying the ends together until you have none left, and your band is fully joined and is a complete circle!
23. Technically you are done!! I found the rough double knots not the most attractive, but if it doesn't bother you then you are done your headband, good work!
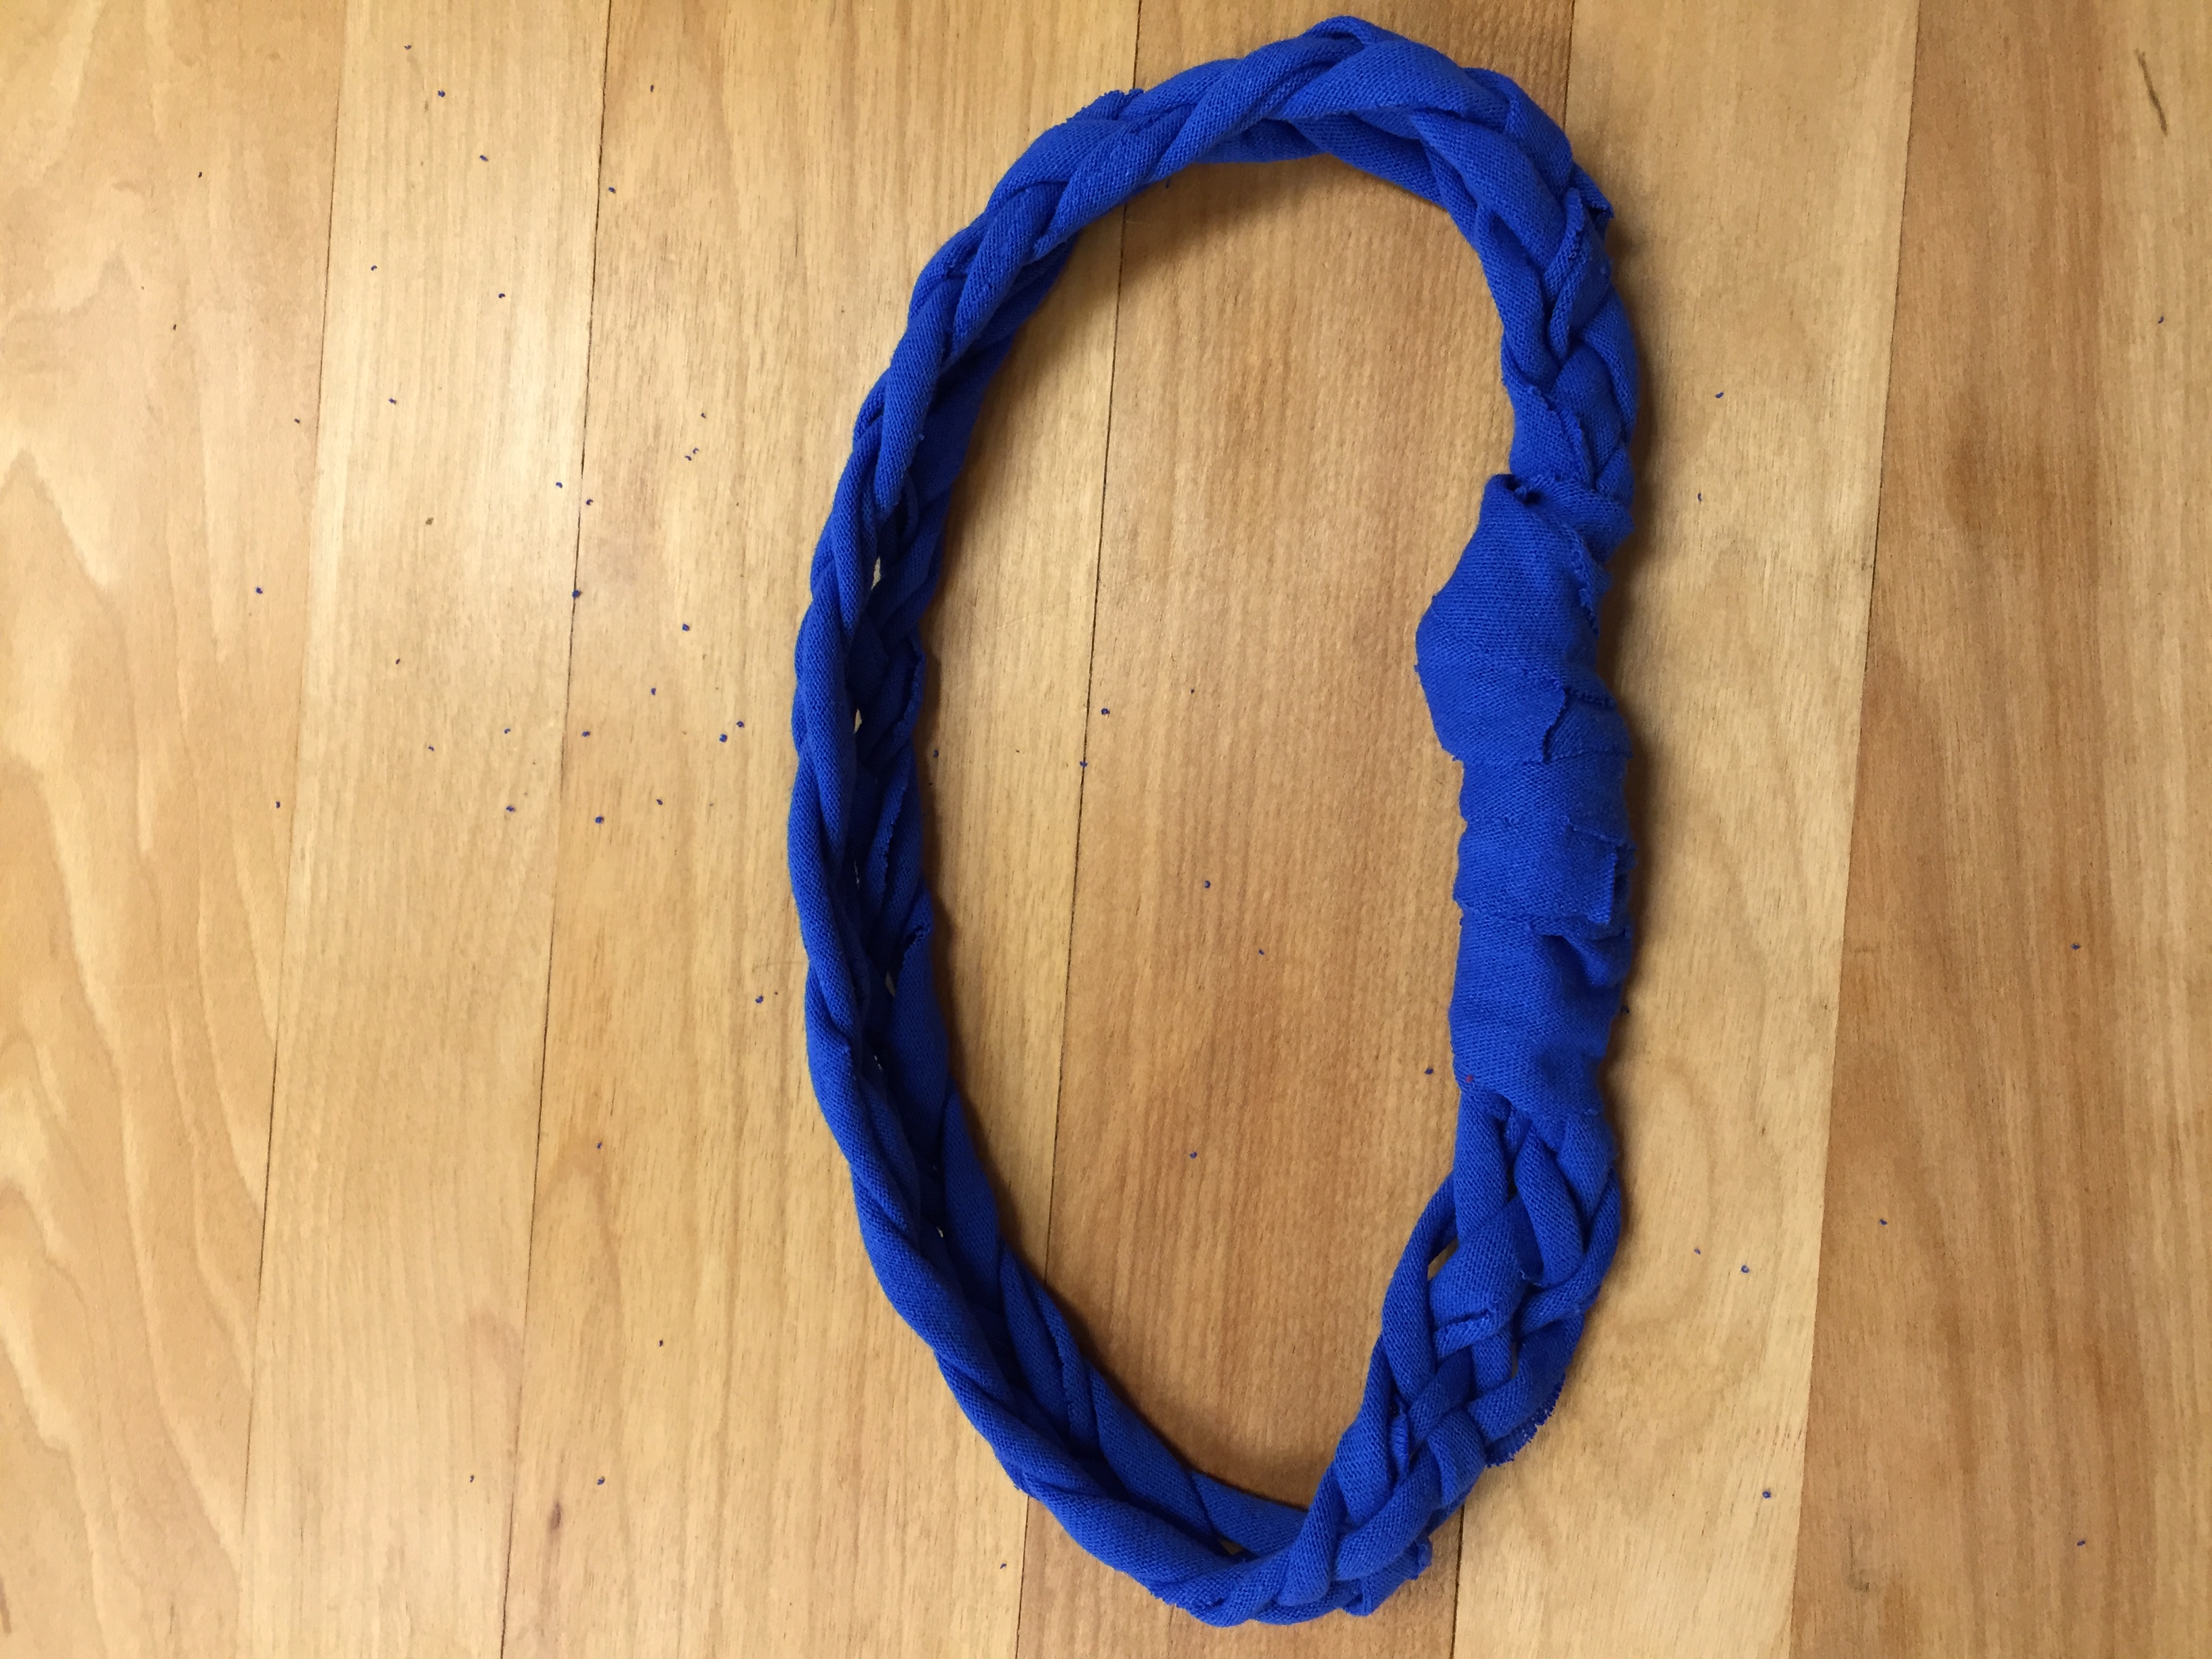
24. If you find there are bothering you, I took the scraps that I cut off of the ends and wrapped them around the knots and tucked them in. This created a cleaner finish that I was looking for.
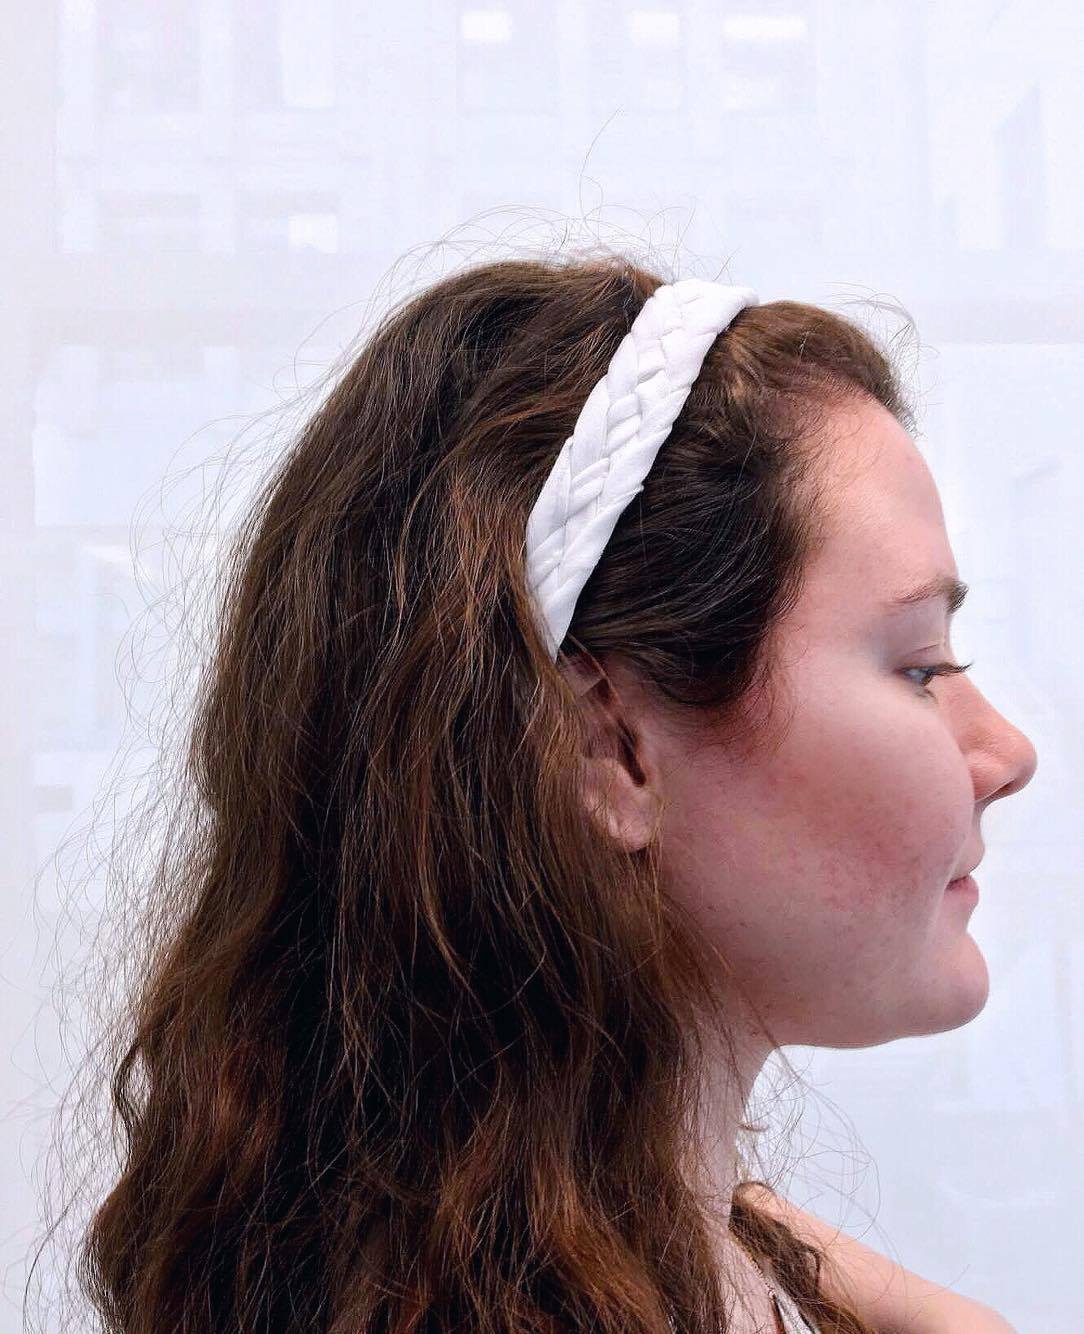
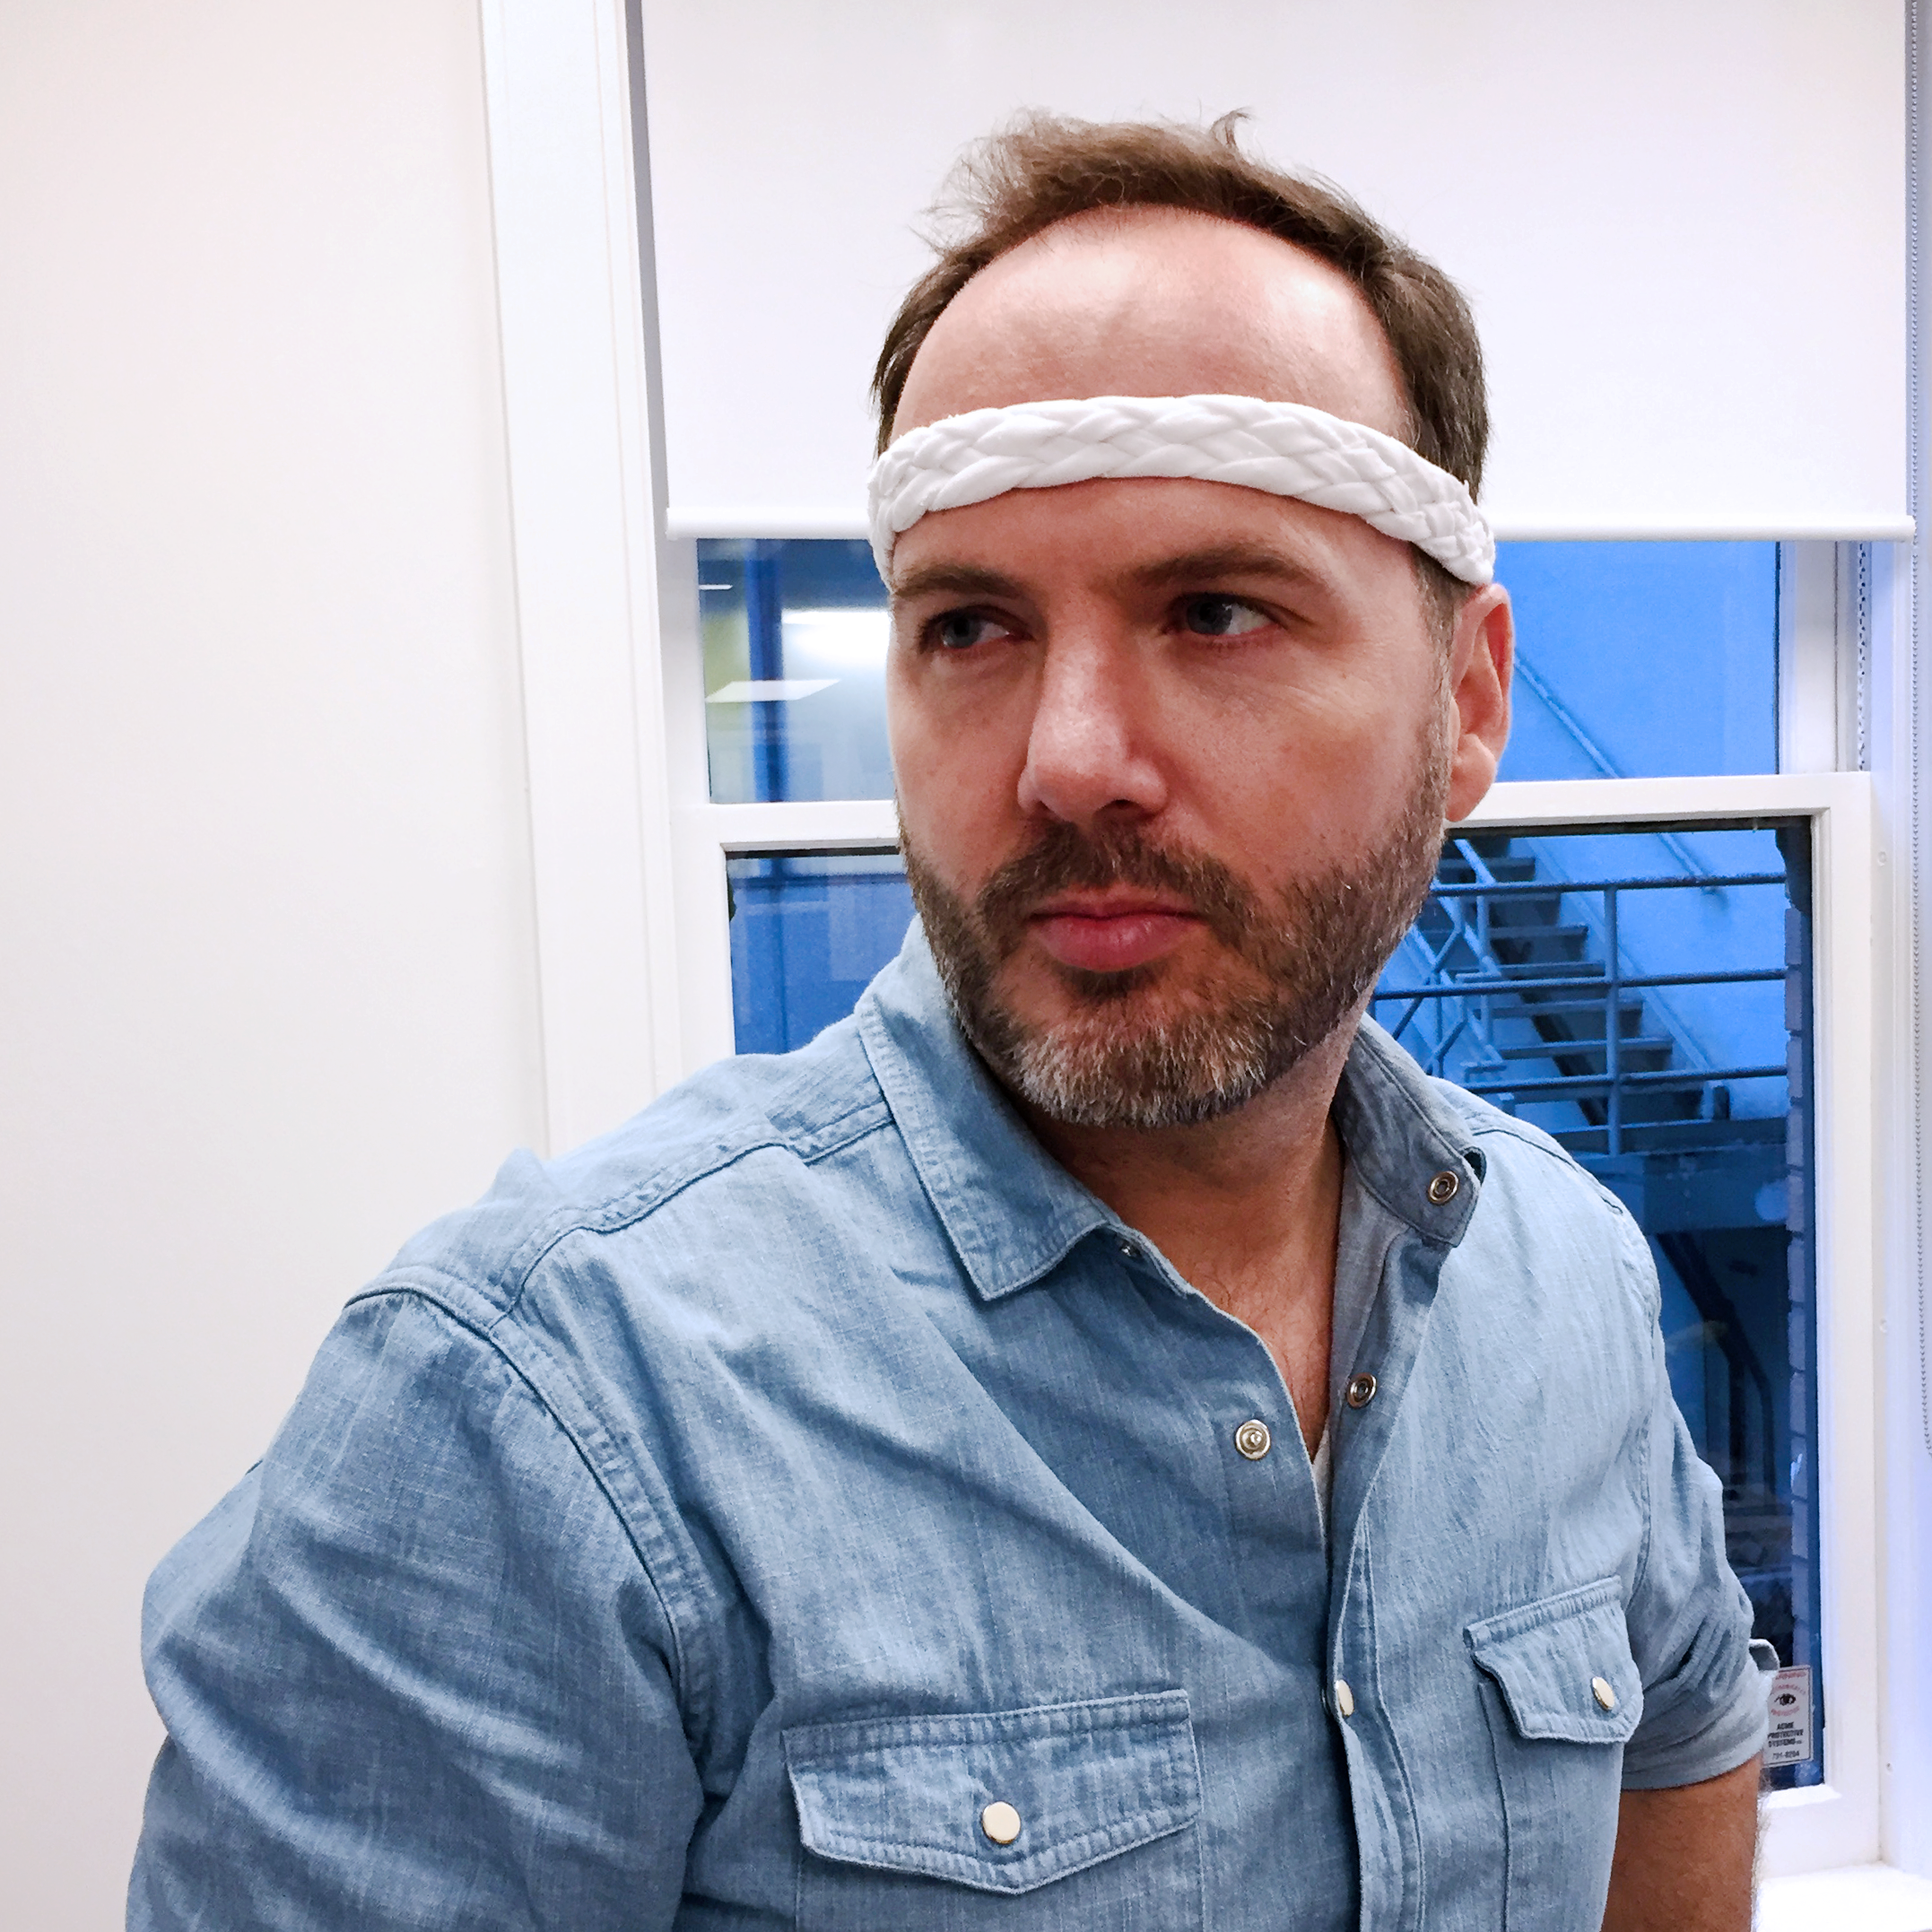
And now we're done! Hope you have fun wearing this around the town, on a night out or at the gym! It's so versatile, you can really wear it anywhere. We had fun wearing it around the office today :)
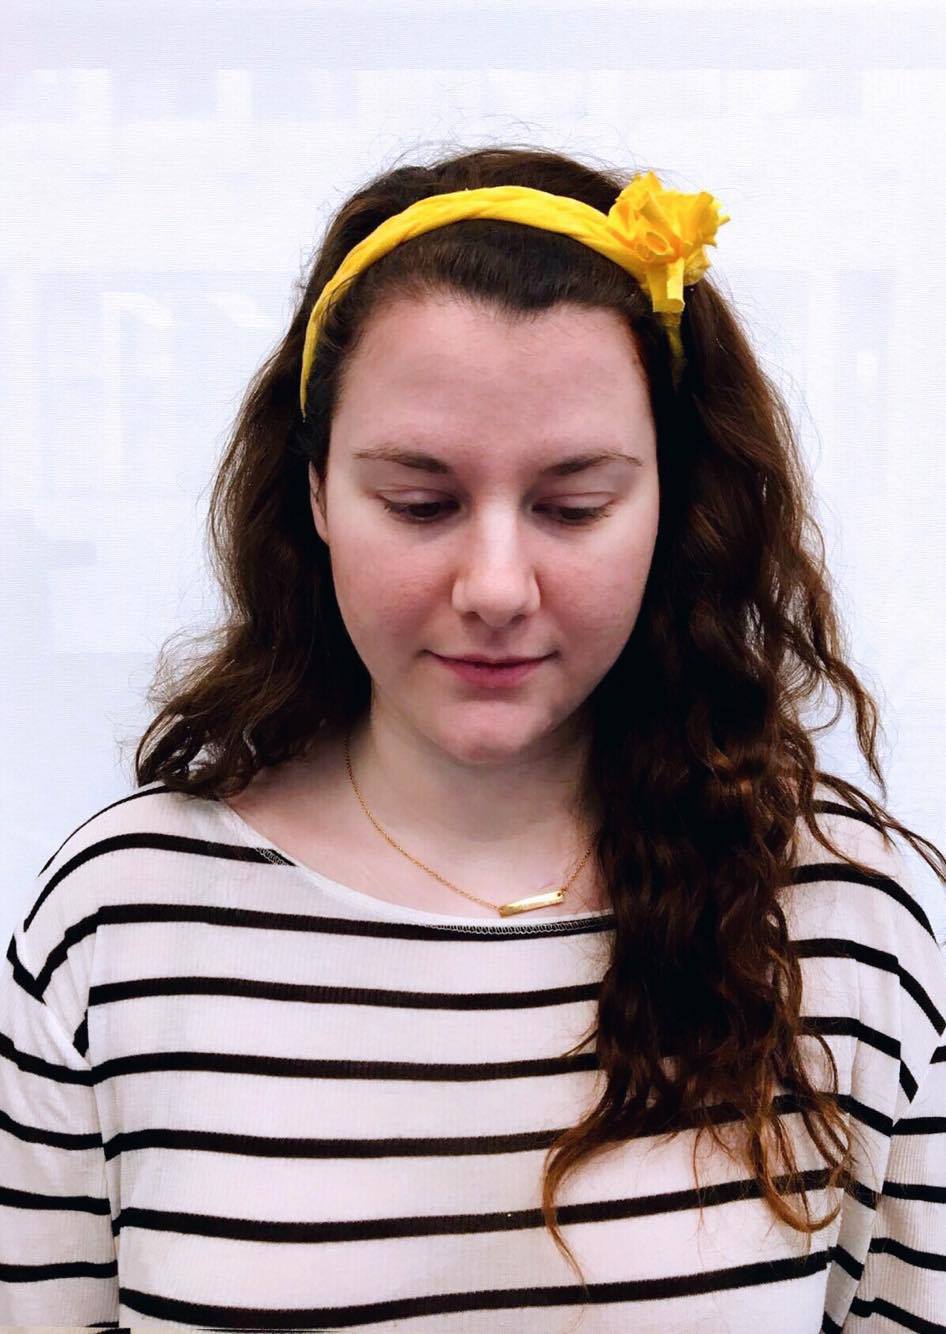
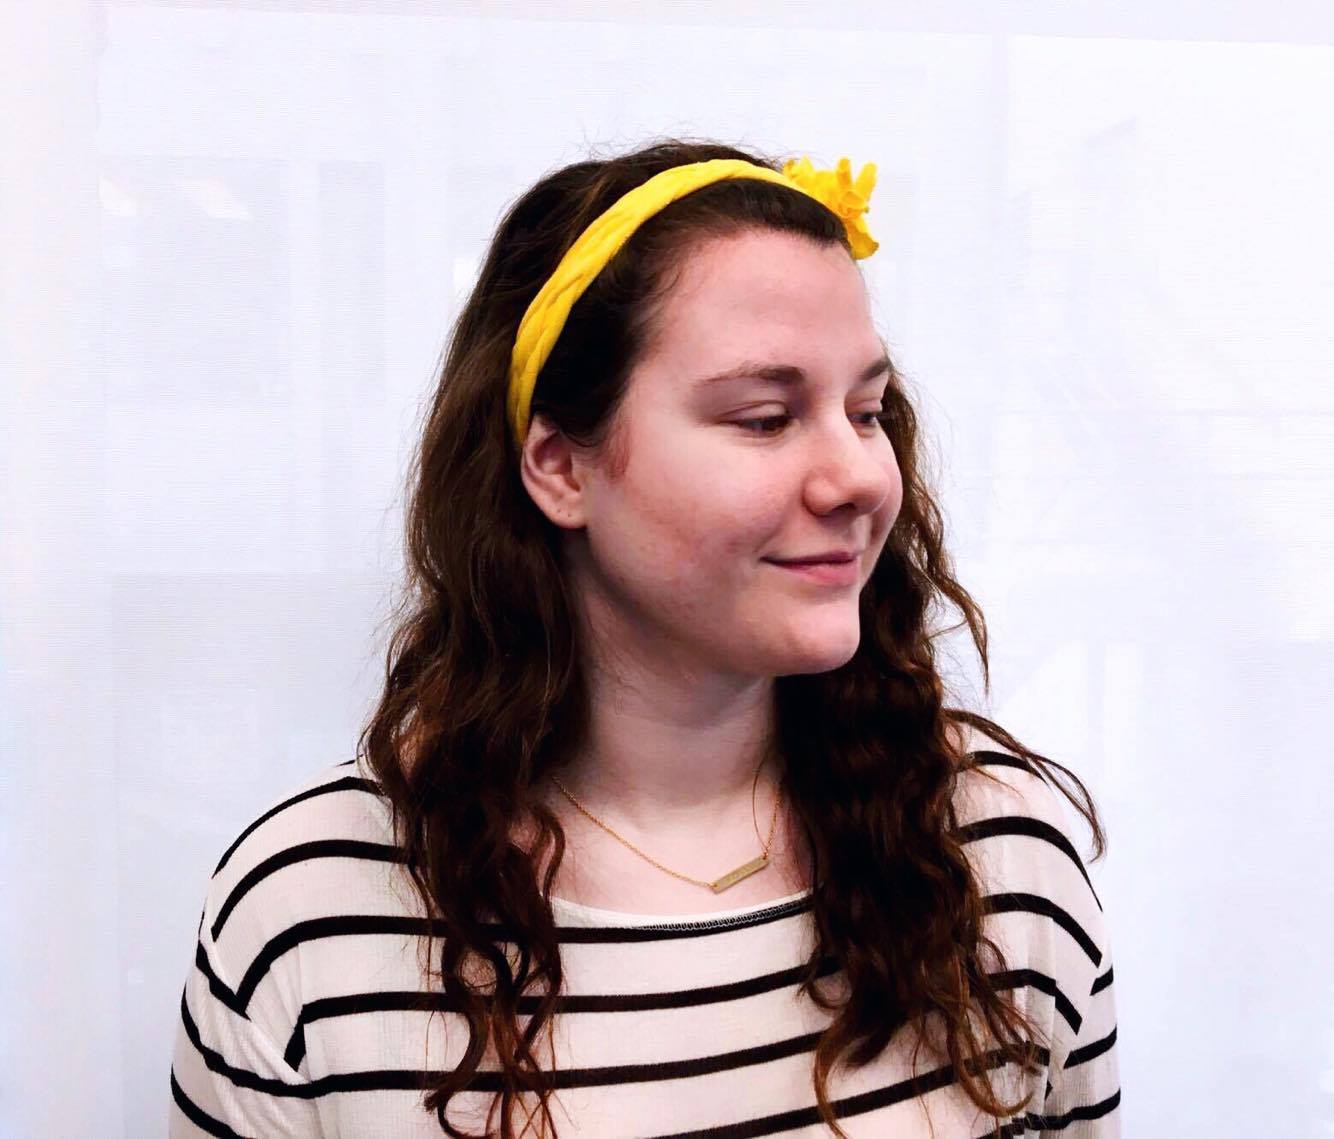
We added a fun flower to the yellow to cover up the double knots. How else would you cover it up? Send us your ideas!
Our boss approves of it as well :)
Happy crafting!
Recent Posts
-

Best-selling Unisex Jacket: the Champion Packable Quarter-Zip
Meet our top-seller: The Champion CO200 Packable Quarter-Zip Jacket! It's lightweight, wind-and wate …4th Jan 2024 -

Happy New Year from the T-shirt.ca Team!
Kickstart 2024 in style with our AC1010 Acrylic Knit 12" Toque with Cuff - the perfect blend of time …3rd Jan 2024 -

2023 Wrapped: A Year in Review with T-shirt.ca!
What did your 2023 look like? ?✨?28th Dec 2023