Easter T-Shirt DIY! | T-Shirt.ca
Hey everyone :)
We know we missed our Make It Monday this week, but we promise we have good reason! This weekend all of us from t-shirt.ca are celebrating Easter in our own special ways: Easter egg hunts, Easter dinners, egg decorating! But one way we are excited to celebrate is with our newest DIY!
We have an adorable Easter bunny DIY that will be perfect for your little ones to sport on Easter! All you need is:
-t-shirt(s)
-fabric paint(s)
-paper
-pencil with a rubber eraser end
- Scissors/X-acto knife
-tape
-piece of cardboard
This one has more materials that we usually use in the past, but we promise, the DIY is still super simple!
1. Pick your design/pattern. We chose this cute bunny stencil from the site we discovered this DIY from: cutesycrafts.com. Here is the link if you want to use the same one as us: Bunny Stencil Or if you want to get more creative, you can draw your own design onto a piece of paper and make your own stencil!
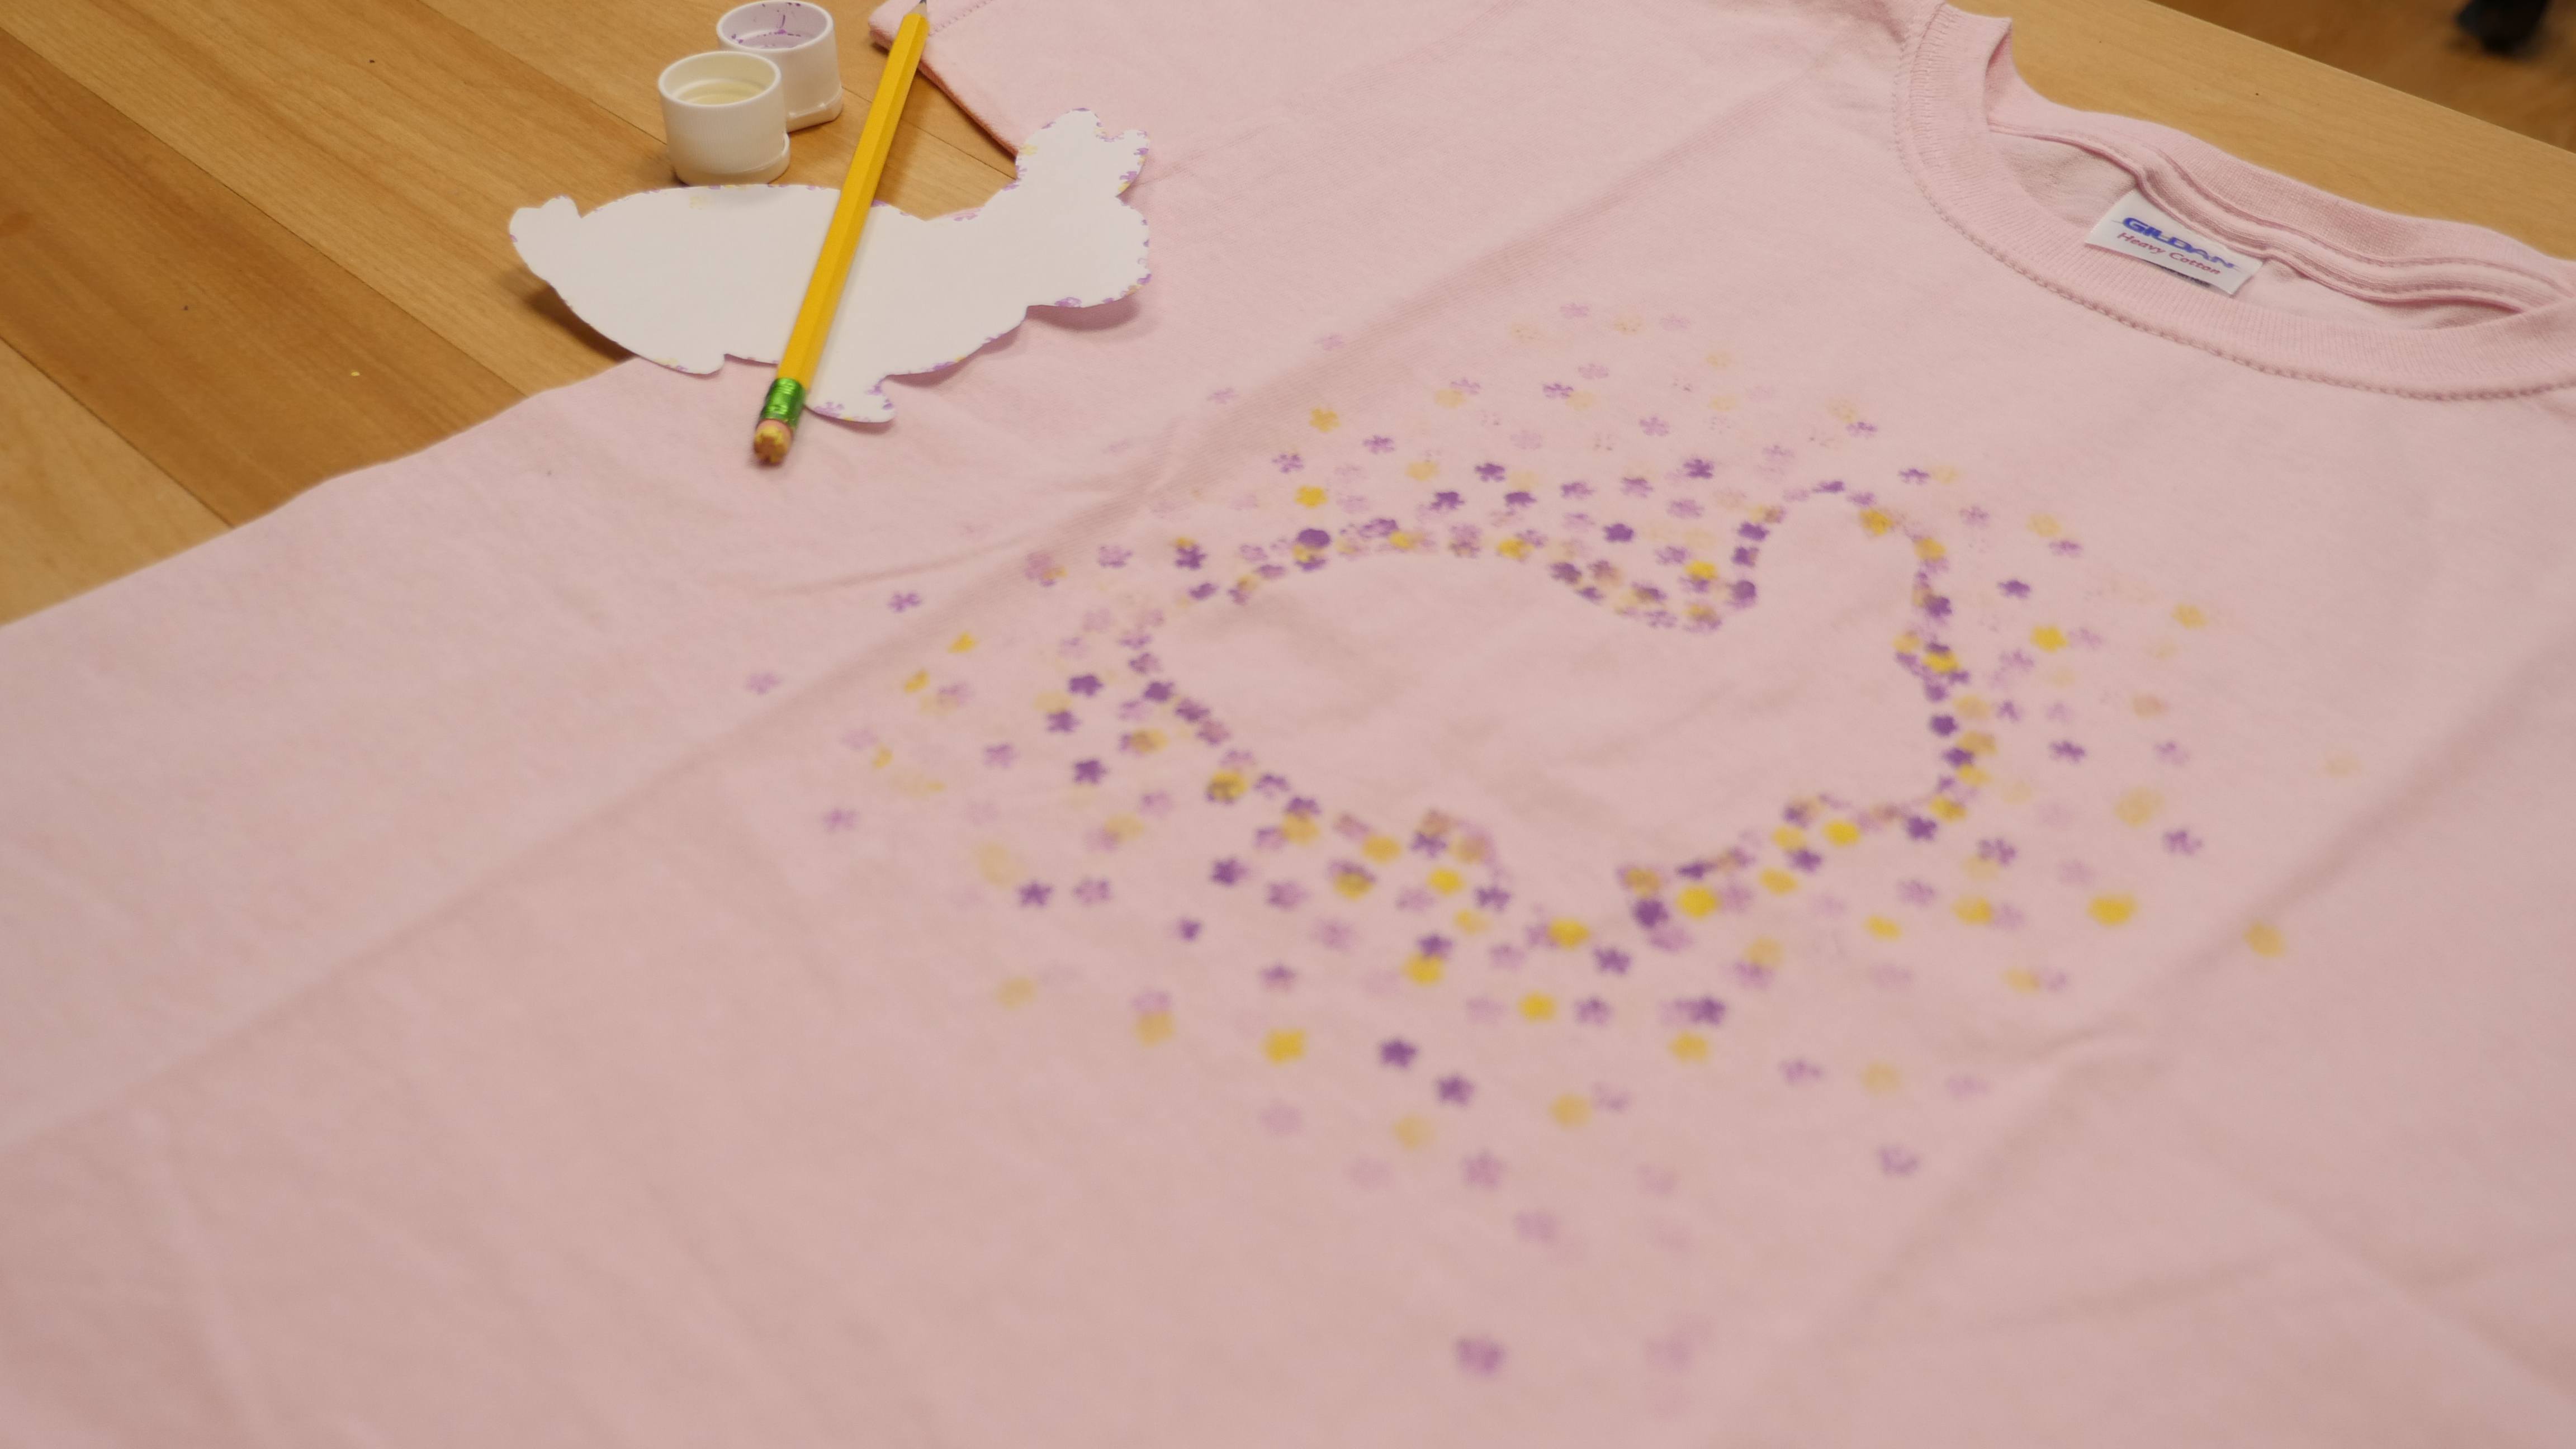
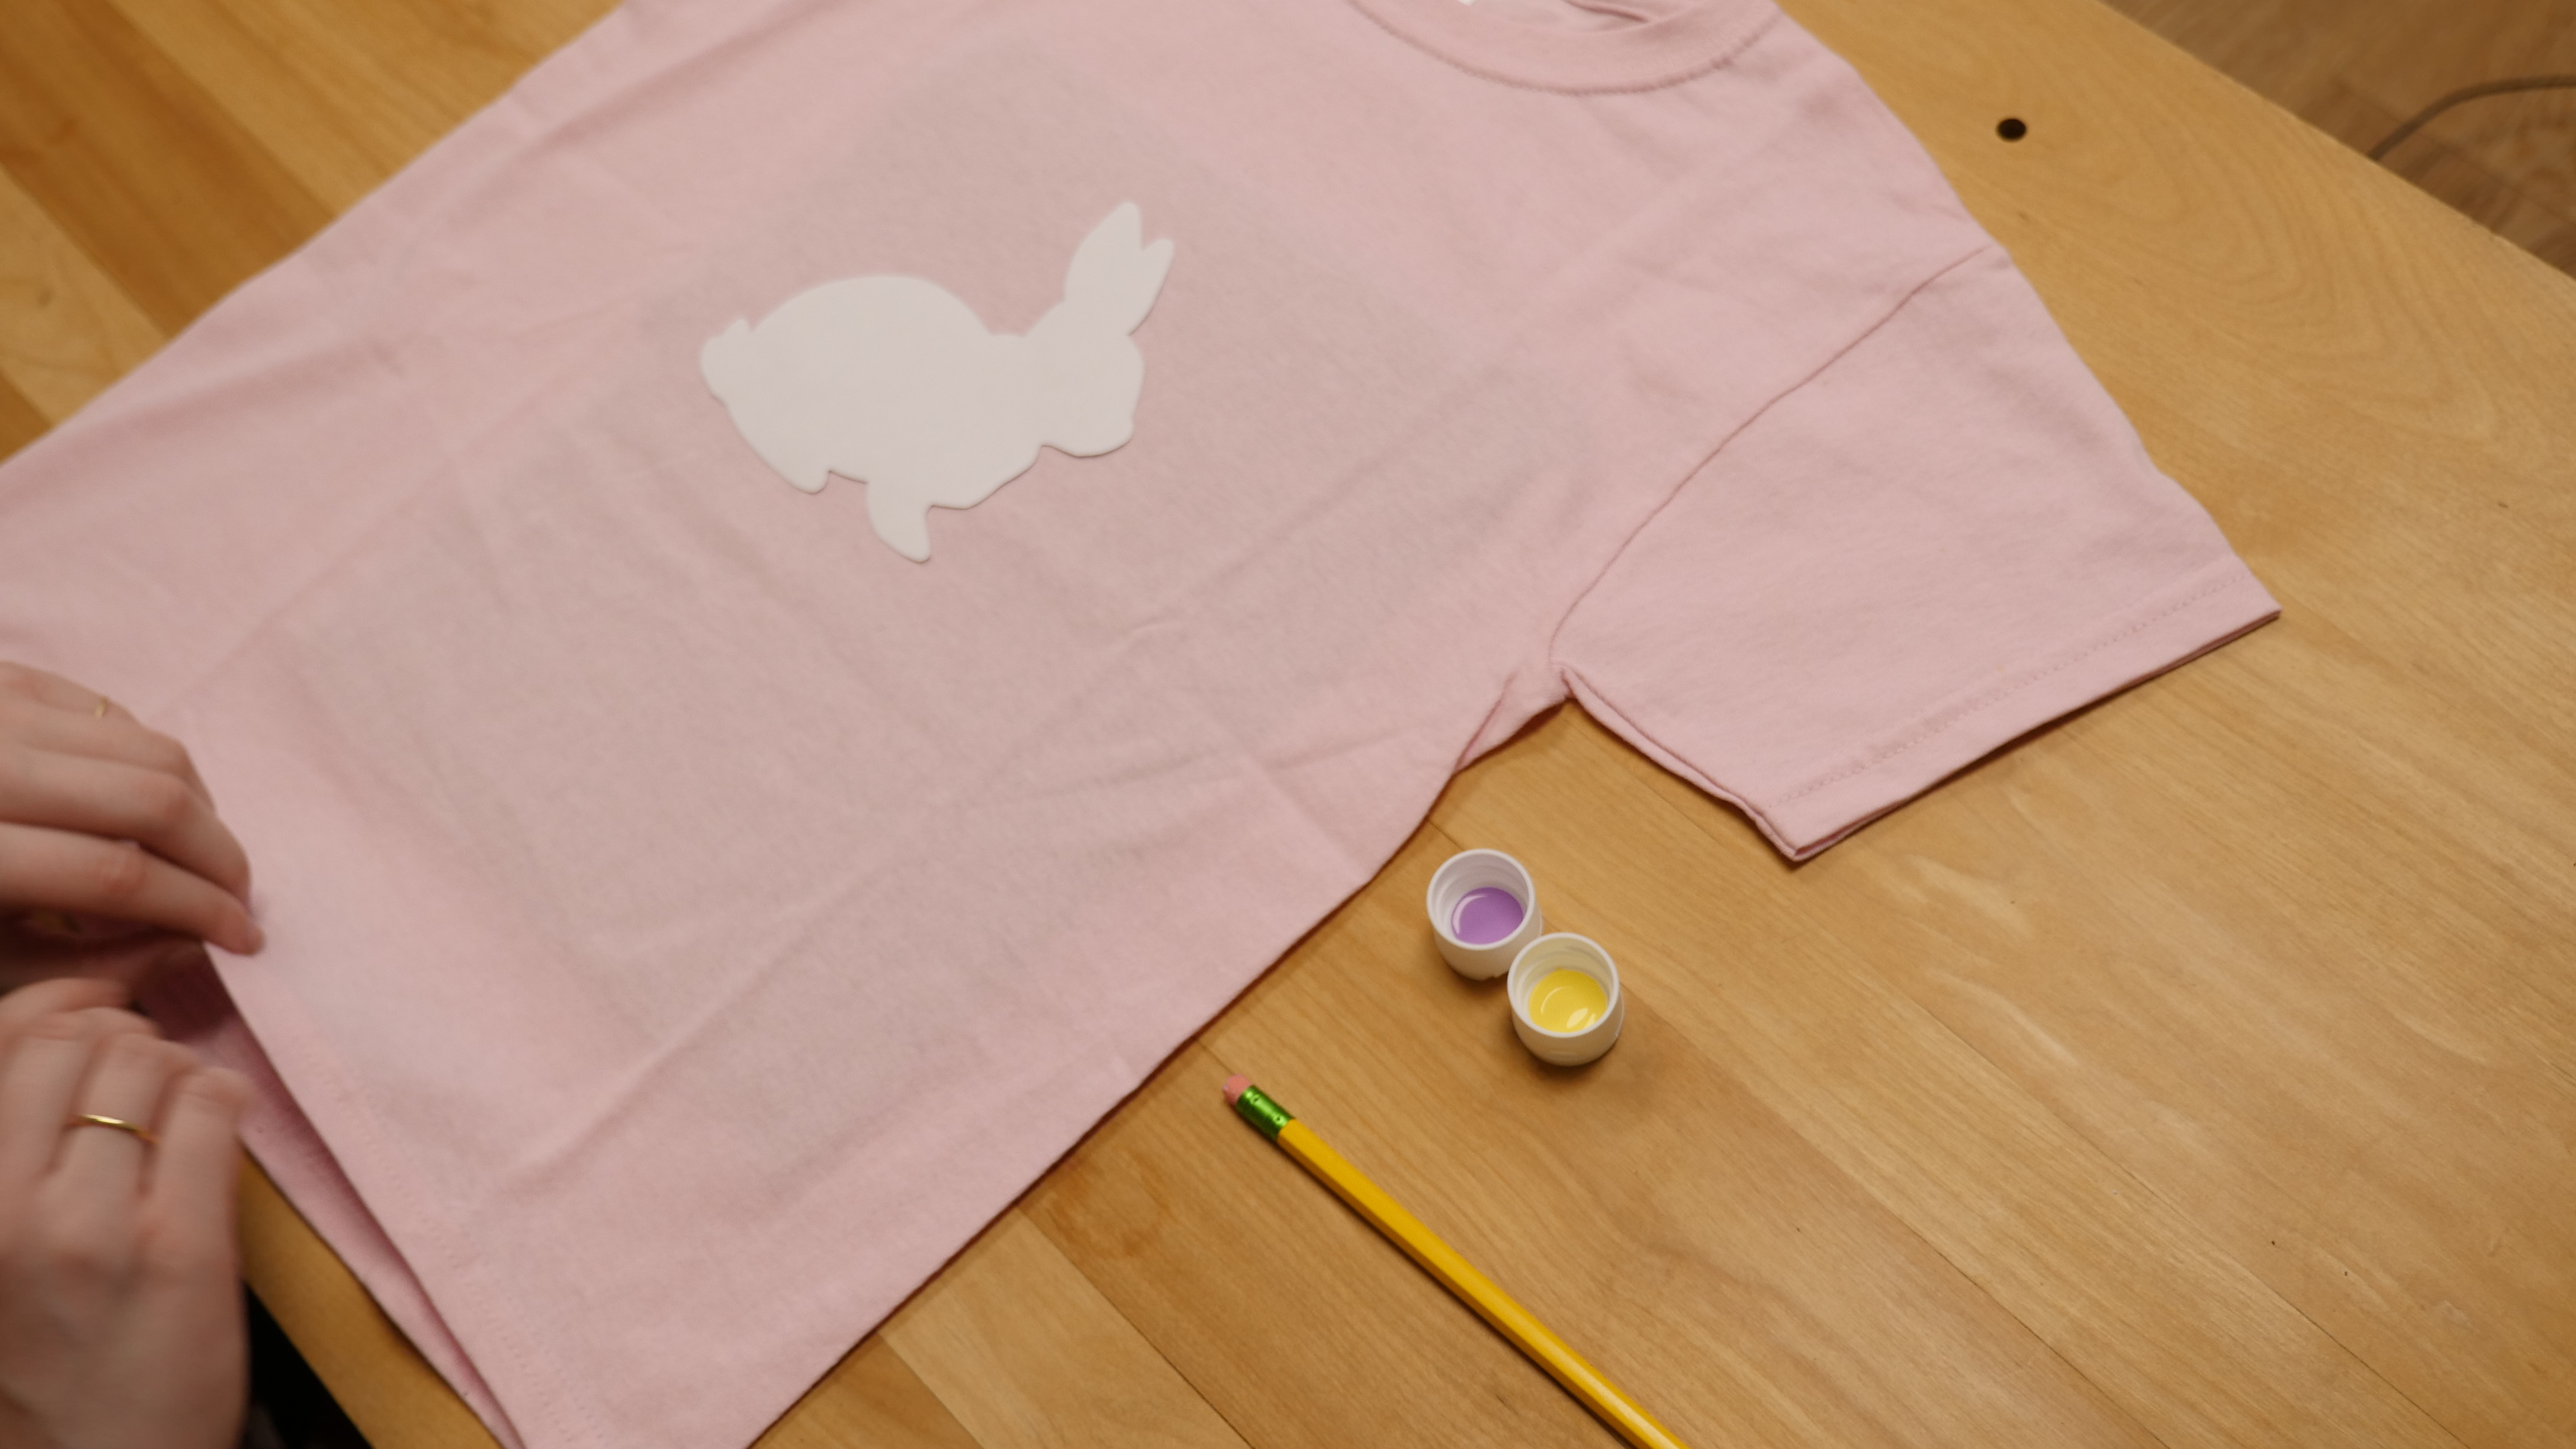
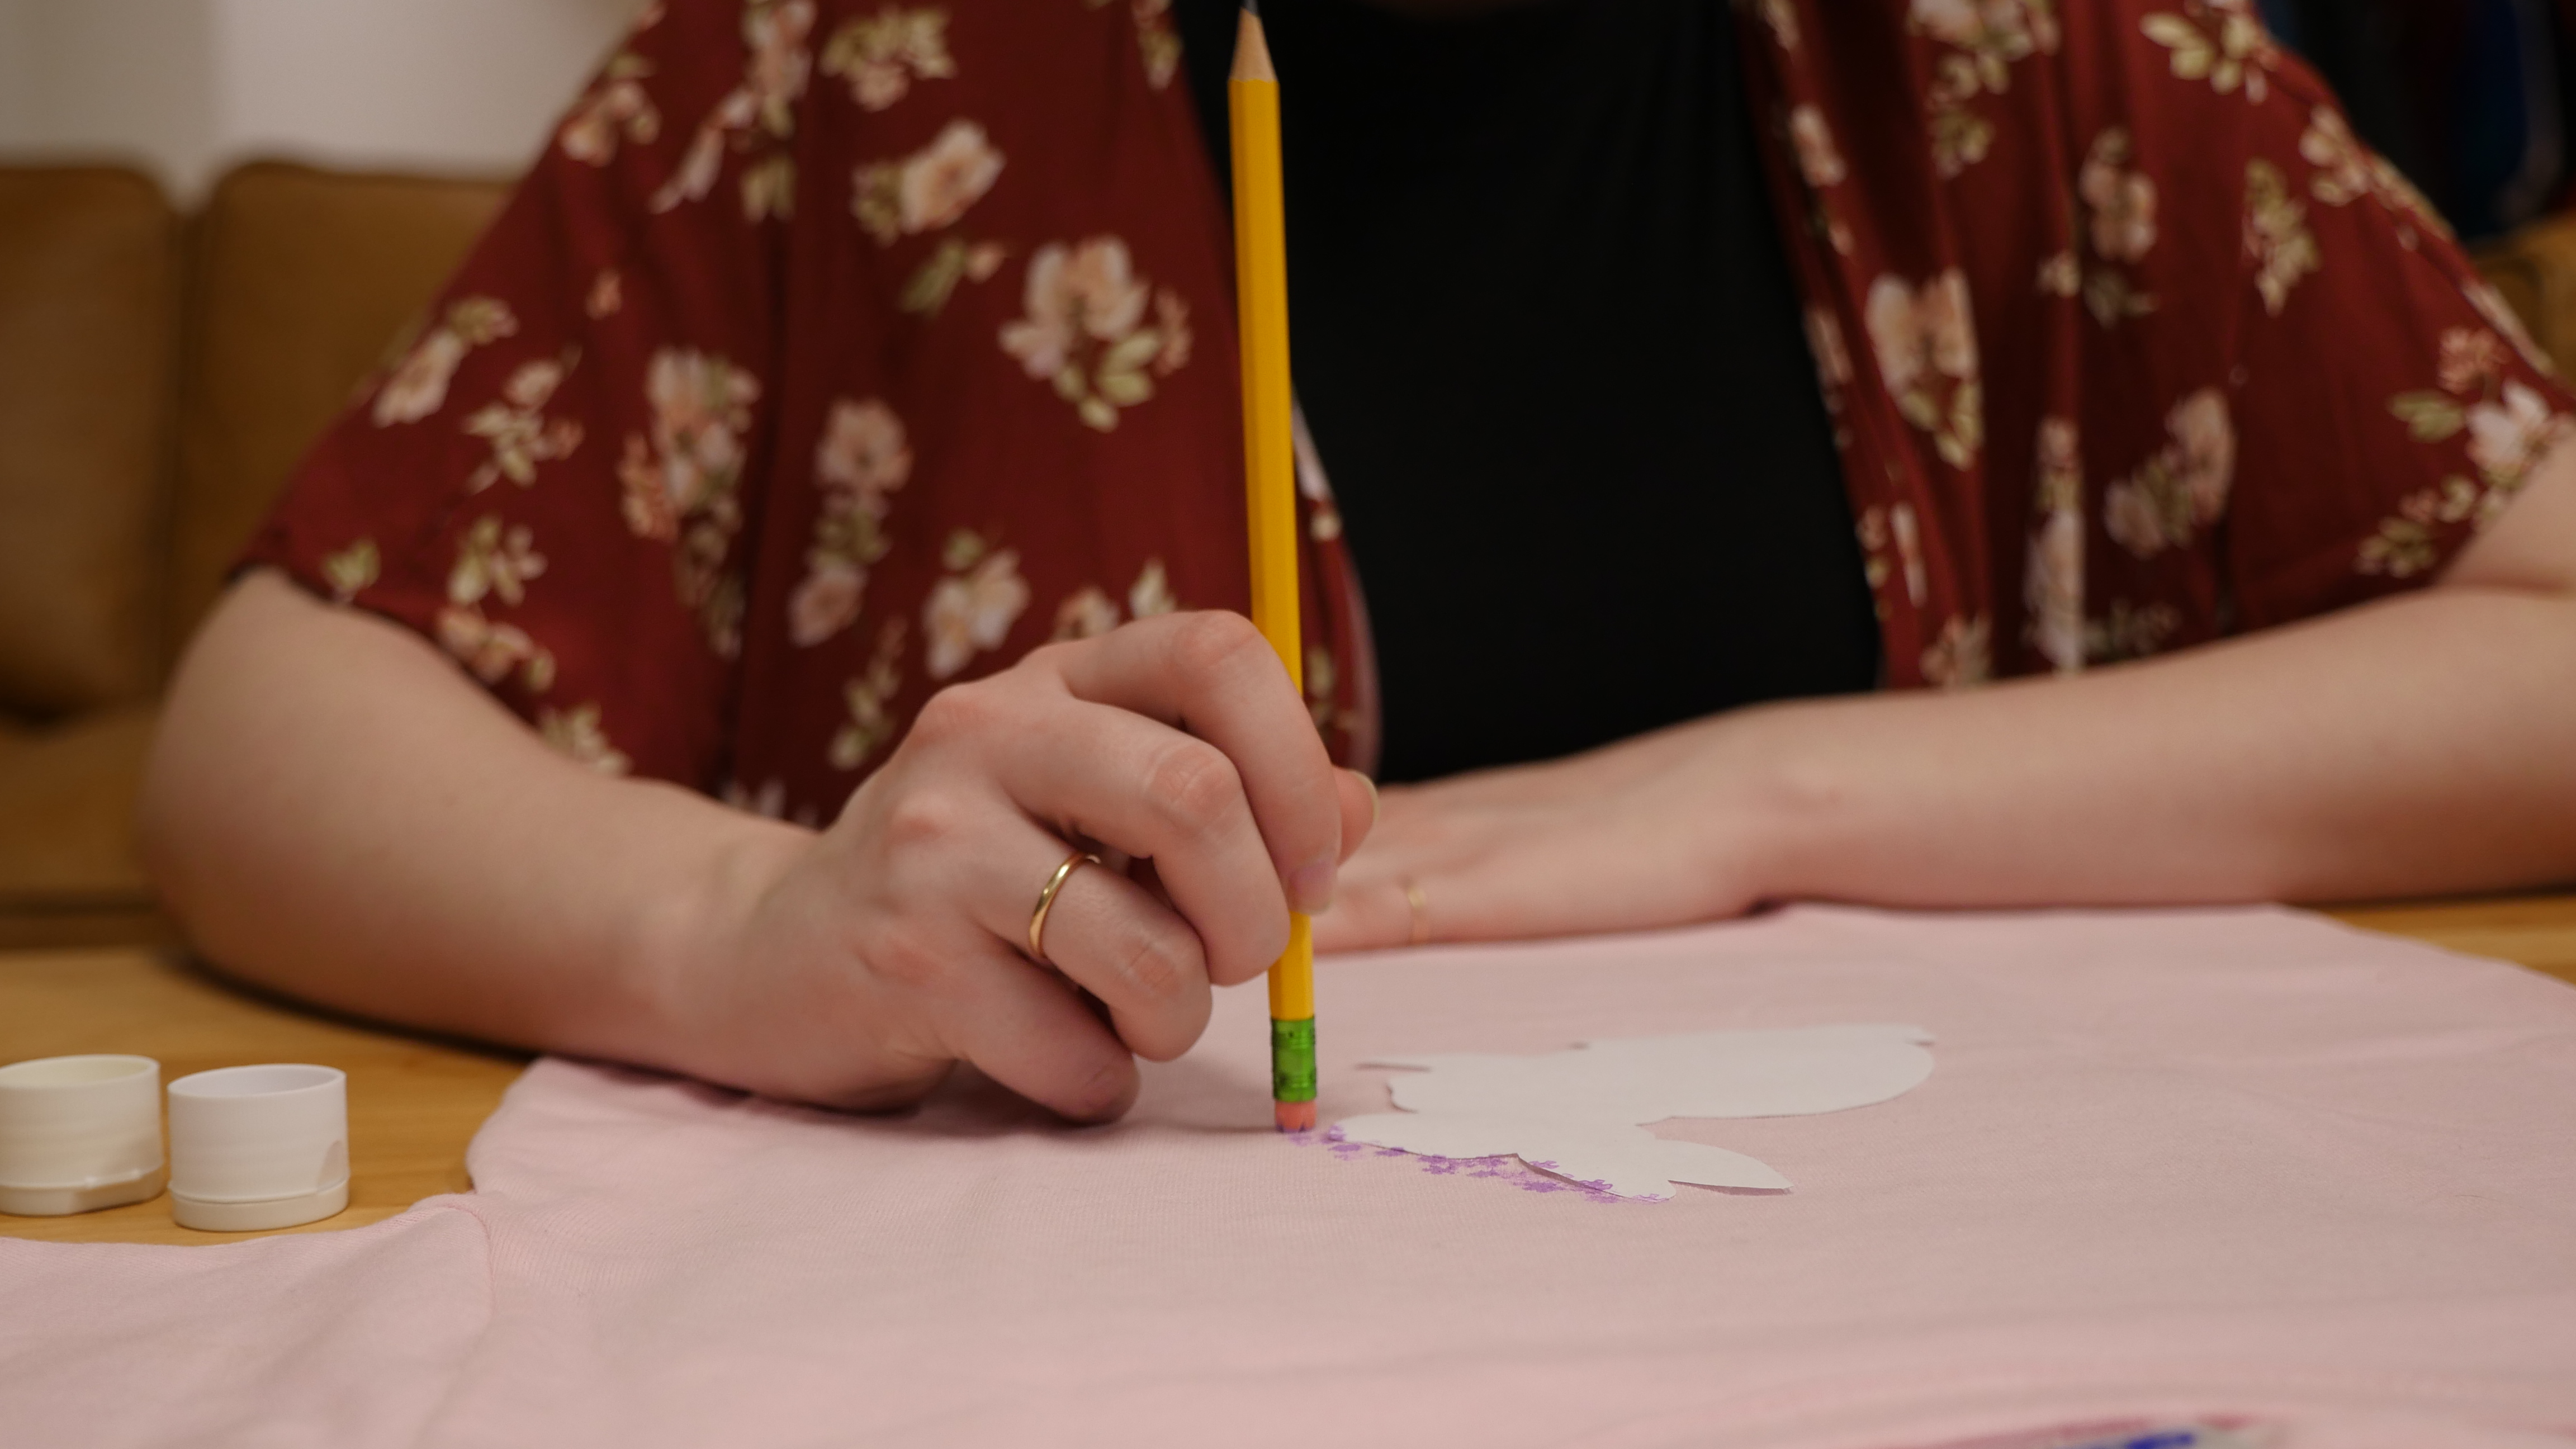
2. Once you have either printed out or drawn your design, cut it out and tape it to the shirt!
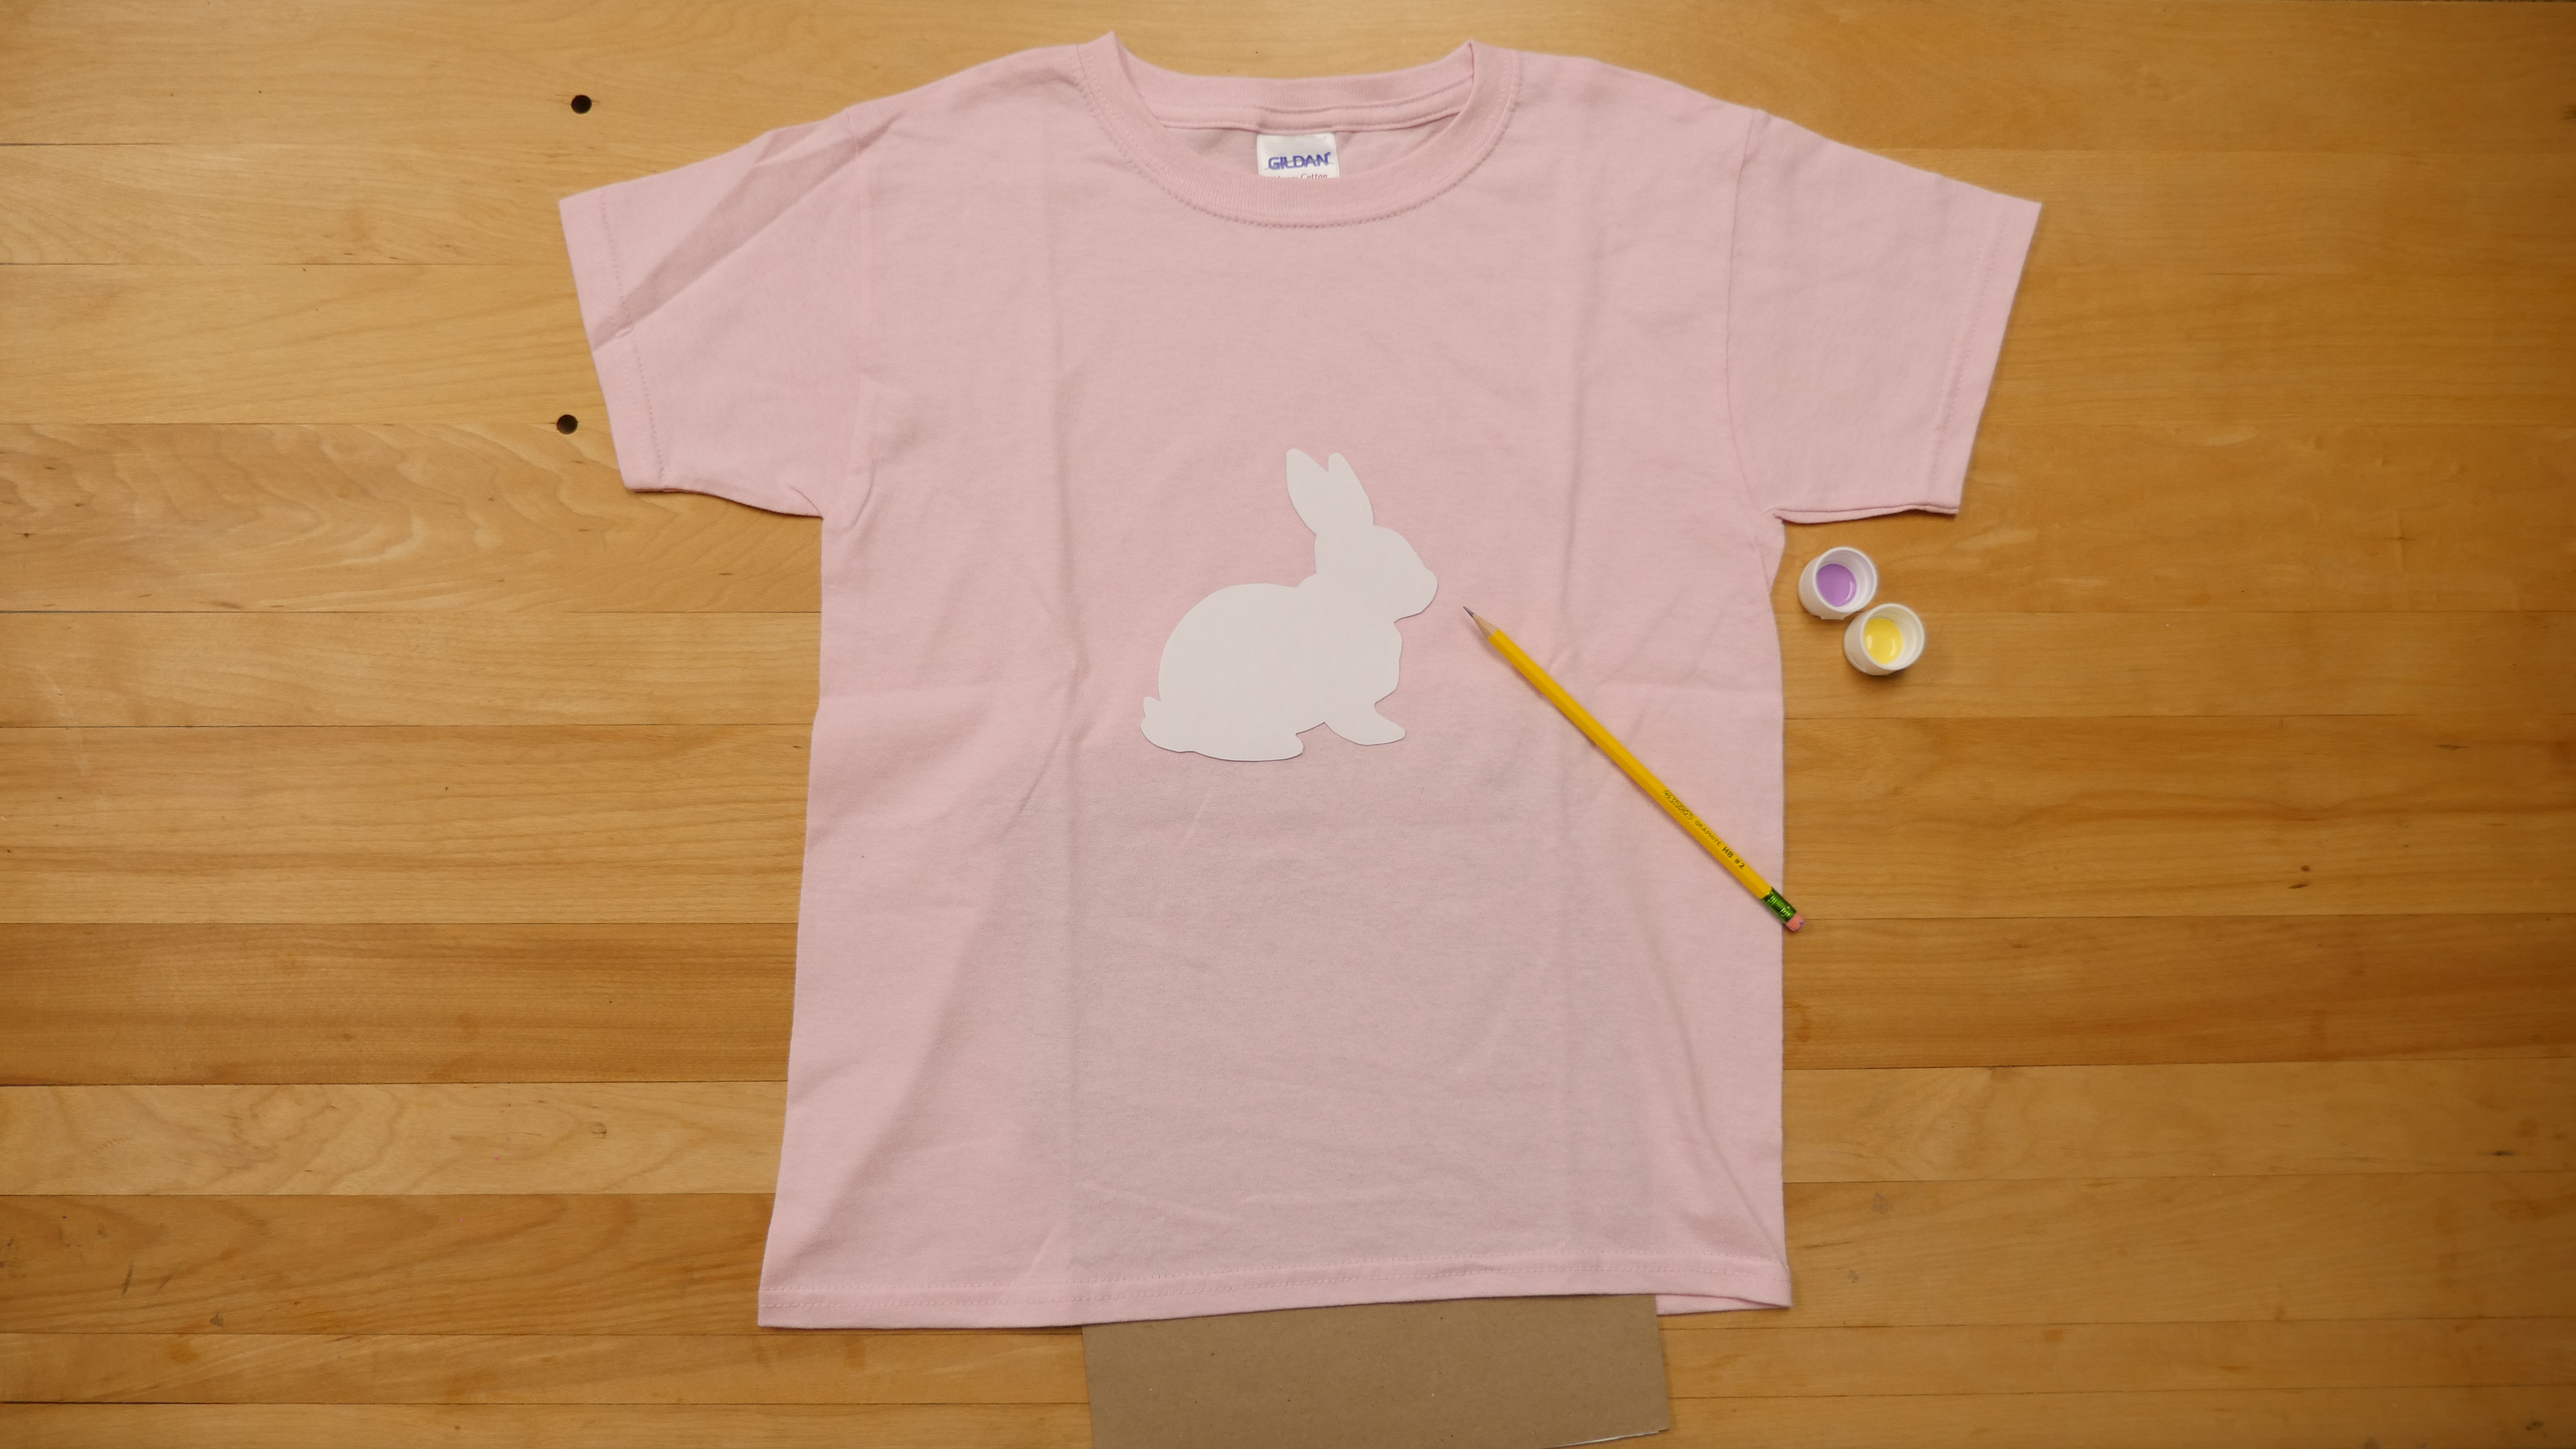
3. Place a piece of cardboard on the inside of your shirt so that the paint doesn't seep through.
Once, you are done that we can prep our eraser stamp!
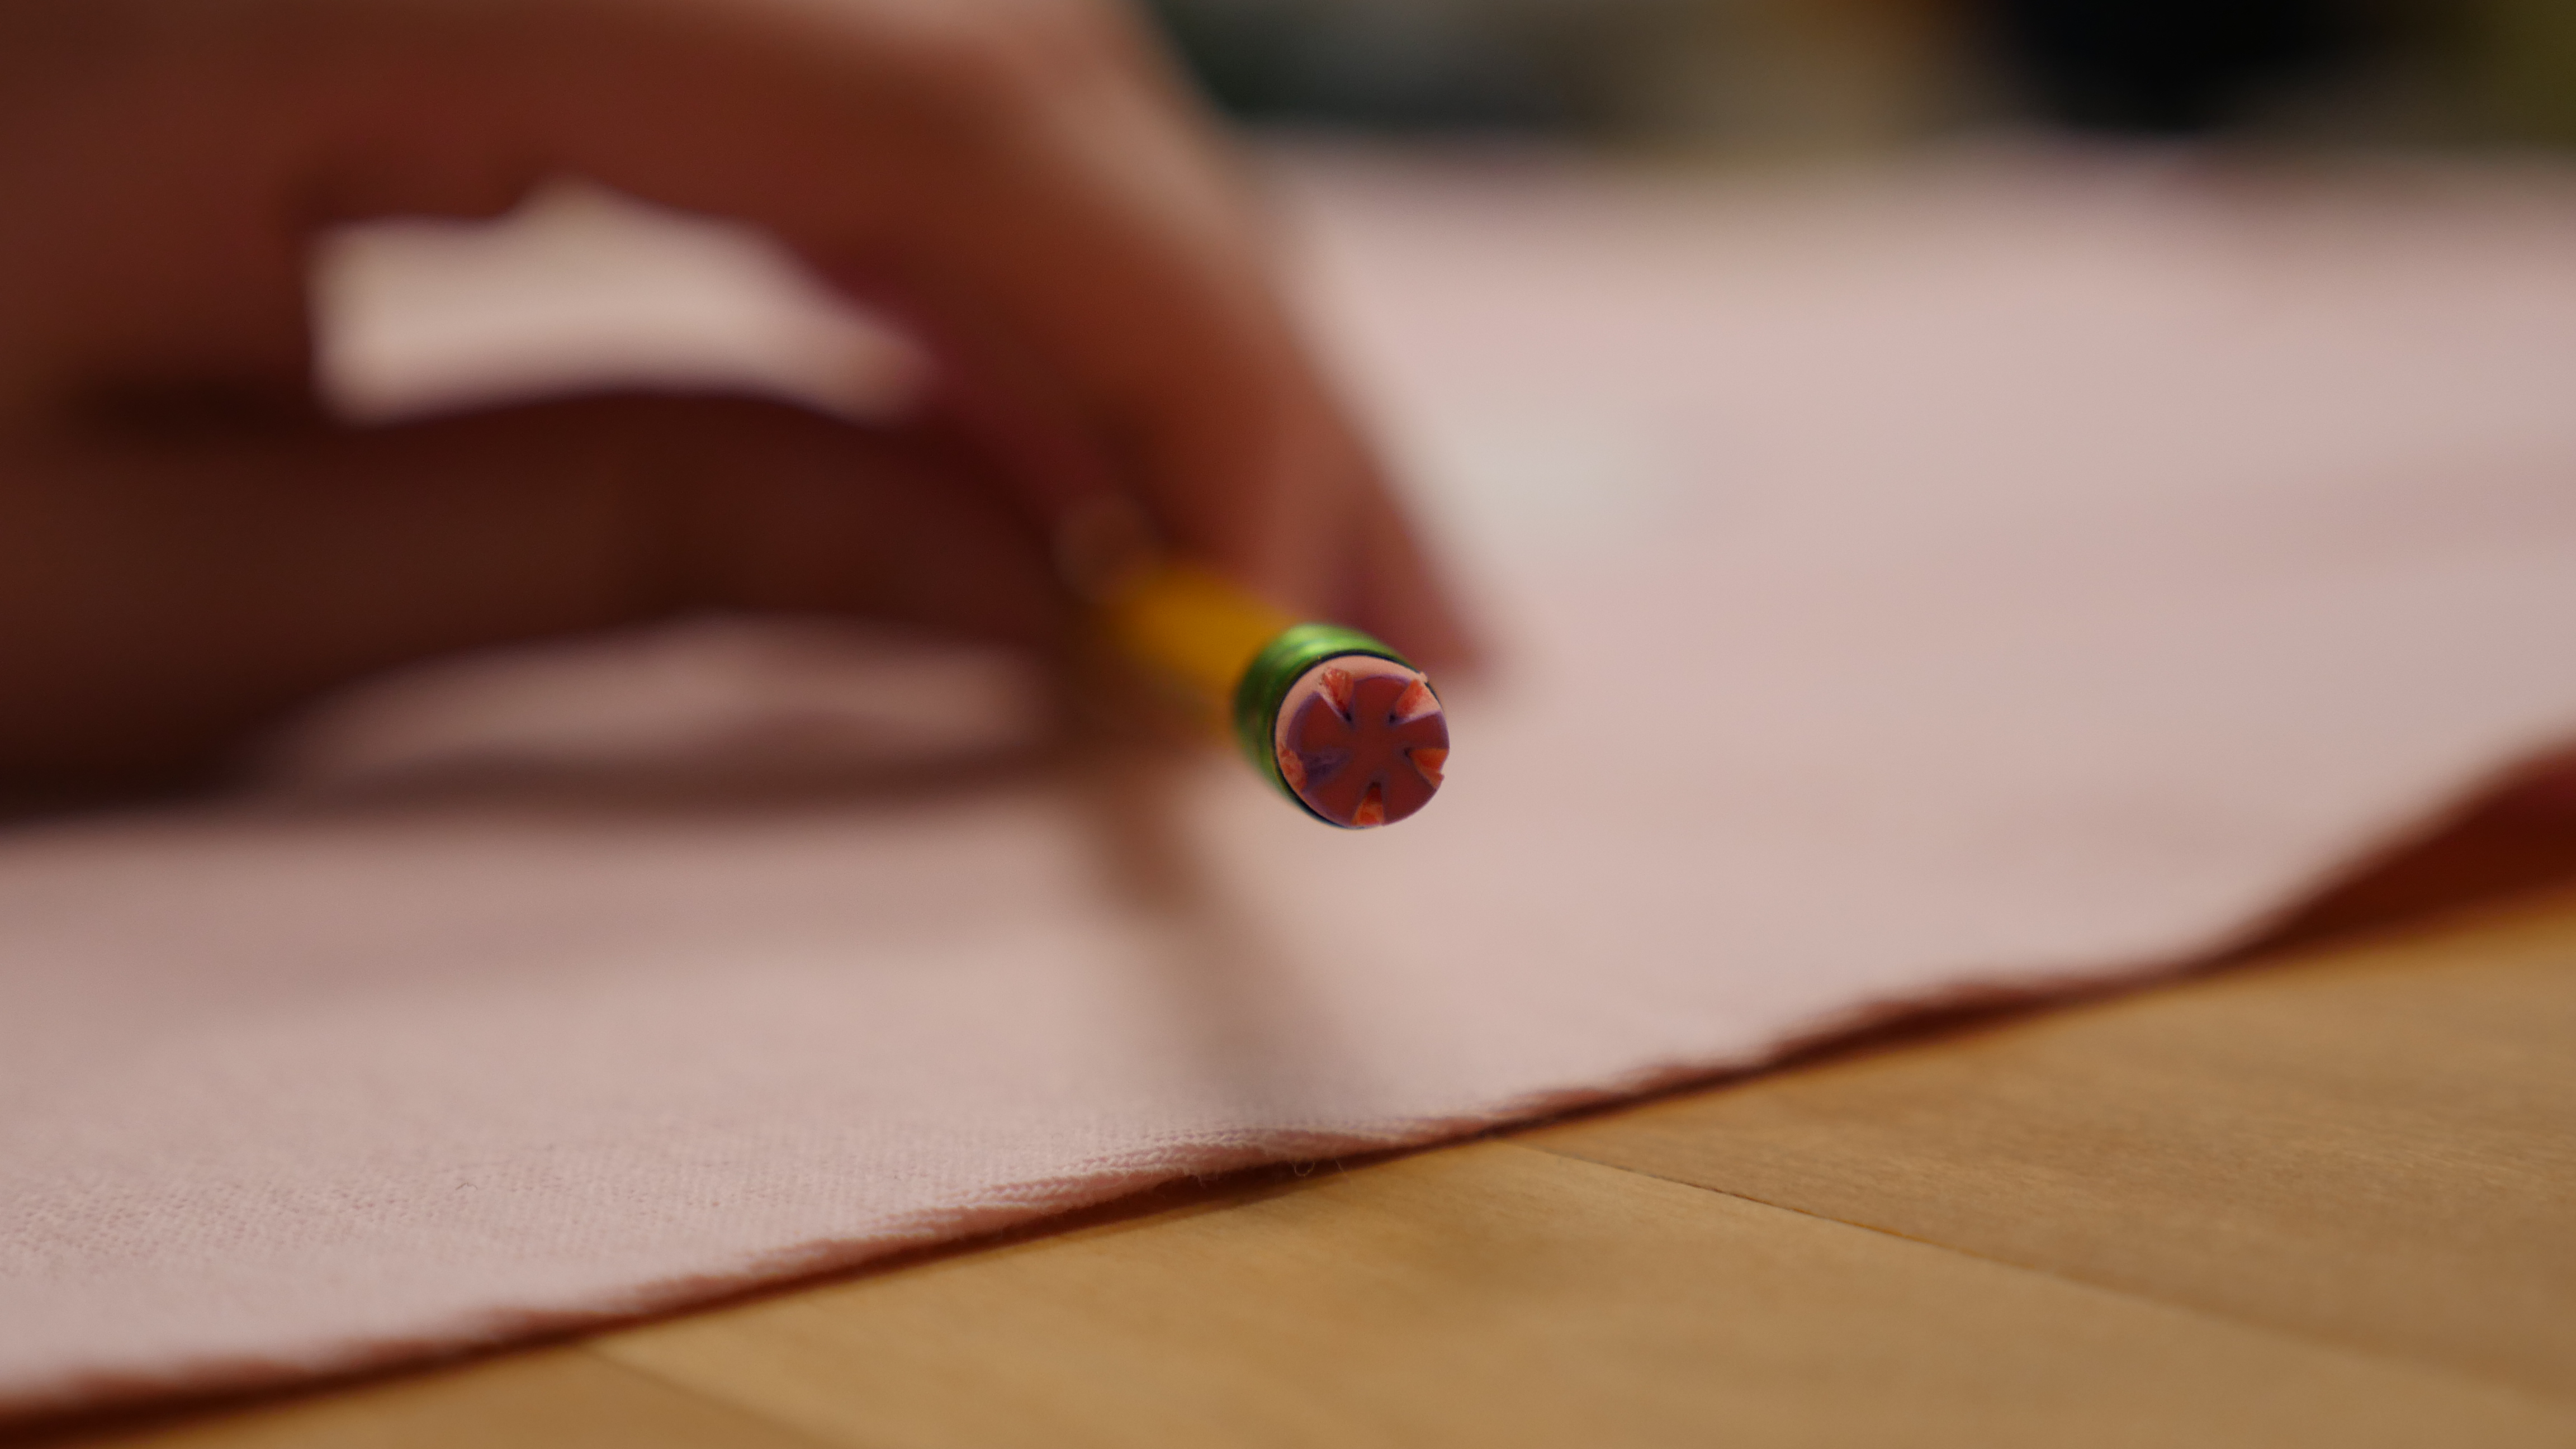
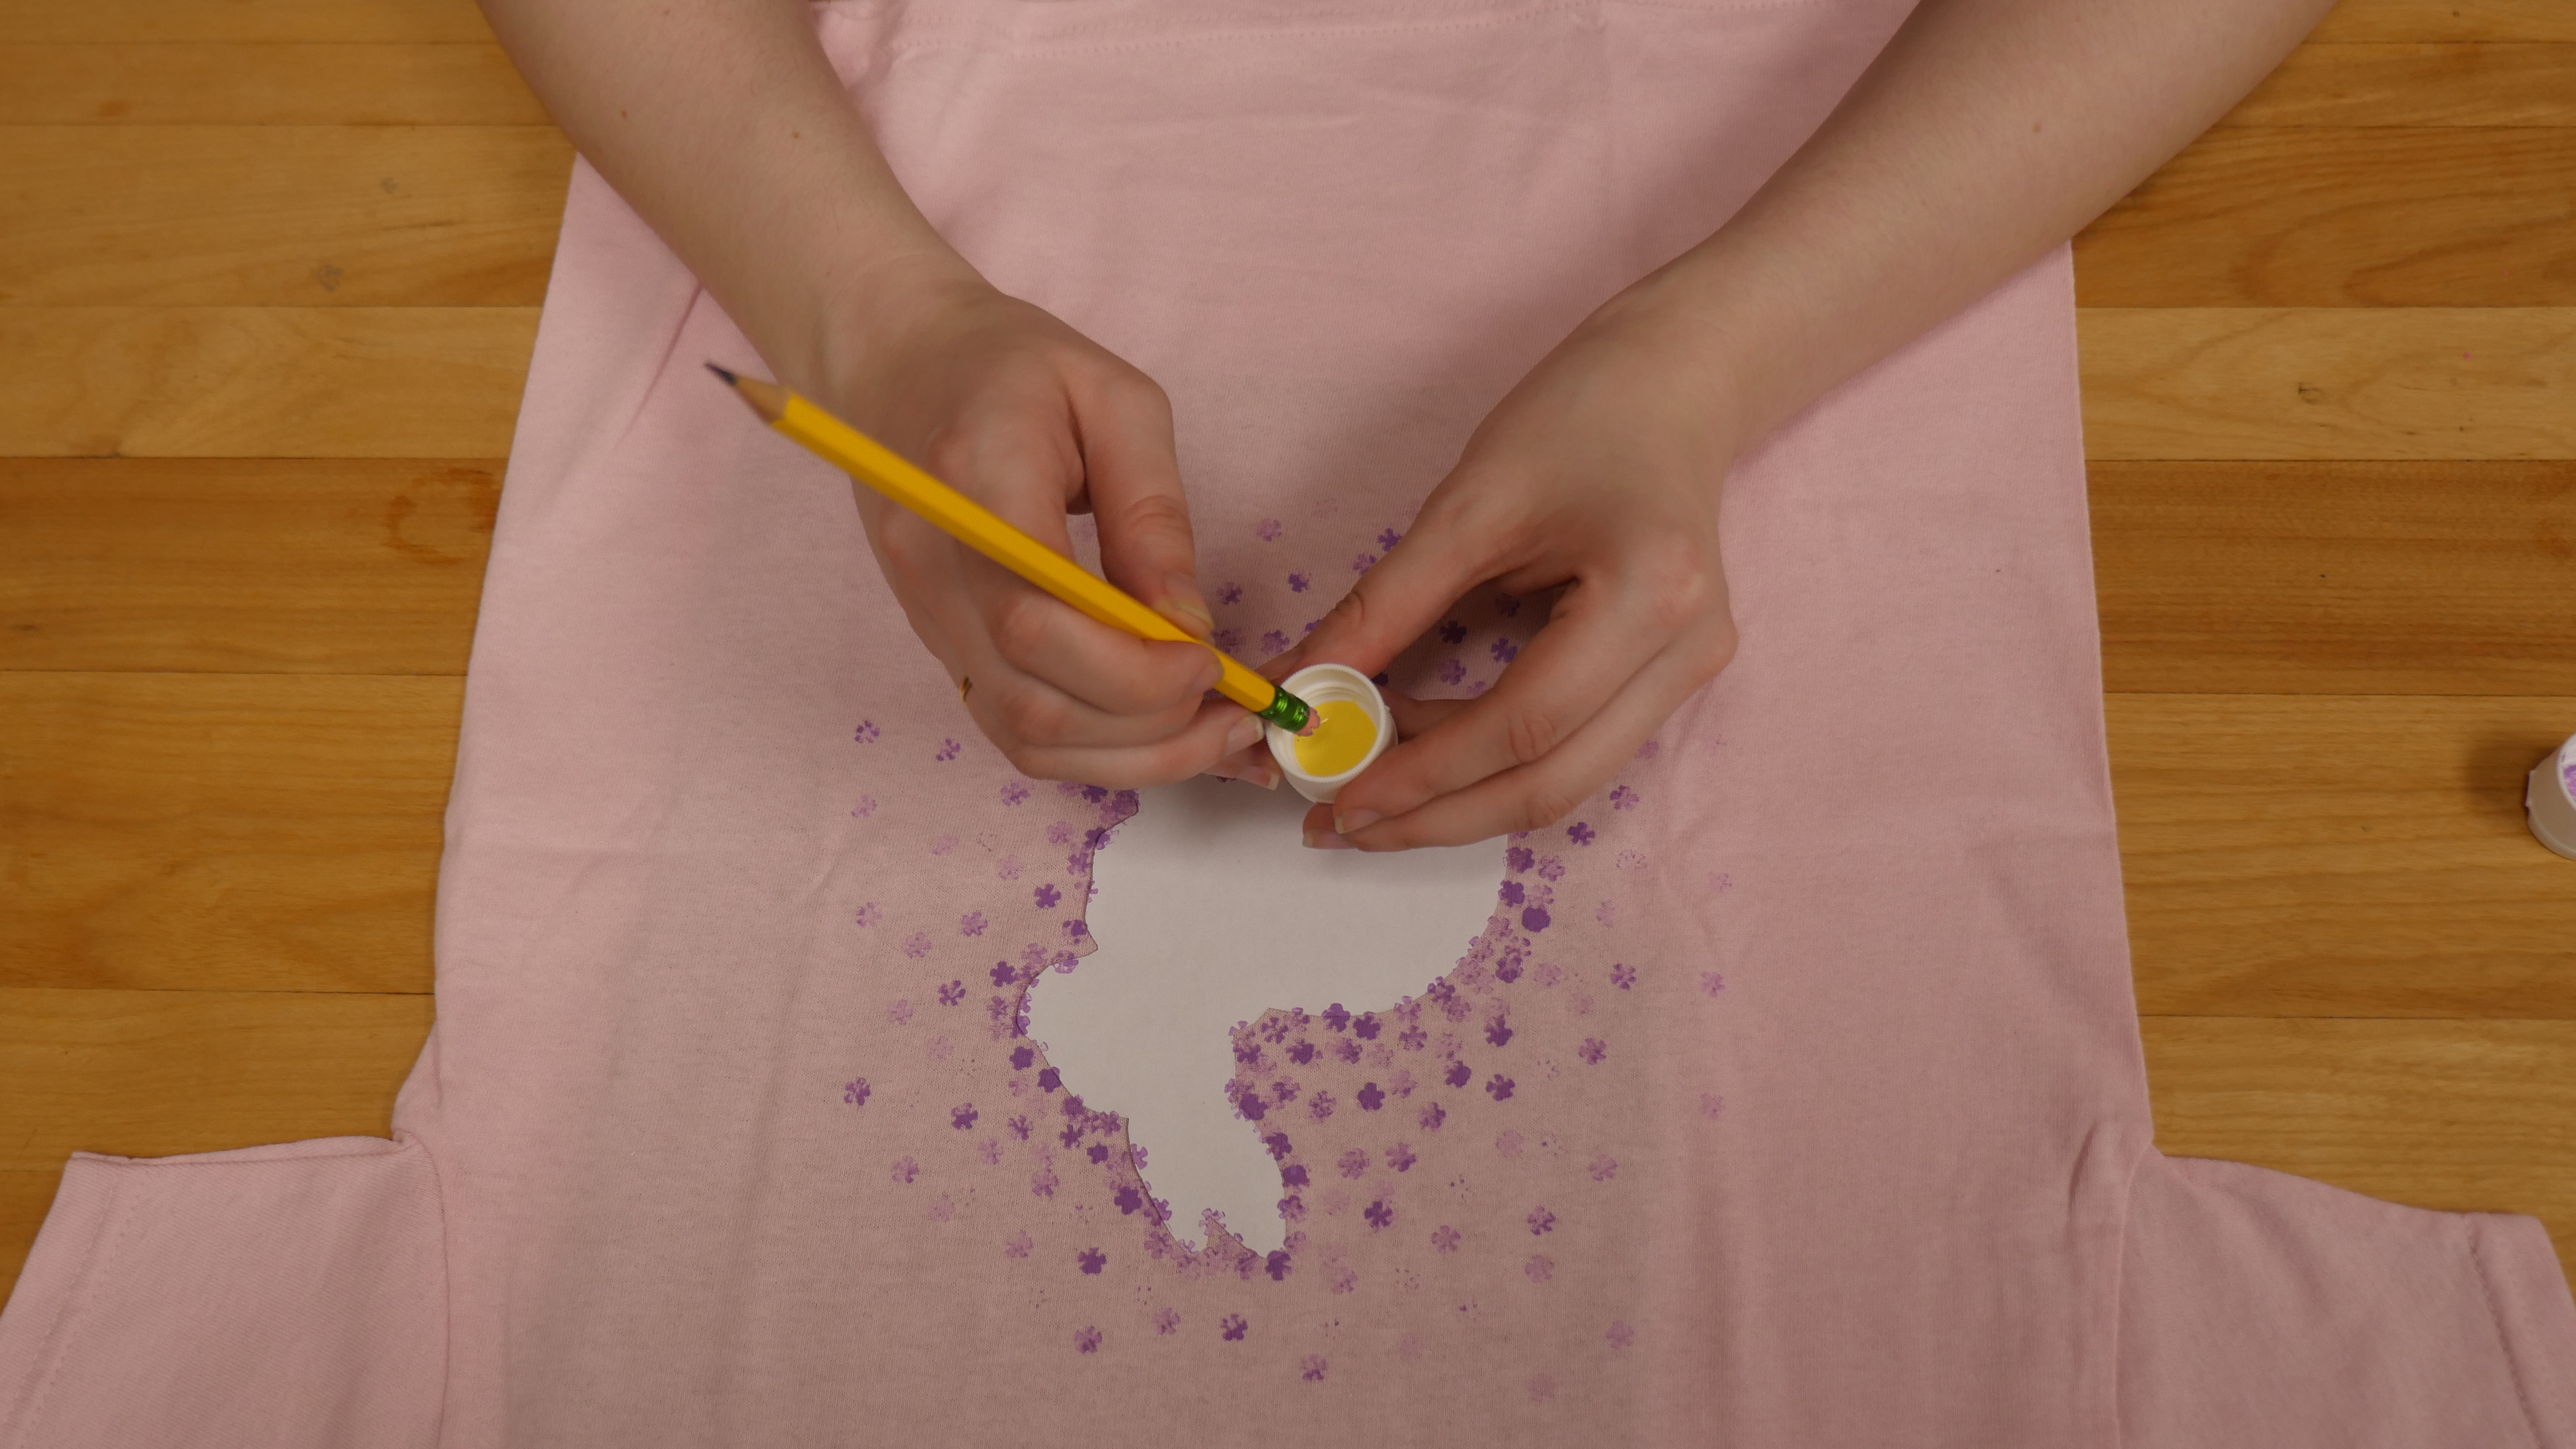
5. With your scissors/x-acto knife lightly cut out the rubber on the eraser of your pencil to the shape you want! You can leave it as a dot, make a star, flower, whatever you think you can cut out of that little thing!
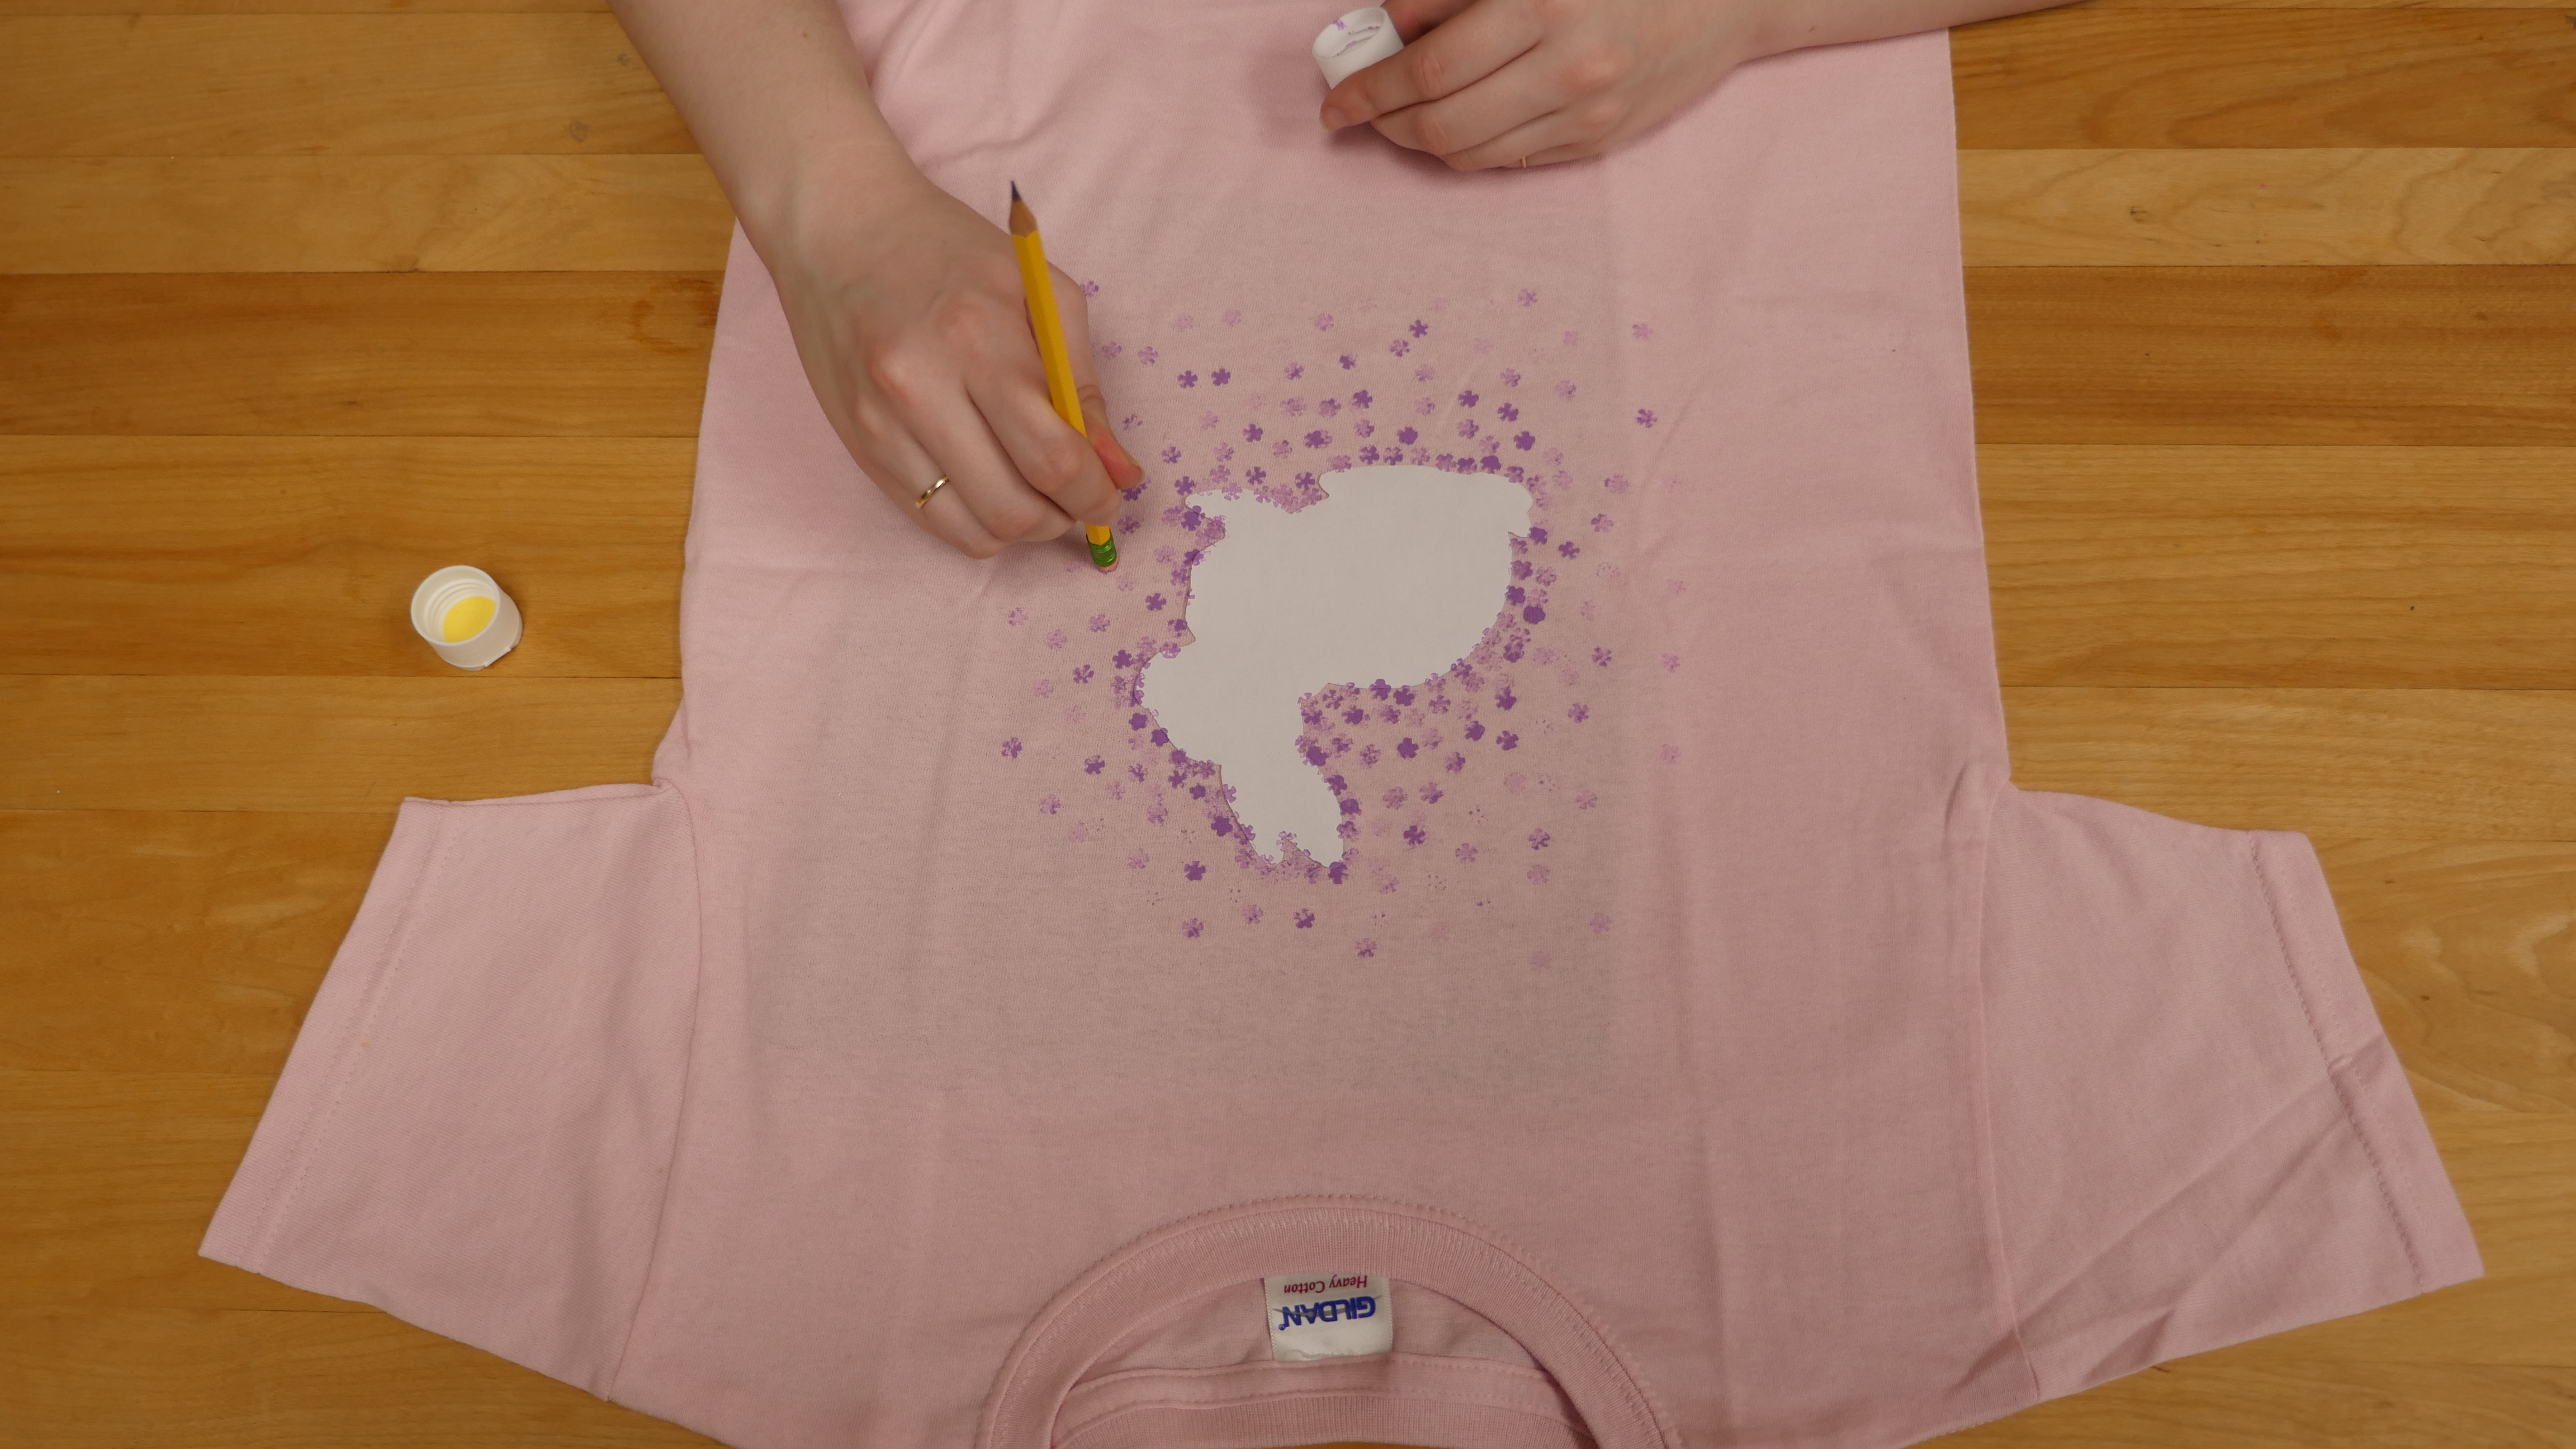
6. Dip your rubber eraser stamp into the fabric paint colour of your choice and lightly dot around the stencil making sure to stay close to your last dot to outline the design. You can then dot your stamp further away to get a nice fade.
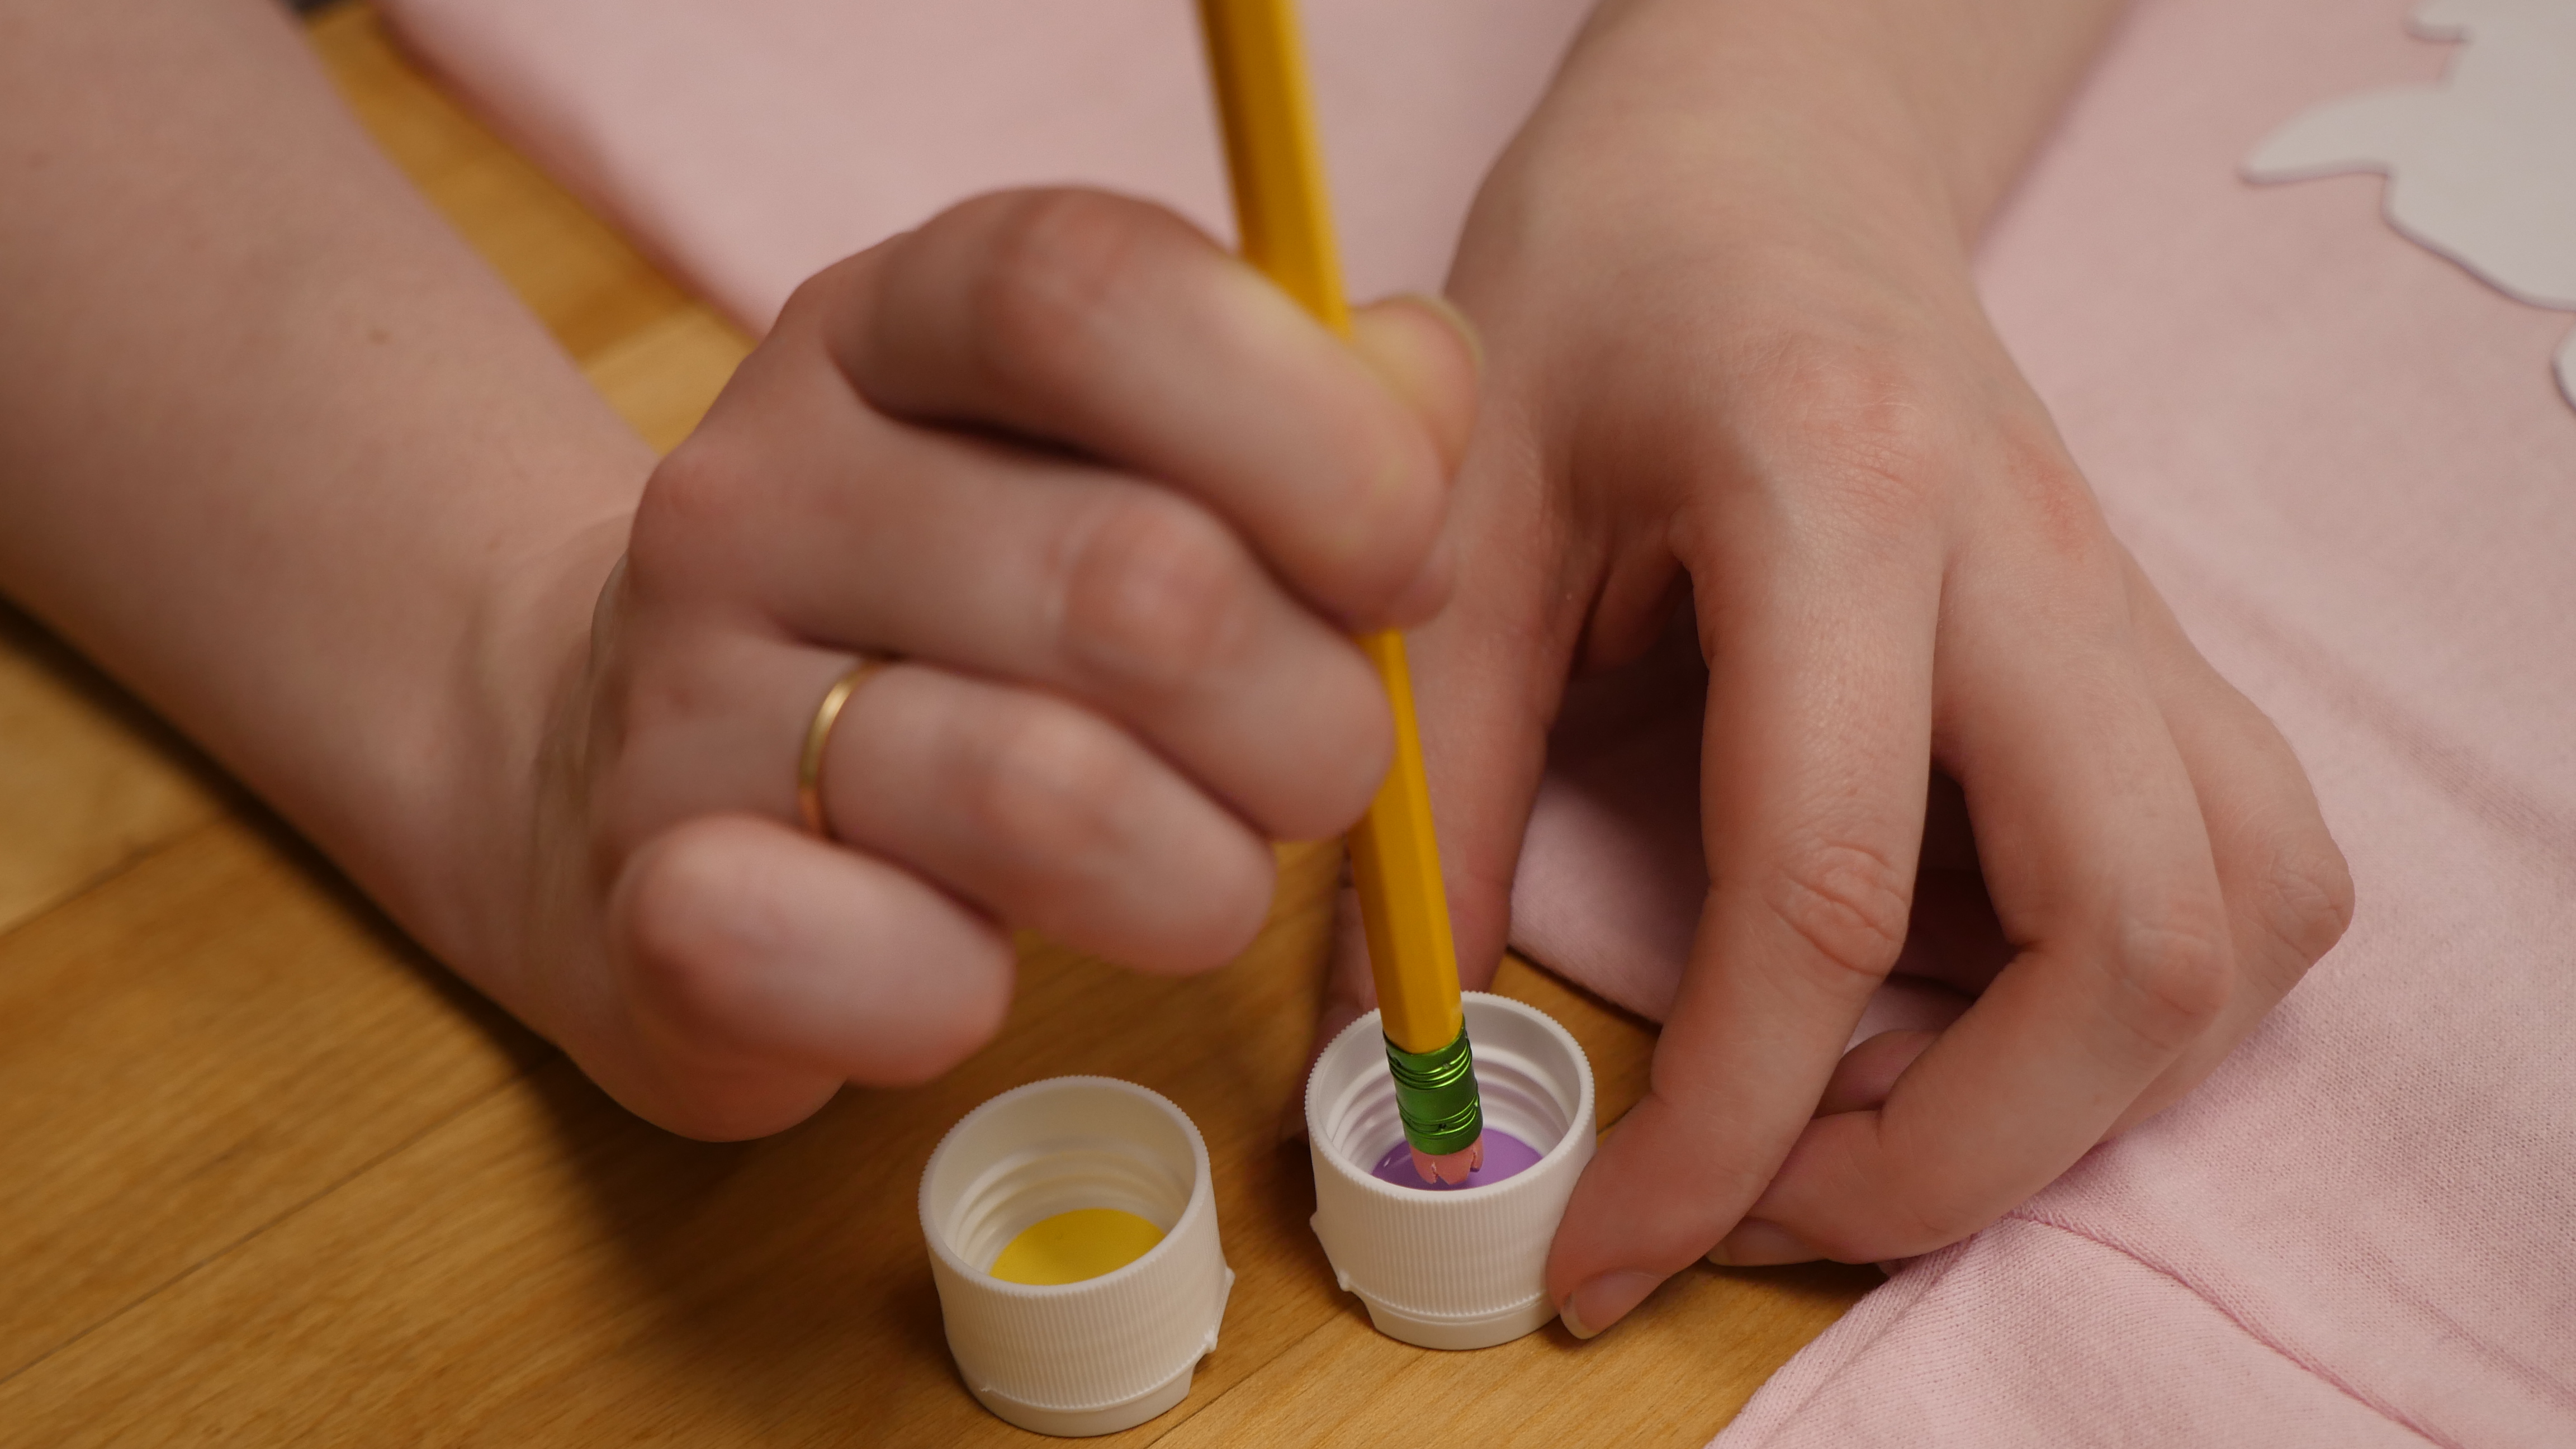
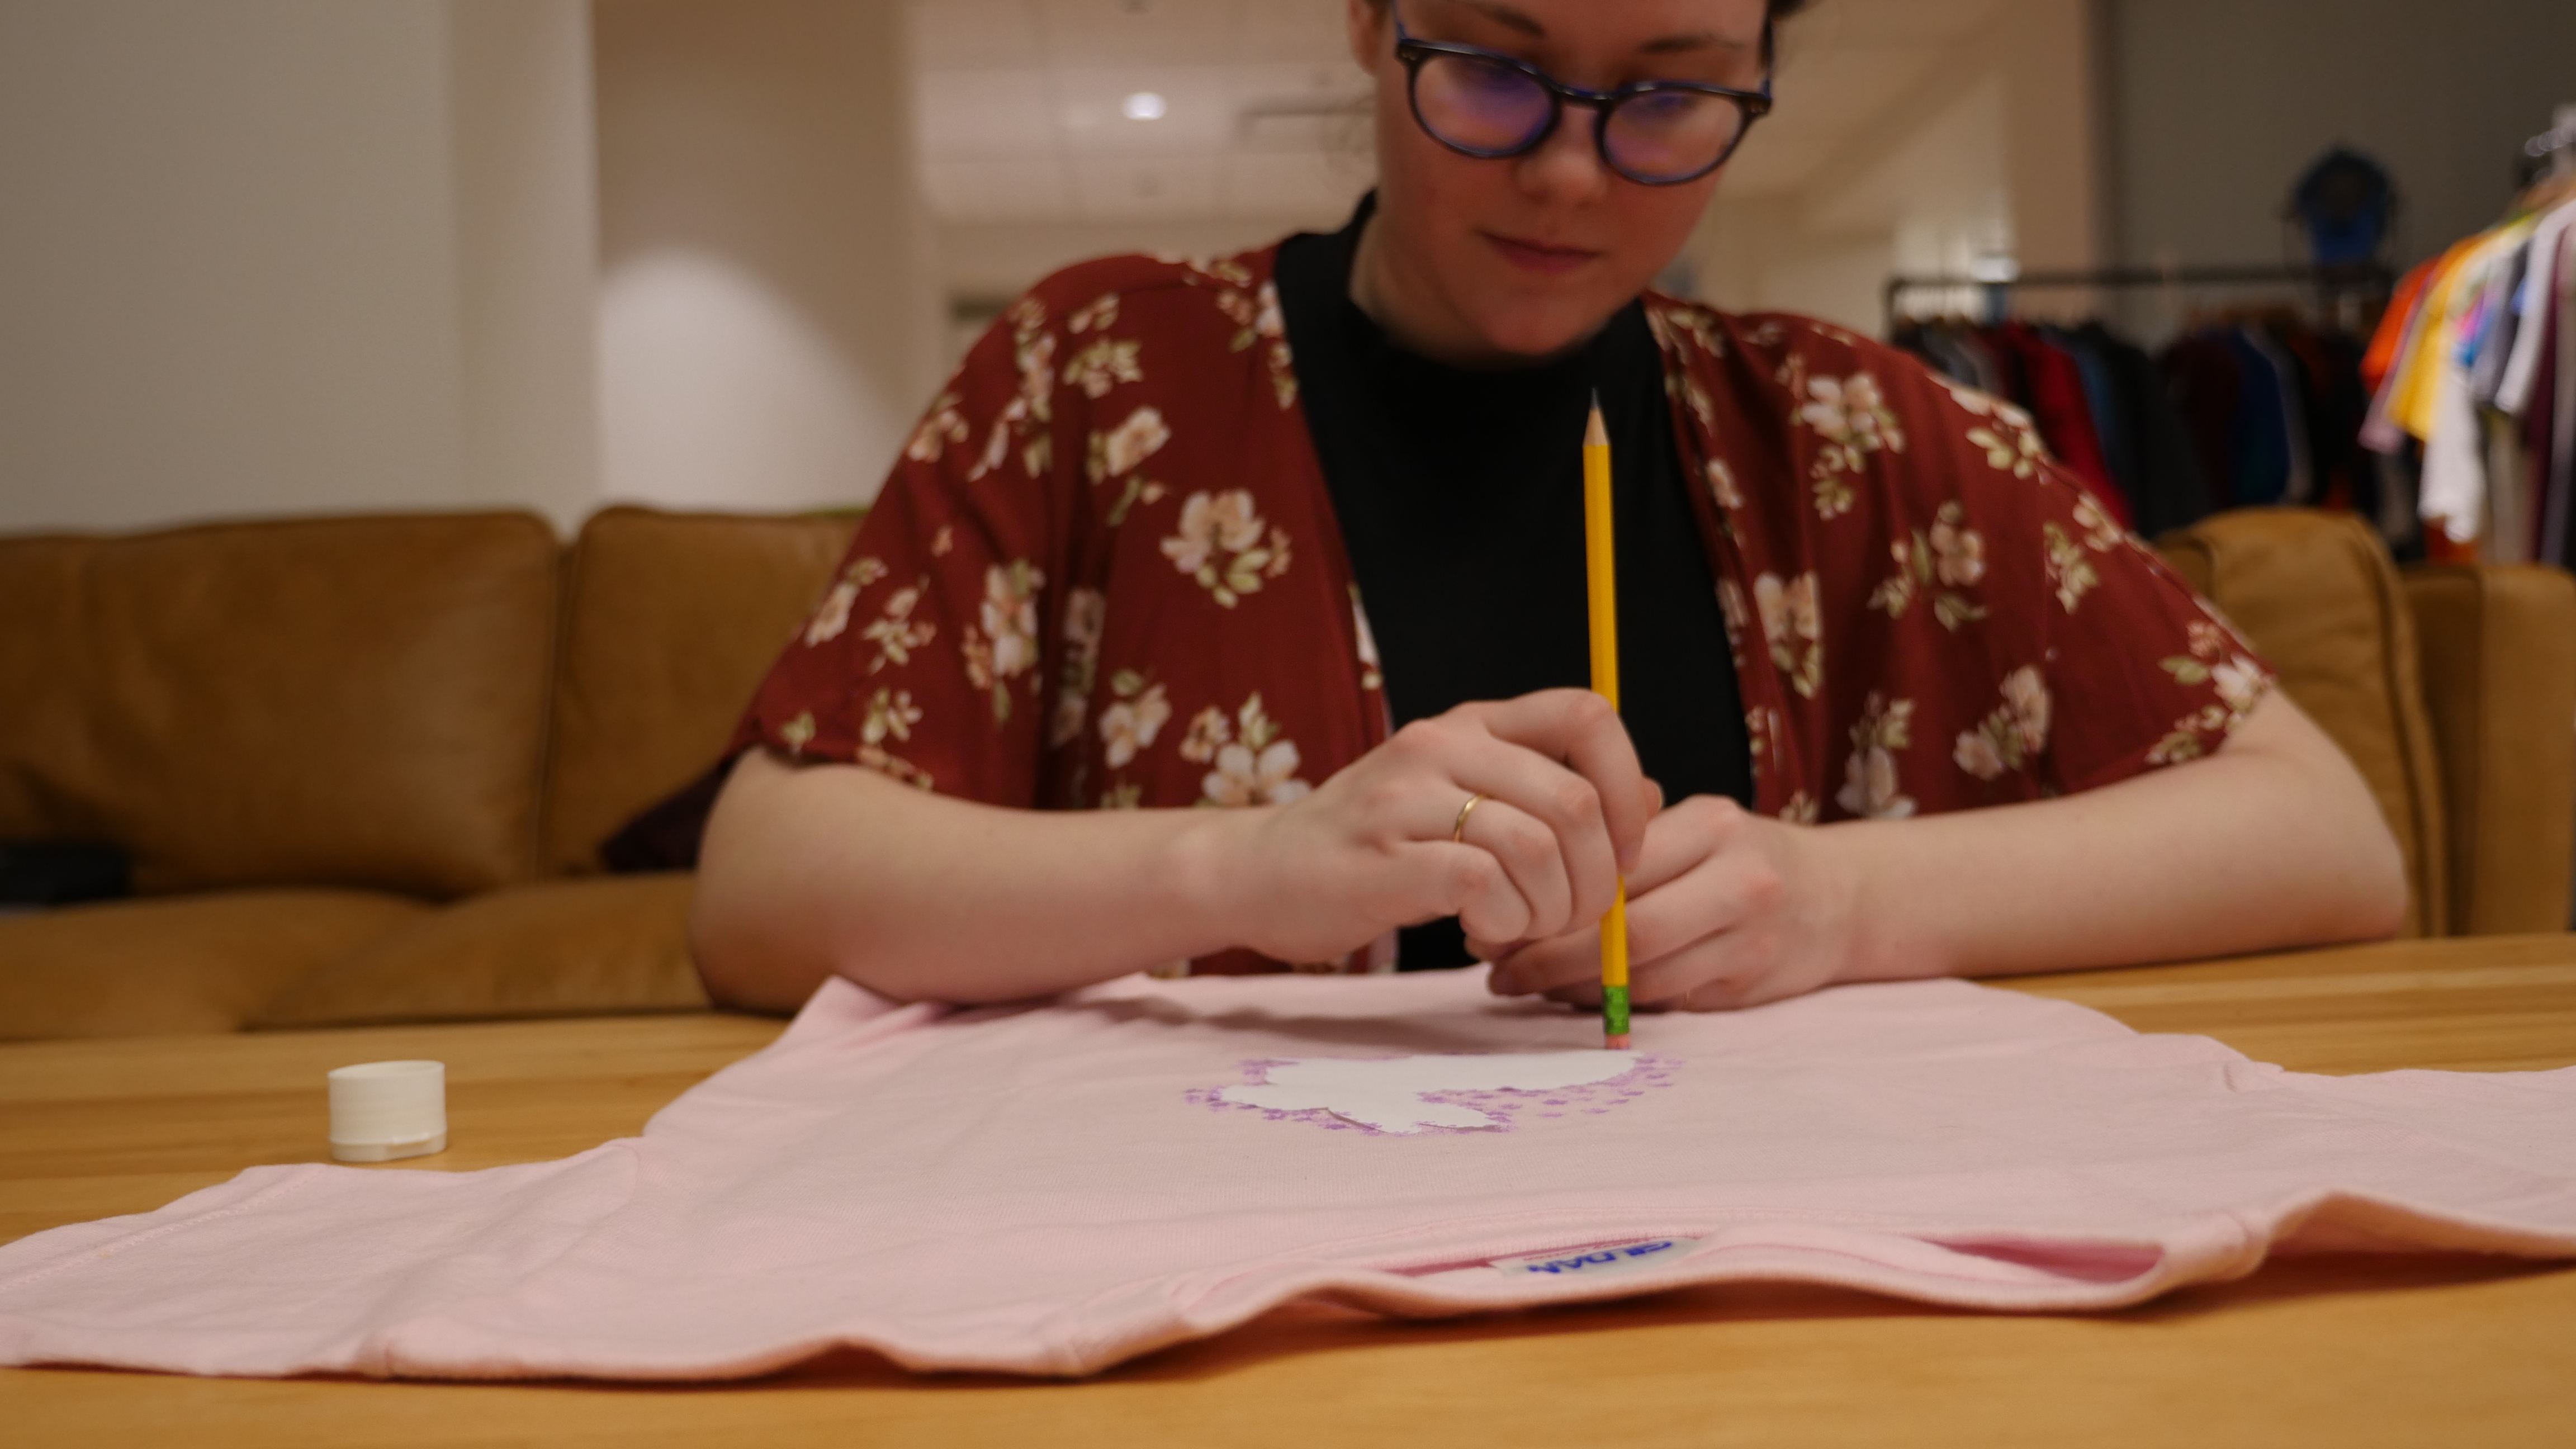
7. If you want another colour, make sure to clean off the first paint colour on your stamp and the repeat step 6!
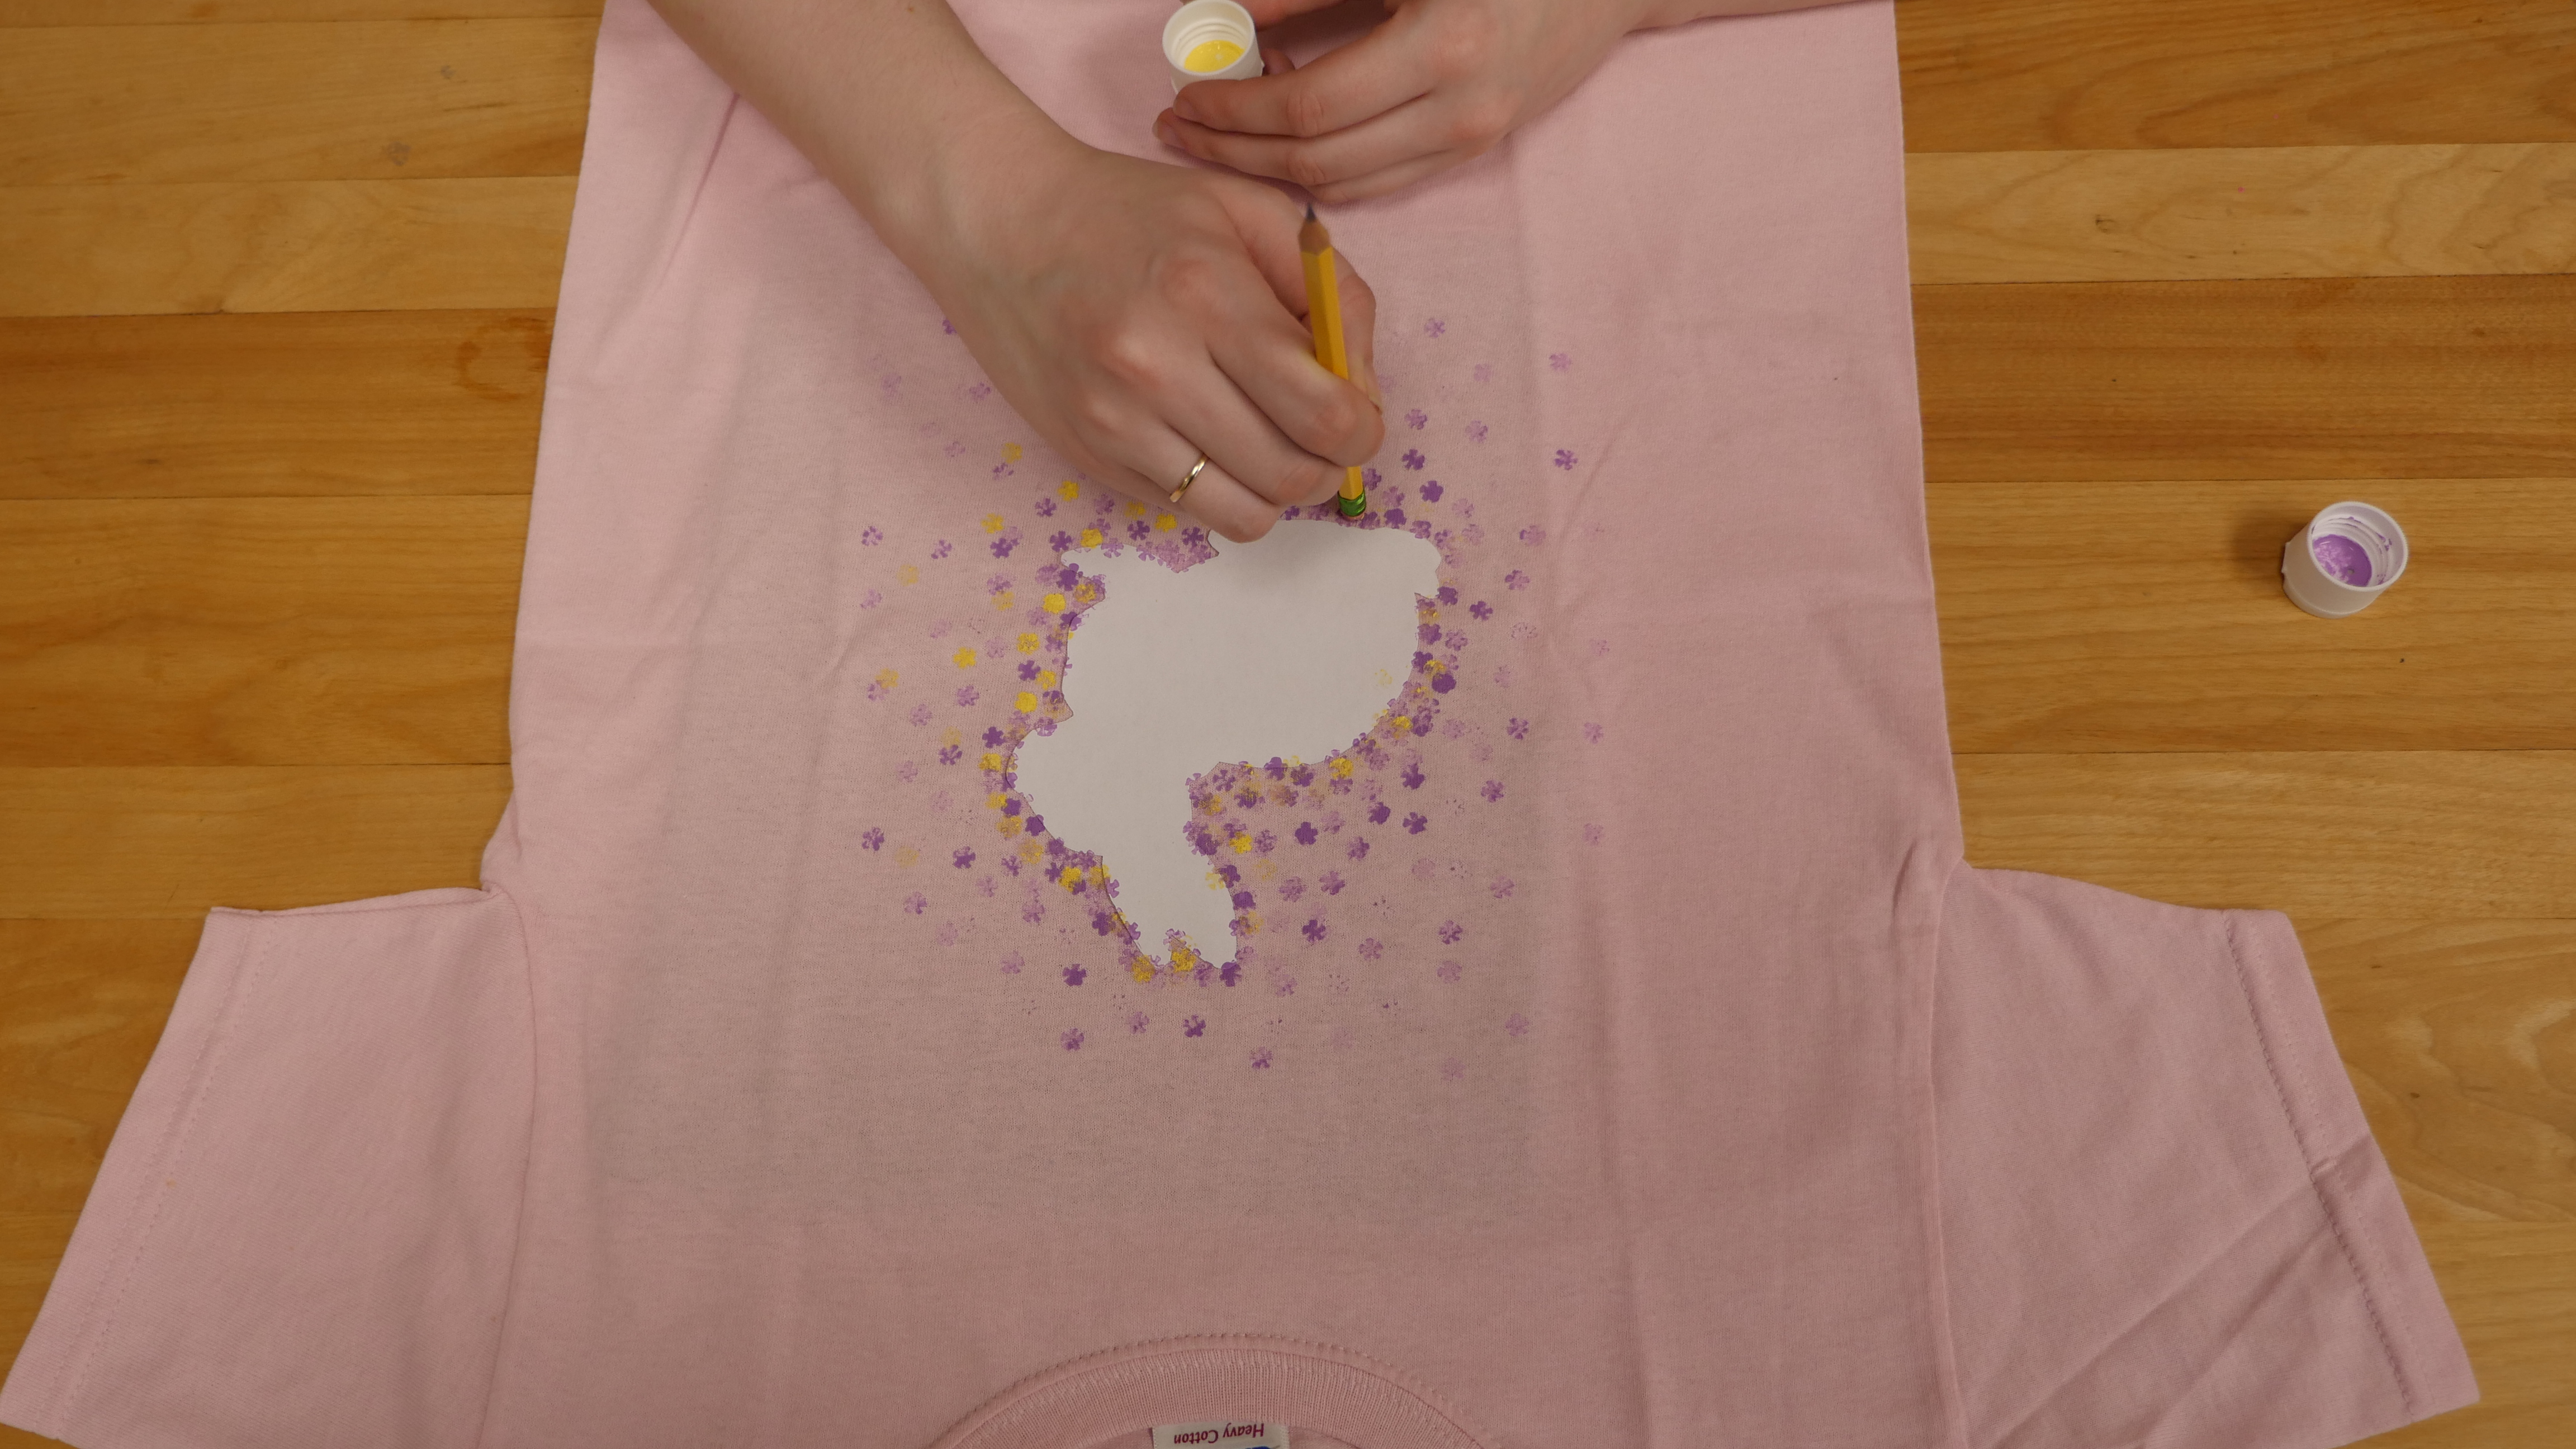
8. Let your paint dry completely!
9. Once it is dry, you can remove your paper. If your fabric paint requires a heat set then you can throw it in the dryer (if it is 100% cotton, then maybe follow this next option to avoid shrinking) or do a once over with an iron. And voila!
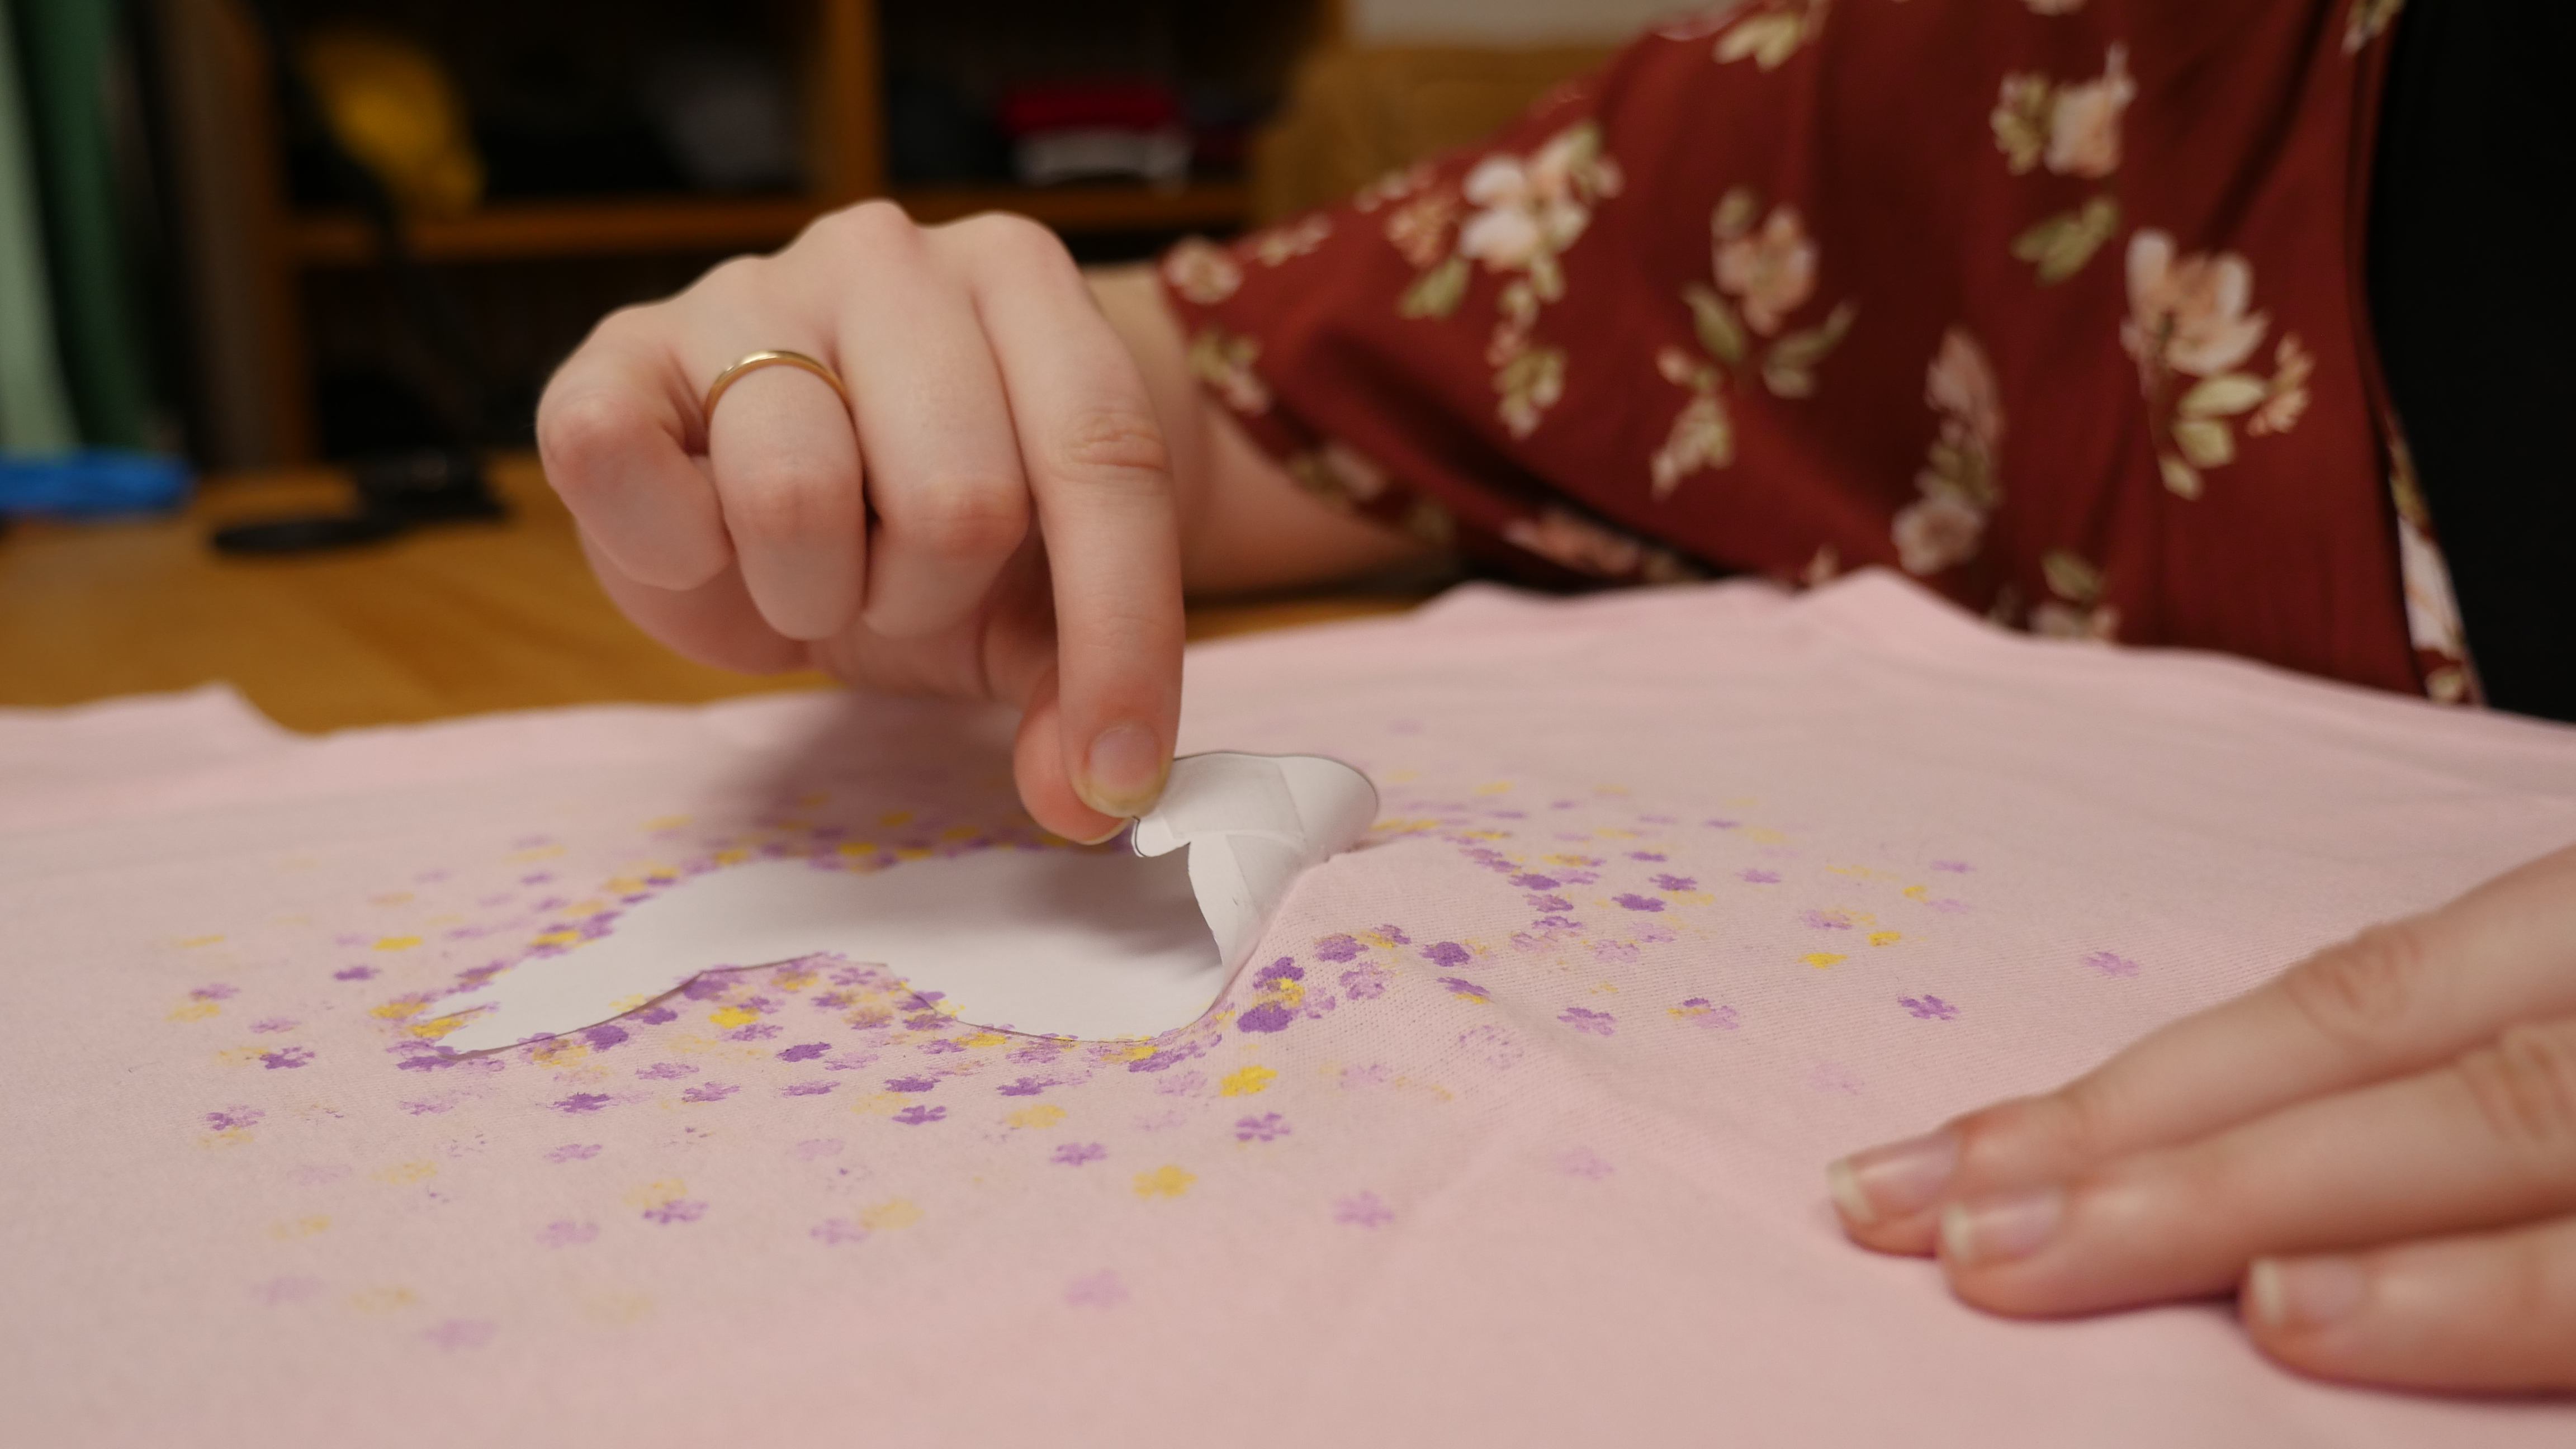
Your Easter shirt is complete!
Recent Posts
-

Best-selling Unisex Jacket: the Champion Packable Quarter-Zip
Meet our top-seller: The Champion CO200 Packable Quarter-Zip Jacket! It's lightweight, wind-and wate …4th Jan 2024 -

Happy New Year from the T-shirt.ca Team!
Kickstart 2024 in style with our AC1010 Acrylic Knit 12" Toque with Cuff - the perfect blend of time …3rd Jan 2024 -

2023 Wrapped: A Year in Review with T-shirt.ca!
What did your 2023 look like? ?✨?28th Dec 2023