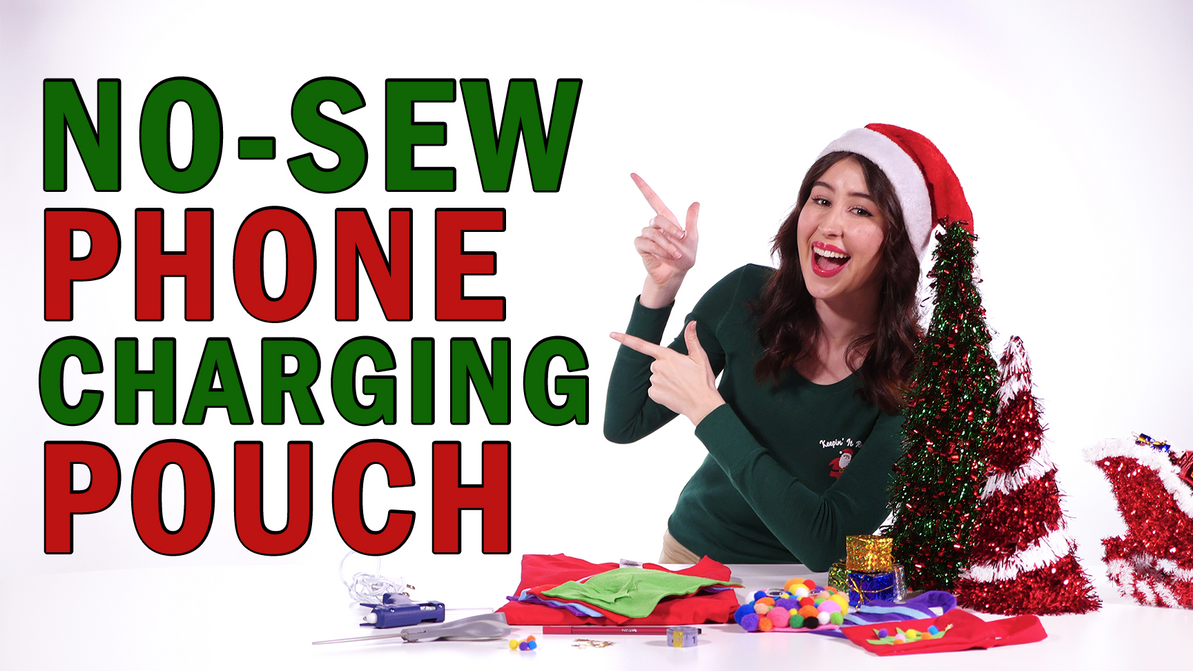
Make-It-Monday: No Sew Phone Charging Pouch
Hi everyone!
Welcome back for a special holiday rendition of Make It Monday. Ebony here, and we’ll be making a simple, no-sew charging pouch for your phone. This DIY is a perfect stocking stuffer – and also super handy just to have for yourself!
To keep in the holiday spirit, we’re decorating ours with some seasonal designs, but feel free to personalize these however you like. We’d love to see your creations!
All you need for the basic shape of the pouch is a t-shirt, a pair of scissors, and a glue gun. What you decorate it with is up to you. Today, we’ll be using felt cut outs, pom-poms, and confetti to create our festive looks.
The first step is to cut two shapes out of your t-shirt. The first one should be roughly 11 inches by 2.5 inches. The second piece can be around 10.5 inches by 5 inches, but this can be made smaller or larger depending on the size of the phone you’re making the pouch for. The one we’re making today is suitable for an iPhone 10.
Take your glue gun and apply a line down the middle of the thinner piece of fabric. Fold one side of it just over the glue line like so. Repeat this step by adding another line of glue and then folding the opposite side. This piece of fabric will be your strap, so you want a nice, clean look to it.
Now, place the larger piece of fabric length-wise in front of you. Put a line of glue down each of the shorter sides so that you can fold a half inch of fabric over top of it. Now flip the fabric over so that you can’t see the folds.
Make two more lines of glue on each of the longer sides, but only halfway up the length of the fabric, like so. We’re now going to fold the fabric in half and press it firmly together, which creates the shape of the pouch.
Take the other piece of fabric that you made earlier and glue about an inch and a half of the strap to each side of the pouch. Press it firmly down and wait for the glue to set.
Once your glue is completely dry, it’s time for the moment of truth! Carefully flip the pouch right side out so you can see your finished result. Don’t worry if there are any gaps – you can always touch them up with the glue gun to seal them. It will dry clear!
Now that you have the frame of the pouch completed, it’s time to give them your own personal flair! Here’s a few examples of what we did with ours. Let us know which is your favourite in the comments!
Happy holidays!
Recent Posts
-
Best-selling Unisex Jacket: the Champion Packable Quarter-Zip
Meet our top-seller: The Champion CO200 Packable Quarter-Zip Jacket! It's lightweight, wind-and wate …4th Jan 2024 -
Happy New Year from the T-shirt.ca Team!
Kickstart 2024 in style with our AC1010 Acrylic Knit 12" Toque with Cuff - the perfect blend of time …3rd Jan 2024 -
2023 Wrapped: A Year in Review with T-shirt.ca!
What did your 2023 look like? ?✨?28th Dec 2023


